filmov
tv
SIDING Prep - DO NOT INSTALL Siding Till You Watch This

Показать описание
Huge thanks to our Show sponsors Polywall, Huber, Dorken, Delta Millworks, Prosoco, Rockwool & Viewrail for helping to make these videos possible! These are all trusted companies that Matt has worked with for years and trusts their products in the homes he builds. We would highly encourage you to check out their websites for more info.
 0:17:13
SIDING Prep - DO NOT INSTALL Siding Till You Watch This
 0:03:20
3 Common Installation Issues with James Hardie Siding
 0:32:07
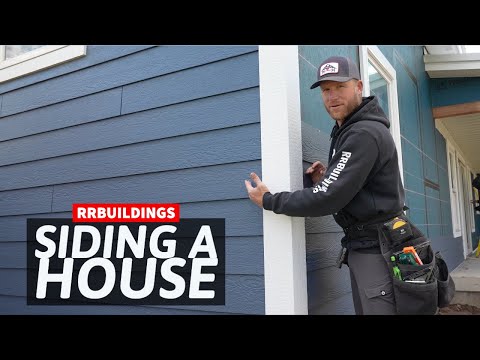
#Siding a House: Tips to Install like a PRO
 0:01:23
When re-siding, is it better to leave existing siding or remove it?
 0:06:30
How to prep house exterior for painting. | Hyde Tools
 0:02:27
Hardie siding failure. What you need to know.
 0:00:46
MUST HAVE siding attachment #shorts #tools
 0:11:49
Don't paint your cedar siding
 0:13:12
How To Paint Exterior Wood Siding
 0:01:22
A common mistake made when installing wood siding on the outside of a home. Easy fix.
 0:03:23
Watch This Before You Paint Your House’s Exterior - Spencer Colgan
 0:00:19
Expanding FOAM for fence posts?! Would you try this product? #shorts
 0:20:34
Flawless Siding Secrets - Matt Geeks out on the James Hardie Details at His House
 0:03:45
Best Products for Hardie Board Siding Homes with Melissa McKenna from Sherwin Williams
 0:00:18
Hardie Board and Batten siding
 0:03:54
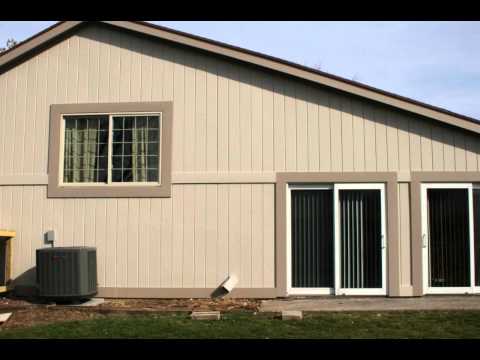
Introduction to T1-11 Plywood Siding
 0:15:25
#1 Biggest Siding Mistake
 0:00:31
18x30x8 Metal 'Combo' Unit #109 by Eagle Carports | gracelandwp.com
 0:03:18
Exterior wood siding painting preparation - tips, tools, how to guide
 0:05:46
Install Siding Fast and Easy | 5 Pro Prep Tips
 0:00:47
Vinyl Siding - No Match For Hardie Board #diy #hardwork #satifying
 0:00:42
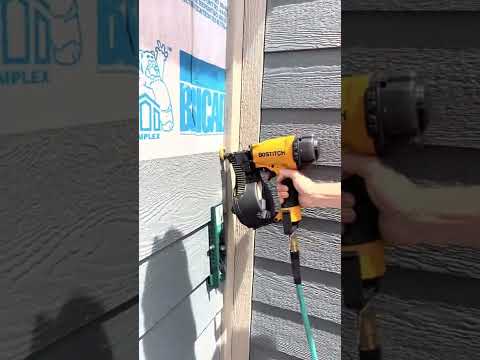
Finish siding jobs the right way, with the Gecko Gauge from PacTool! 👍
 0:04:49
How to Paint Chalky Siding! The Secret to Get Great Paint Aherence!
 0:39:58
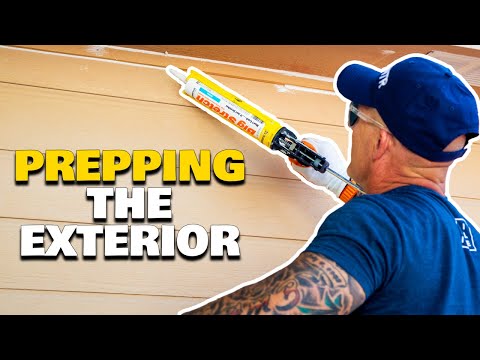
Painting a house ALONE! Caulking The Exterior.
Комментарии