filmov
tv
How To Make Your Own Acoustic Panels - DIY Professional Acoustic Treatment for Home Studio

Показать описание
How to build your own affordable high-performance acoustic panels for a home studio or home office. This DIY professional acoustic treatment will make your recordings sound better by reducing the reverb and echo in your room and controlling background noise.
The total cost per panel is about £20/$25 and weighs 5-6 kg.
If you gained value from this free video and plans, please consider supporting me here:
0:00 - Introduction
1:00 - Overview
2:00 - Building the wooden frame
4:05 - Attaching the sides
5:30 - Sealing the back
6:25 - Acoustic materials
8:56 - How to wrap the fabric
10:40 - Hanging panels on the wall
11:28 - Optional external frame
12:30 - Before and After
13:00 - Thanks for watching
🪚 Materials and Dimensions 📏
Frame:
Material: 2 x 1800mm x 18mm x 34mm timber. 4 x wood screws 60mm.
Final size: 120cm x 60cm planed timber frame.
Cuts: 2 x 1200mm + 2 x 530mm cuts
Sides:
Material: 2-3mm fibre/plyboard.
Cuts: 2 x 1200mm x 110mm 2x 600mm x 110mm
Change the 110mm to whichever thickness you want.
Filling:
Recycled denim insulation
Hemp/wood fibre insulation
Cellulose batt Insulation
Recycled foam/fabric slabs
Check the spec sheets and feel free to send a comment on this video and I'll check it out too.
Fabric:
Update 2023 - Camira and other fabric sellers are raising the price of Cara (possibly due to this video or possibly just price gouging).
I no longer recommend Camira if the price stays high (£16 per meter right now).
Original - I use Camira fabrics. There sell lots of suitable options and my favourite is Cara in Black (code EJ138). You can find it much cheaper from local suppliers (hence why my price is lower in the video and I made an edit!)
Additional tools:
Mask and gloves for woodwork
Stapler
Hand saw (or get the timber cut at the shop)
Hammer and nails are optional
Electric drill
Countersink and drill bits
#DIY #acousticpanels #musicstudio
 0:00:30
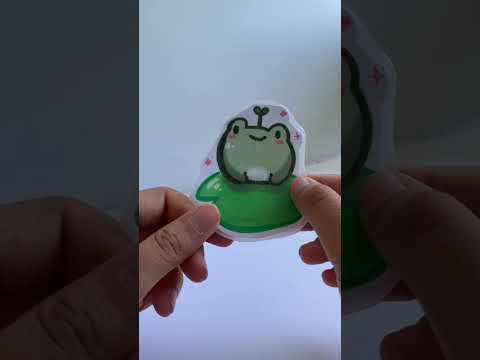
how to make your own diy stickers at home! 🐸 ✨ (super easy!)
 0:03:39
HOW TO MAKE YOUR OWN STICKERS | JESSALYN GRACE
 0:08:01
How To MAKE a ROBLOX GAME on MOBILE...
 0:07:16
How To Make Your Own No Recoil Sensitivity | PUBGM & BGMI
 0:02:55
Stop Buying Yogurt! Make Your Own Using Two Ingredients
 0:00:59
How To Make Your Own Butter
 0:08:15
How To Make Your Own Sausage
 0:12:17
HOW TO MAKE POWDERED SPICES! Make Your Own Seasonings
 0:01:00
Make Your Own Lotus Flowers For Festivals#lotus #festival #diy #shorts #short #trending #viralvideo
 0:04:30
HOW TO MAKE HOMEMADE BUTTER IN 3 MINUTES RECIPE
 0:09:31
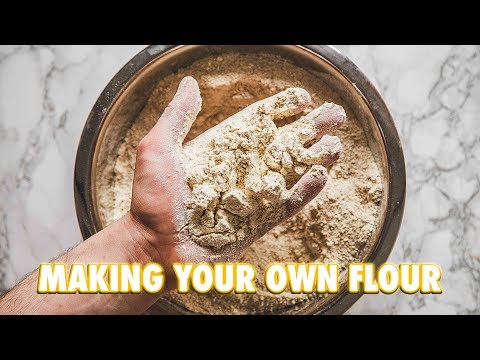
How To Make Your Own Flour At Home
 0:07:44
Making Your Own Spices From Scratch
 0:14:52
How To Create A YouTube Channel! (2020 Beginner’s Guide)
 0:11:30
How To Ferment And Make Your Own Hot Sauce, Easily
 0:13:59
Large Family LAUNDRY SOAP | How to Make Your Own LIQUID LAUNDRY SOAP |
 0:00:55
How to Make Your Own Wingstop Ranch
 0:09:33
HOW TO CREATE YOUR OWN SKIN IN FORTNITE!
 0:12:15
How to Make Mozzarella Cheese 2 Ingredients Without Rennet | Homemade Cheese Recipe
 0:05:56
How to Make Your Own Rope / Cordage!
 0:04:25
How to Make Your Own Comic | Toontorial | @cartoonnetworkuk
 0:00:59
You can’t make this stuff up… 🙄 #motherhood #momlife #toddlers
 0:00:38
How To Make Your Own Brown Sugar #simplyhomeandharvest #homemadebrownsugar #diy #farmhouse
 0:33:24
How to Make Your Own Mead
 0:05:00
Making Your Own Beef Jerky Is Much Easier Than You Thought
Комментарии