filmov
tv
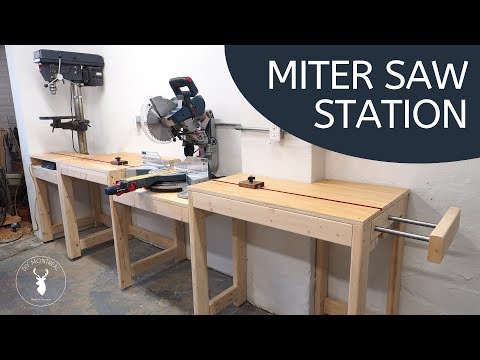
Building Jay Bates' Miter Saw Station

Показать описание
Special thanks to Kreg Tool for sending me some of the tools needed to build my version of Jay Bate’s Ultimate Miter Saw Station!
I’m so happy to finally have this built and complete to give my garage shop some much needed organization. If you’d like to build this yourself, check out the plans Jay has available on his website:
Reading more your style for this type of project? Check out the video write-up on my website:
Some of the tools and materials used in this project (may contain affiliate links):
Timestamps:
0:00 - Intro
2:05 - Planning & First Cuts
5:38 - Base Cabinets
10:37 - Work Surface
11:39 - Upper Cabinets
13:52 - Miter Saw Shelf
17:28 - Homage to Jay
17:52 - Drawer Assembly
20:55 - Cubbies
22:35 - Drawer Fronts
25:05 - Timelapse
26:27 - Outro
If you're an Amazon user and want to support my channel, using the link below will give me a small kickback from Amazon at no extra cost to you. Thanks in advanced!
-----------------------------------------------------------------------------------
Follow me on social!
-----------------------------------------------------------------------------------
 0:27:28
Building Jay Bates' Miter Saw Station
 0:05:30
Building the Jay Bates Miter Saw Station Part 1 | Crafted Workshop
 0:05:08
Building the Jay Bates Miter Saw Station Part 2 | Crafted Workshop
 0:16:20
The Ultimate Miter Saw Station
 0:08:49
Miter Saw Station Storage Boxes and Drawer Fronts - 196
 0:08:24
Miter Saw Station - Part 1 (Jay Bates Plan)
 0:08:21
Your Miter Station Doesn't Need a Fence - Trust Me!
 0:12:12
Miter Saw Dust Collection Considerations - 358
 0:19:17
Miter Saw Station Upgrade: Milwaukee 6955-20 Miter Saw - 355
 0:09:56
Miter Saw Station Storage Drawers - 195
 0:09:05
Miter saw station | with extension wing & integrated drill press
 0:14:32
Miter Saw Station with Storage
 0:05:09
Practical Miter Station for a Small Shop- Part 1 | Woodworking
 0:12:14
Modified Jay Bates Miter Saw Station Part 3
 0:21:38
I built the perfect miter saw solution.
 0:15:21
DIY Shop Drawers // Miter Saw Station Build Part | 3
 0:07:29
Build the Ultimate Miter Saw Station - Project Overview
 0:20:19
Build Your Own Work Surface || Miter Saw Station
 0:18:23
Building My DREAM Miter Saw Station/Shop Storage Upgrade
 0:16:00
Basic Miter Saw Workbench / Miter Station PART 1
 0:17:07
Build This Simple Miter Saw Table with T-Track | FREE PLANS
 0:07:40
Miter Saw Station Build
 0:17:06
Mobile Cart to Miter Saw Station & Why I Switched
 0:39:25
Epic Miter Station Build (Tons of Storage)
Комментарии