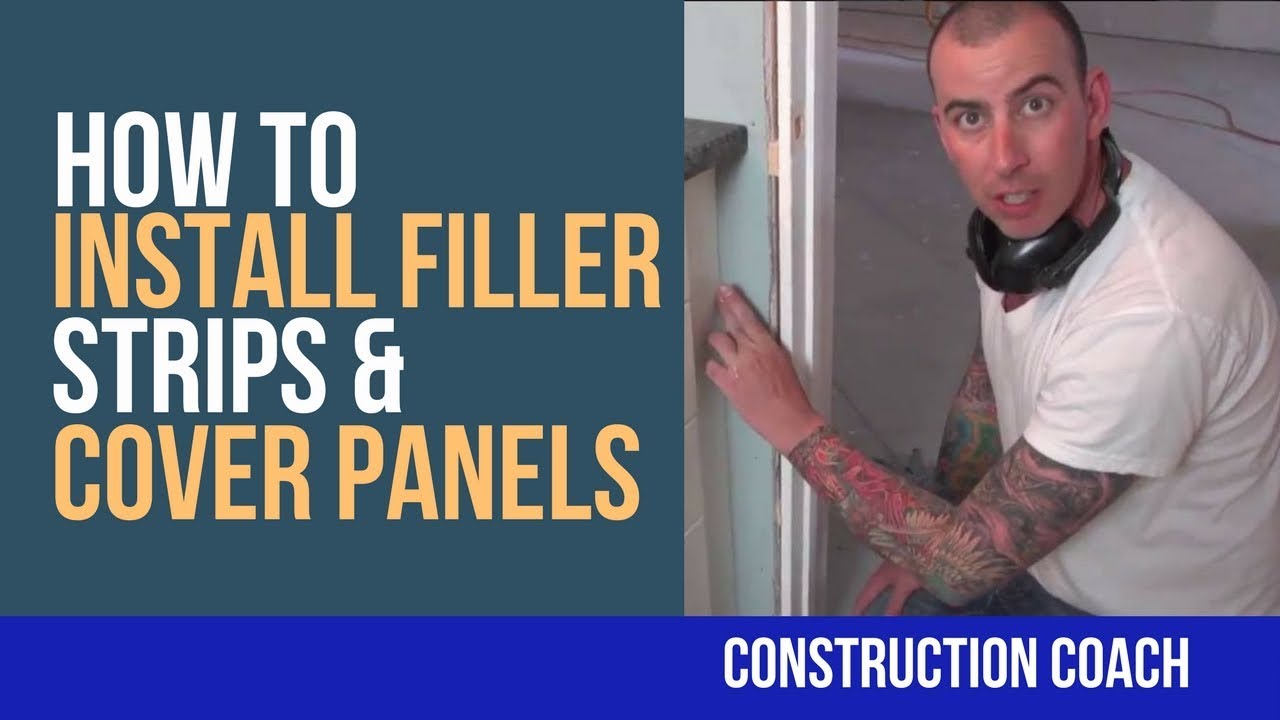
Cabinets 101 How to install Filler Strips & Cover Panels - DIY

preview_player
Показать описание
Learn how to close off cabinet gaps by installing filler strips and cover panels. Precisely fit and install these strips for a neat, seamless finish.
Рекомендации по теме
Комментарии
Автор

If you must use a Skill Saw to trim a finished panel, get a decent blade and tape over the area to be cut before scribing your line. Then cut with the tape in place, A Skill saw blade cuts UP and will likely remove bits of the finished edge as seen in the video - tape and a finishing blade will help.

notcharles
Автор

I've seen several of his videos and I for one want him to know he is appreciated. His explanations and illustrations are spot on. He is clear and concise. keep up the great work. May God bless you and thank you again.

TC-kemh
Автор

Very helpful, thanks. I've installed new cabinets in my master bath and have to install a filler strip. This is what I needed to know!

lilloo
Автор

I use a table saw with a real fine blade and you won't get the chipping on the base of your panel. You can also use masking tape to help the chipping. Also I would have removed the drawers and installed a screw from the stile of the cabinet into the filler strip rather than to rely on the silicone to mount the strip itself.

chipshot
Автор

This is great, very informative and exactly what I needed to know, thanks so much....🇨🇦

patriciahall
Автор

That filler strip will get pushed in sooner than later. Why not use blocking in the back of it to prevent it from being accidentally kicked in?

JeffWomack
Автор

paint sticks make the perfect filler strips and they are free! Works perfect for builder grade 90s cabinet ends.

MinutestoRouletteFortune
Автор

Belt sander or even a hand held grinder with aggressive sanding disk is the best way to trim scribes. Also mask where you're going to trim if you're cutting. No mask needed if sanding/grinding.

losalpes
Автор

Blocking is best to place the filler strip or screw it through the wall of cabinet and use screw caps.

meandyou
Автор

I can't believe you cut your carefully scribed panel with a circular saw. You can borrow my belt sander to sweeten that scribe if you like. I think IKEA recommends a backer block for your filler strip, but you got yours in good. Also, you cut the finish off the bottom of that MDF side panel and it's on the floor in a wet room. You should seal that bare edge in case water finds it some day. Just a silicone bead is good if it's not your house, but I would seal it if it were mine. Thanks for the video.

vinceamato
Автор

To take off that amount at the bottom of the end panel I would use an electric plane or a belt sander, not a Skillsaw!
If you use a Skillsaw you have to cut from the back so neat cut edge is on the good side but not suitable in this situation.Or maybe scribe from behind with a short pencil.

robmcghie
Автор

Router + straight edge + pattern/ flush trim bit is best option.

bdog
Автор

If u have to shim your countertop it means you fitted the unit off level or the unit was made crooked

seven.
Автор

Question, would it make your life easier if you painted the walls first, before putting in the vanity?

FPShkED
Автор

Belt sander would have been better to trim that end panel; no chip out!

ranger
Автор

when cutting out the scribe, it would be best if you cut backwards. meaning that you run the saw opposite of cutting forward.this will prevent chipping on your finish material. just a suggestion. good video though.

bigjesskennelz
Автор

Thanks for the information. I will be using it this weekend to finish off the cabinets at my house.

ctwatter
Автор

The panel is tilted out at the bottom, it should be tilted out at the top so the line scribed matches the floor where the panel will ultimately rest. If I were doing this, I would have installed both pieces BEFORE setting the top. Removing the doors and drawers so access to the stiles is easy. the filler is then cut to length to match the right end of the cabinet and scribed (on the right side) to match the wall. Then aligned with the top and bottom of the cabinet, pressed into place and attached with screws through the right stile.

The panel at left is set in (plumbed) place, scribed to match the floor where it will sit. Trimmed along the scribe line. Then set in place and marked for height using the left side of the cabinet.

This approach makes for easier measurements, fitting and installation. Then measure for your counter top and have it made to fit.

notcharles
Автор

Hi, I produce modern cabinetry.
your fillers are huge. Standard is one and a half inches. The best way to ensure this is to take 2x4 and tac it on to the wall. 3 mm under the top of the cabinet And 2 inches back from the face of the cabinet. Then butt your first cabinet up against it.

michaelglaser
Автор

You should measure from the bottom of the countertop down so you don't need to bend the tape. It gives a more accurate measurement. Not for everyone but I choose to use metric with finish work, same reason as above.

kong_dong_usmc