filmov
tv
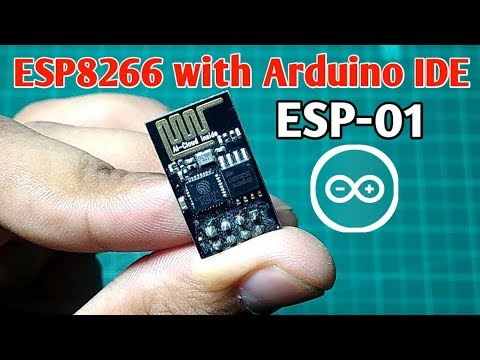
How to program ESP8266 ESP-01 with Arduino UNO and FTDI232

Показать описание
In this basic esp8266 esp-01 tutorial video, I have shown you how to program ESP8266 or ESP01 using Arduino UNO and FTDI USB to TTL converter with Arduino IDE.
During the video, I have shared the Arduino ESP8266 board connection and all the required settings in Arduino IDE for uploading code to ESP01 using Arduino UNO or any USB to Serial interface board.
For Circuit and other details please visit the following article
TimeStamps for this Arduino ESP 01 tutorial video:
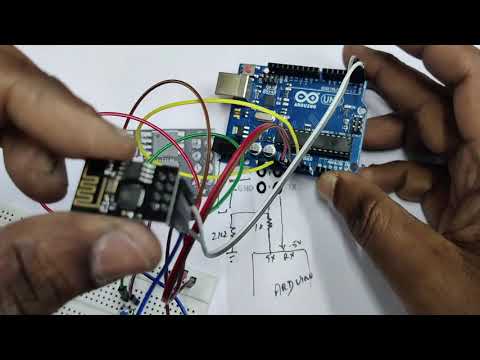
00:48 How to connect Arduino with ESP8266 for programming with circuit
01:36 Required settings for Arduino IDE for programming ESP8266
04:51 How to control LEDs or Relay with ESP01 with Blynk App
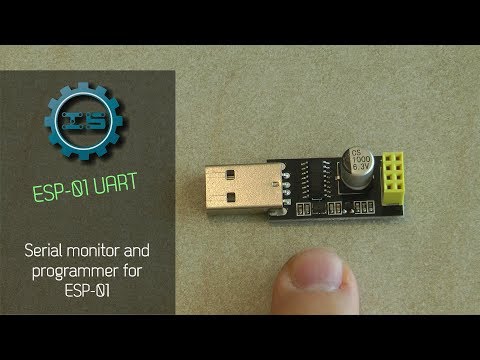
08:06 How to use FTDI232 USB to TTL converter to program ESP01 or ESP8266
In this video, I have used only example codes, which will be available after downloading the ESP8266 board as shown in the video.
I have also explained different errors, you may get while uploading the code to ESP8266 using Arduino and how to resolve those errors. So if you follow all the steps shown in this video, then you can easily program the ESP8266-01 board for different IoT projects.
I have also shown how to download Blynk App and how to control LED or any Relay with ESP8266 from the smartphone.
Important points to remember while programming ESP01
1. Connect GPIO-0 with GND for programming mode.
2. After uploading the code disconnect GPIO-0 from GND then press the RESET button.
3. If any connection error occurs, disconnect Arduino from Laptop and try again.
4. While getting Connecting......_____, Press the RESET button on ESP8266
Please let me know if you face any problem while programming the esp8266-01 board.
#ESP8266Arduino
------------------------------------------------------
Thanks For Watching...
✅ SUBSCRIBE ✅LIKE ✅SHARE ✅ COMMENTS
-------------------------------------------------------
Other smart home IoT projects:
Latest ESP32 projects playlist:
During the video, I have shared the Arduino ESP8266 board connection and all the required settings in Arduino IDE for uploading code to ESP01 using Arduino UNO or any USB to Serial interface board.
For Circuit and other details please visit the following article
TimeStamps for this Arduino ESP 01 tutorial video:
00:48 How to connect Arduino with ESP8266 for programming with circuit
01:36 Required settings for Arduino IDE for programming ESP8266
04:51 How to control LEDs or Relay with ESP01 with Blynk App
08:06 How to use FTDI232 USB to TTL converter to program ESP01 or ESP8266
In this video, I have used only example codes, which will be available after downloading the ESP8266 board as shown in the video.
I have also explained different errors, you may get while uploading the code to ESP8266 using Arduino and how to resolve those errors. So if you follow all the steps shown in this video, then you can easily program the ESP8266-01 board for different IoT projects.
I have also shown how to download Blynk App and how to control LED or any Relay with ESP8266 from the smartphone.
Important points to remember while programming ESP01
1. Connect GPIO-0 with GND for programming mode.
2. After uploading the code disconnect GPIO-0 from GND then press the RESET button.
3. If any connection error occurs, disconnect Arduino from Laptop and try again.
4. While getting Connecting......_____, Press the RESET button on ESP8266
Please let me know if you face any problem while programming the esp8266-01 board.
#ESP8266Arduino
------------------------------------------------------
Thanks For Watching...
✅ SUBSCRIBE ✅LIKE ✅SHARE ✅ COMMENTS
-------------------------------------------------------
Other smart home IoT projects:
Latest ESP32 projects playlist:
 0:06:04
How to Program ESP01 WiFi Module | Arduino IDE | DIY
 0:04:22
How to Program ESP8266 ESP-01 Module with Arduino UNO
 0:05:41
Getting Started with ESP8266 (ESP-01) module | How to program ESP-01 module
 0:09:46
How to program ESP8266 ESP-01 with Arduino UNO and FTDI232
 0:07:38
#1 Program an ESP01: The easy way!
 0:13:11
How to Upgrade ESP-01 Module Firmware and test AT Commands
 0:09:15
ESP8266 Tutorial: Programming ESP-01 using Arduino
 0:10:32
Programing the ESP8266 ( ESP-01 ) Wifi module
![[DIY Project] ESP32](https://i.ytimg.com/vi/0JpGXPFtY6Y/hqdefault.jpg) 0:22:57
0:22:57
[DIY Project] ESP32 IoT Home Automation Project using RF Remote and ESP Rainmaker
 0:10:24
Getting Started With the ESP8266 ESP-01 || 4 way Programming ESP01S
 0:05:14
Connecting Arduino Uno and ESP8266 WiFi Module
 0:06:51
Using an ESP8266 ESP01 Module
 0:03:06
@ESP01-programmer step and code upload
 0:05:40
How to Program ESP01 using Arduino Uno
 0:06:22
Getting Started with ESP 8266 ESP 01 with Arduino IDE | Programming esp-01 with Arduino ide
 0:05:03
ESP-01 UART and turning it to a programmer
 0:06:21
Getting your Arduino online - Using the ESP-01 and Blynk
 0:06:58
How to Program #Esp8266 using Arduino uno.
 0:06:46
ESP 8266 - 01 Programming with Arduino UNO | The easy way
 0:02:24
How to add more GPIOs to ESP8266 (ESP-01)
 0:06:30
Control Relay ESP-01 Module from Smartphone
 0:11:52
Serial Communication - Arduino UNO and ESP8266 (ESP-01)
 0:17:50
ESP 8266 -01 FirmWare Upgrade & BaudRate setting
 0:44:25
Arduino Mega 2560 with ESP8266 (ESP-01) Wifi, AT Commands and Blynk
Комментарии