filmov
tv
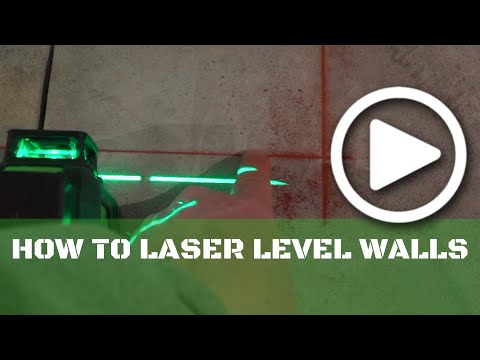
How to Frame Perfect Walls Using a Laser Level (Perfect Plumb Walls!)

Показать описание
In this video Eddie shows you how to use a Laser Level to Layout perfectly Plumb walls for your Basement Wall Framing Project!
This is video 1 of a 6 PART basement wall framing series. Learn how to layout your new basement walls and what tools you will need for your entire framing project in this video.
MY FRAMING TOOLS:
*VIDEO/CAMERA GEAR*
DISCLAIMER: This video and description contains affiliate links, which means that if you click on one of the product links, I’ll receive a small commission.
#Basement #DIY #BasementWaterproofing
 0:05:56
How to Frame Perfect Walls Using a Laser Level (Perfect Plumb Walls!)
 0:07:41
Build GOOD Walls! How to do it.
 0:04:38
How to make your walls plumb. DIY project. Bathroom remodel. bathroom renovation
 0:01:00
How to Frame Perfect Basement Walls using a Laser level #shorts
 0:01:28
Make a Perfect SQUARE - How to - Build it right the first time
 0:07:22
How To Frame A Basic Door Opening / DIY
 0:02:35
How to Frame a Wall Corner
 0:06:56
Top 5 Framing MISTAKES I See Builders Make!
 0:10:05
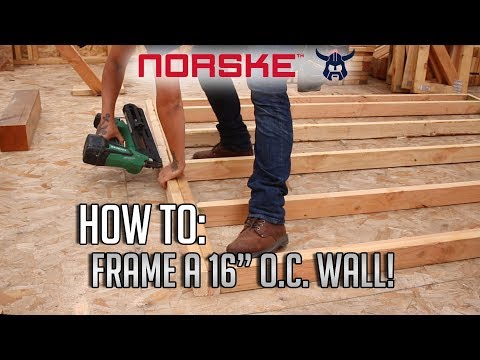
How To: Frame a 16' O.C. Wall! (Most Common Wood Framing Method)
 0:51:40
DIY How to Frame Your Basement A to Z
 0:08:25
How to hang pictures evenly
 0:02:37
How To Frame A Corner For A 90 Degree Wall Connection
 0:01:21
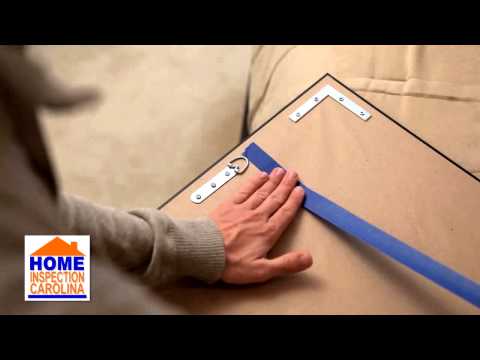
How to Hang a Large Picture or Mirror by Charlotte Home Inspector
 0:00:09
😳 This is a GENIUS LIFE HACK for hanging picture frames on the wall! #shorts #lifehack #hack #mom
 0:00:50
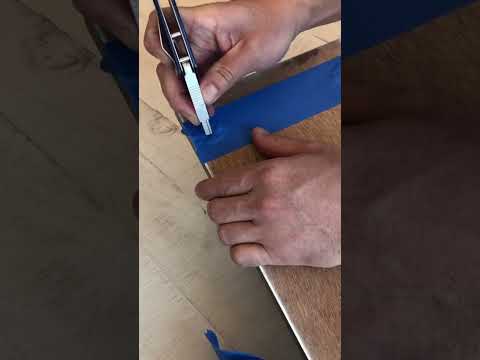
Picture Hang Hack - Easy Wall Hanging Tip & Trick - Hang a Frame Perfect the First Time
 0:01:00
Learn to build your own timber frame
 0:18:36
How to Frame a New, Internal Door
 0:20:05
How to Frame: Part 1 - Framing a Wall
 0:00:10
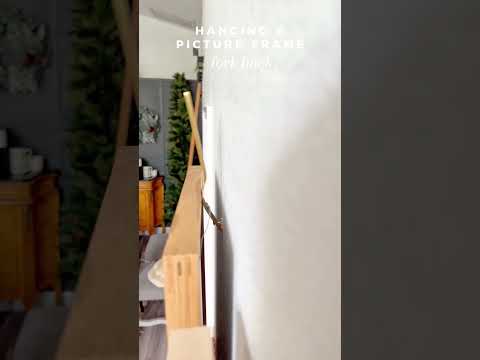
Hanging pictures the easy way!!! 🫶🏼 Once you’ve got that nail in the wall try this #fork #hack!...
 0:10:14
How to Frame Perfect Level Ceilings Using a Laser Level!
 0:01:00
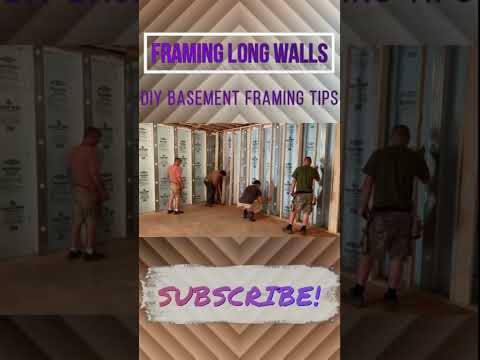
How to Frame Long Basement Walls #shorts
 0:04:54
Never buy a Door Frame AGAIN! | How to Make a Door Frame | D2D DIY
 0:00:15
How to easily level a picture frame when hanging it on the wall #diy #tips
 0:05:11
How to Frame a Wall | This Old House
Комментарии