filmov
tv
DIY How to Frame Your Basement A to Z
Показать описание
Tips For Diyer's. How To Frame Doors, frame under beams and ductwork, back framing for drywall and other tricks.
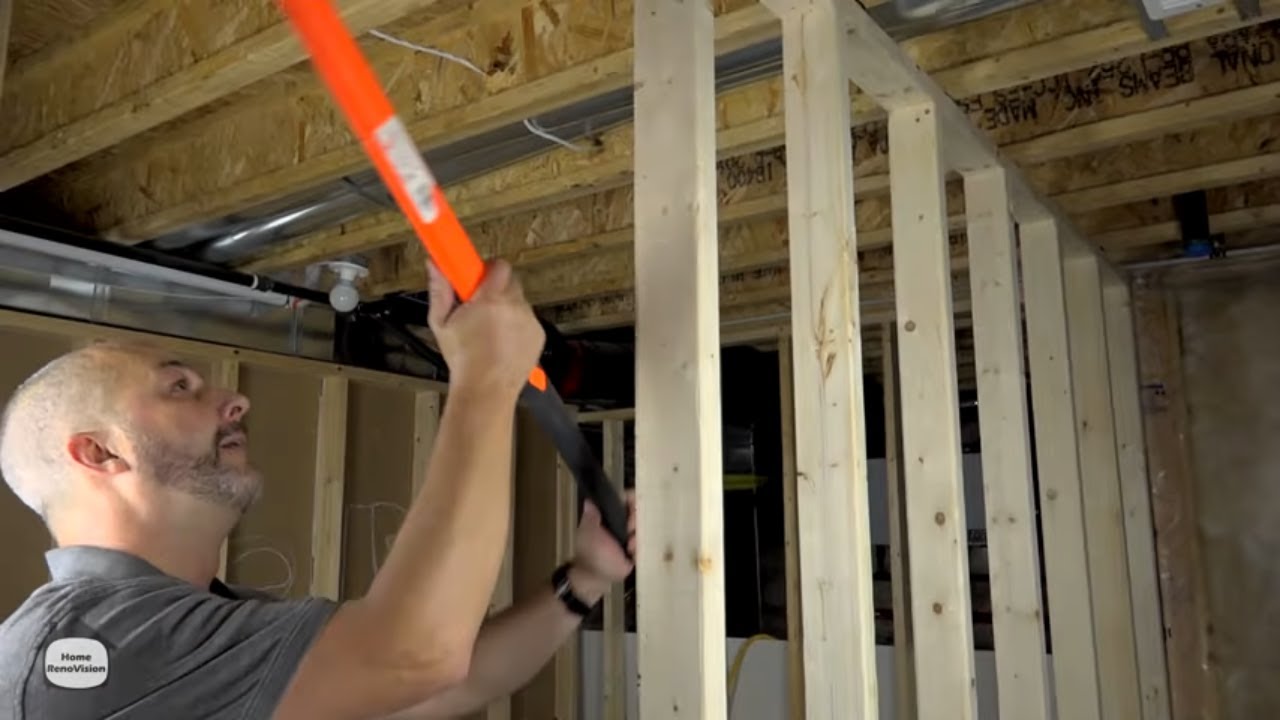
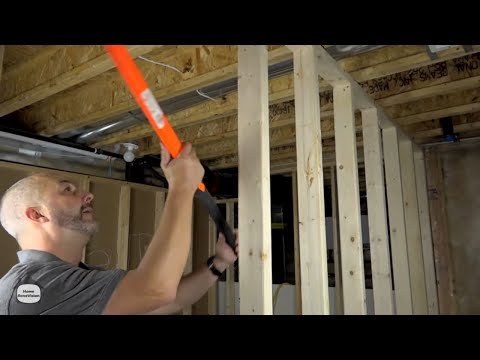
When it comes time to frame a wall or frame a door or build a bulkhead, many people have different ideas on how to get it done. In this video I share my systems for building that any homeowner can follow in order to get a great result and make it easier to finish the basement when you are done. We show step by step how to measure and build an interior wall. The value of using a laser level to keep things plumb. tools and techniques to attach the walls to the ceiling and concrete floor. Tricks for installing a wall under a beam , and lastly a bulkhead system that makes it possible to frame around all your duct work and plumbing with ease all by yourself that saves time and money and gets a great result.
Need Answers or Advice for your DIY Project?
BECOME A DIY MEMBER NOW!
► Get FULL access to me and my team for Q and A’s in the DIY Crew Forum
► Participate in monthly LIVE streams for live consulting and Member support!
Shop Jeff’s favorite tools and great products and help support our next project!
► For discounts on flooring, paint, hardscapes, soundproofing and more visit our website:
*****Be sure to use the coupon codes before checkout
🔨 SHOP TOOLS 🔨
SUBSCRIBE TO OUR CHANNELS
FOLLOW US ON SOCIAL MEDIA:
Opening and Closing themes by:
Anthony Jarrett
Opening Intro Graphic:
Rahul Rallan
Produced by: Home Renovision DIY 2020
Video & Editing Services Provided by:
Subdivision Film LTD.
Disclaimer:
Videos produced by Home Renovision are provided for informational purposes only. All material provided within this website is for informational, educational, & entertainment purposes only. Some of these projects, materials, and techniques may not be appropriate for all ages or skill levels. The DIY instructions used here are used to simply breakdown projects to their simplest steps. Please use a clear mind and use all safety precautions while following the tutorials provided by this site. Home Renovision does not make any claims of the safety of the projects, techniques, or resources listed on this site and will not take responsibility of what you do with the information provided by this site. Viewers must be aware by doing projects on their homes they are doing it at their own risk and Home Renovision cannot be held liable if they cause any damage to their homes. With different codes around the world and constantly changing standards, regulations and rules, it is the sole responsibility of the viewer to educate themselves on their local requirements before undertaking any sort of project. That being said Home Renovision cannot claim liability with all applicable laws, rules, codes and regulations for a project. Be safe, have fun renovating and ALWAYS stay informed with your local building code.
 0:51:40
DIY How to Frame Your Basement A to Z
 0:10:41
How to Make HUGE DIY Custom Picture Frames--SO EASY!
 0:07:38
How to Make a Wood Frame and Stretch a Canvas Painting (DIY)
 0:11:03
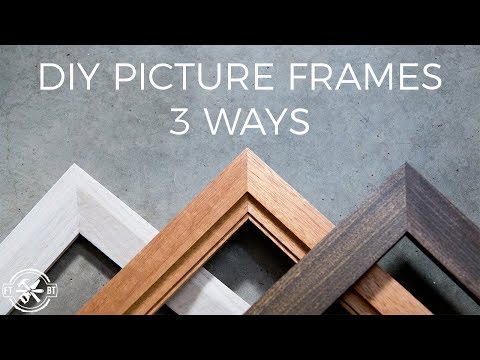
How to Make a Picture Frame 3 Ways | DIY Woodworking
 0:08:29
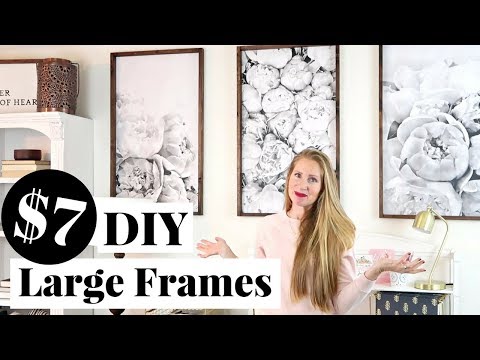
DIY Engineer Print Frame only $7 EACH! | Decorating on a Small Budget
 0:18:03
DIY Floater Frames Tutorial
 0:04:01
How To Make A D.I.Y. Picture Frame - D.I.Y. At Bunnings
 0:20:42
CREATING LARGE WALL DECOR FROM SCRATCH! *AFFORDABLE DIY FRAMED CANVAS ART*
 0:00:54
REAVEE Oprah Style Readers for Women #founditonamazon #amazonfinds #bluelightblockingglasses
 0:06:24
How to Build a Lean To Shed - DIY Framing and Siding (Part 1)
 0:06:17
I Turn Old Flowers Into Art For A Living
 0:08:43
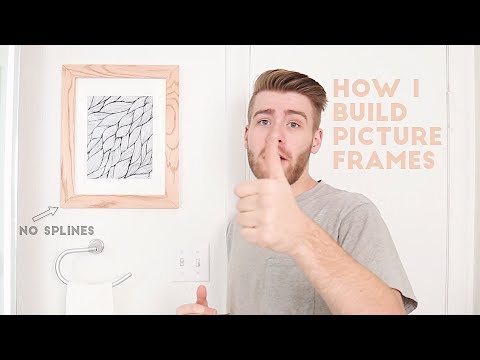
How To Build a Picture Frame - The Best Way | Modern Builds | DIY
 0:09:03
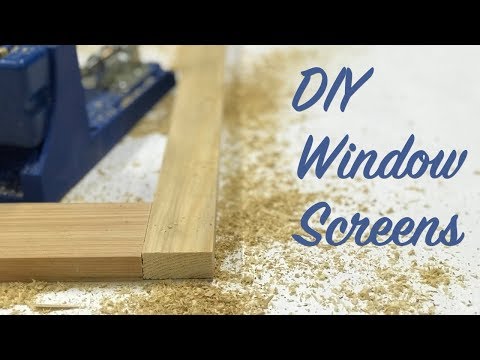
DIY Window Screens
 0:25:51
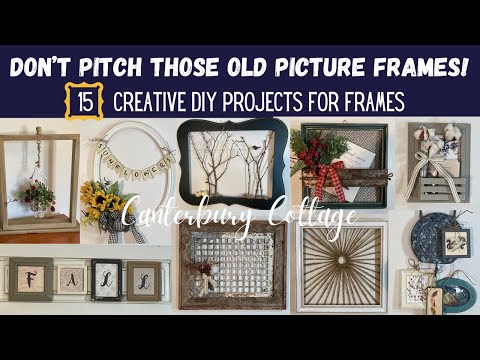
15 DIY HOME DECOR PROJECTS USING OLD PICTURE FRAMES
 0:08:08
DIY Gallery Wall | Dollar Tree Hacks
 0:07:53
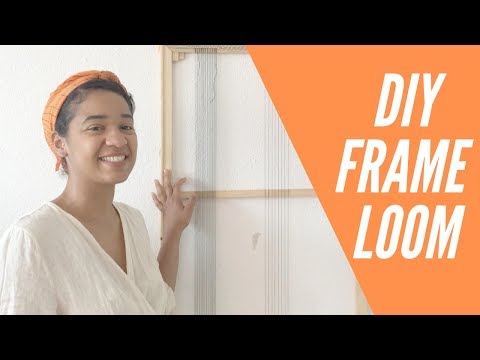
DIY Frame Loom : Weaving for Beginners
 0:05:01
DIY 5 Minutes Bed Frame
 0:02:29
Attaching Basement Framing To A Concrete Floor-DIY
 0:02:57
DIY - How to make a Still Life Behind Glass | Tutorial Framed Florals | Pressed-Flowers
 0:31:58
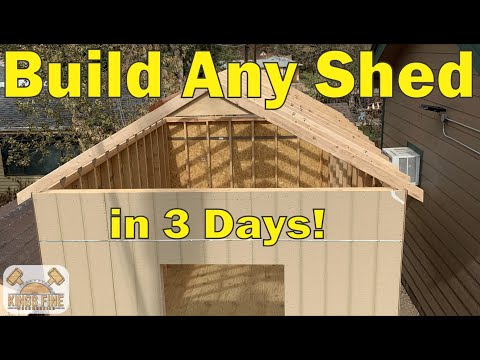
99 - DIY Shed - Complete Instructions - Best Tutorial There Is!
 0:06:28
Super Simple Queen Bed Frame - DIY In A Day
 0:08:27
DIY Living Moss Picture Frame (Relaxing Tutorial)
 0:04:23
15 DIY Frame Ideas
 0:06:07
How To Build A Stud Wall - DIY At Bunnings
Комментарии