filmov
tv
How to replace a tiled-in kitchen sink (No tile repairs needed!)

Показать описание
Here's how to quickly and easily replace your tiled-in under-mount sink in your kitchen without having to match the tile or grout. This will save you a lot of time.
In this video, you'll learn how to install a new stainless steel single basic drop-in sink.
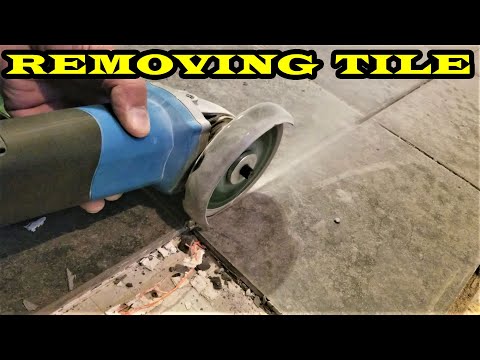
First, you'll learn how to cut the tile using an angle grinder with a diamond blade on it. Then, you'll learn how to install a new kitchen sink (Kraus Loften All-in-one dual mount drop-in stainless steel 33 in 2-hole single bowl kitchen sink with pull-down faucet) in the hole that you just cut.
 0:03:15
How to Remove and Replace Tiles with Wickes
 0:13:22
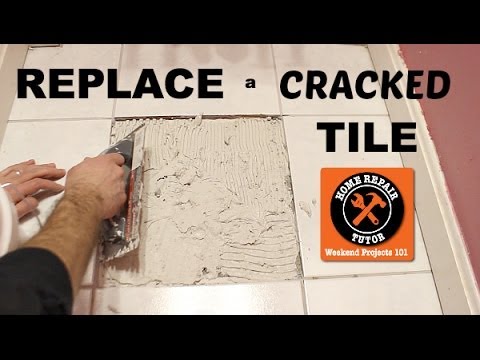
How to Replace a Cracked Tile
 0:21:22
How To Replace A Single Cracked/Broken Floor Tile
 0:02:11
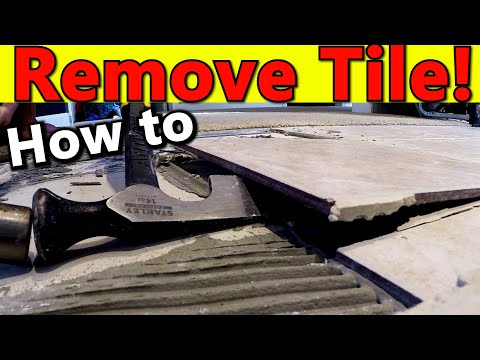
How To Remove Tiles - DIY At Bunnings
 0:09:18
How to replace a tiled-in kitchen sink (No tile repairs needed!)
 0:08:03
How To Remove Tile - Crucial ADVICE for Removing Ceramic Tile Floor!
 0:03:30
How to replace a broken tile
 0:05:34
How To Replace A Broken Floor Tile - DIY At Bunnings
 0:04:10
How to Install RV Kitchen Backsplash DIY (Peel and Stick Backsplash)
 0:02:27
Method Surprised 50 Years Old Tiler! Remove Tiles Without Breaking
 0:00:30
How to remove a single tile. #diy #shorts #youtubeshorts
 0:02:46
How to Fix Cracked Tile | The Home Depot
 0:03:56
How to remove Ceramic & Stone Tiles for Repair or Demo purposes
 0:09:58
How to Replace a Cracked Floor Tile | Ask This Old House
 0:01:33
How to Remove Ceramic Tile | The Home Depot
 0:02:13
How To Remove Floor Tiles - DIY At Bunnings
 0:04:41
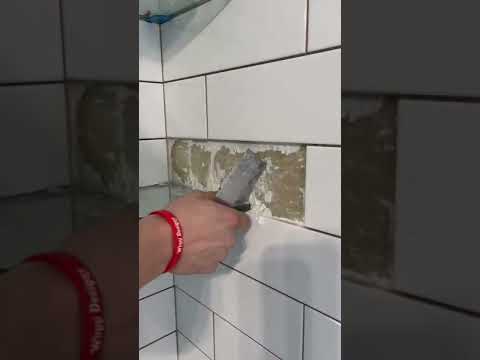
How To Remove Backsplash Tile Like A CHAMP
 0:03:37
How to tile over existing tiles with TAL Tile To Tile
 0:01:53
Easy Way to Remove Tile Countertops Like a Pro
 0:08:45
6 TIPS For Laying Floor Tile With No Experience
 0:06:07
How To Lay Tile A Floor - Techniques Install Ceramic Tiles Bedroom -80×80cm Big Ceramic Tiles
 0:04:17
I Have Been Laying Tiles For 30 Years, But Never Seen Such Technique
 0:02:30
How to remove floor tile in a bathroom | bathroom remodel
 0:02:31
Removing Tile on Concrete Slab Easy
Комментарии