filmov
tv
Fixing Stick Drift on a Meta Quest 1, 2, Rift S controller #419

Показать описание
 0:00:21
How to fix stick drift on your controller
 0:03:44
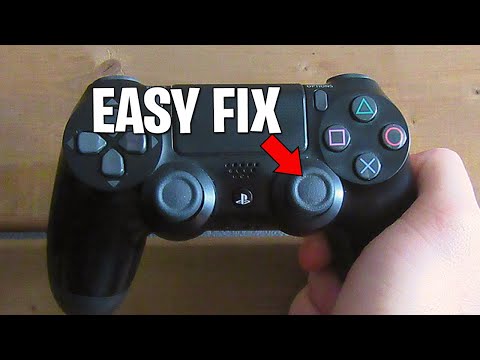
How To Fix Controller Drift PS4! PS4 Analog Stick Drift Easy Fix! (Easy Cleaning Method!)
 0:01:38
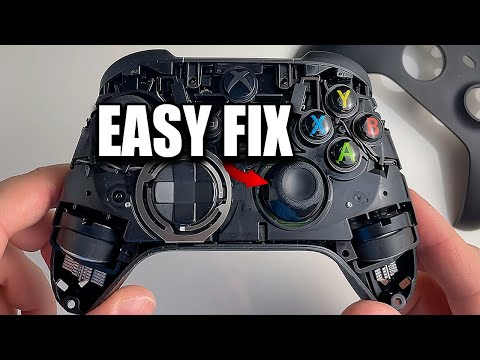
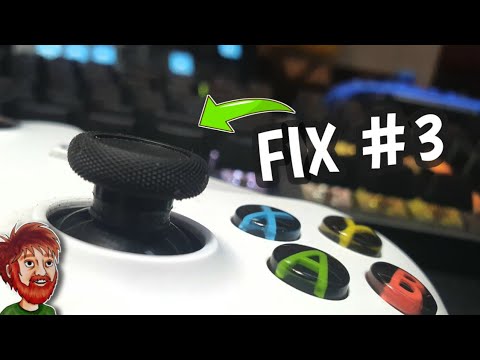
How to Fix Xbox Controller Stick Drift! Xbox Series X/S Controller Analog Stick Drift Cleaning Fix!
 0:01:00
Quickly Fix Stick Drift Controller (Ghosting) PS5/Xbox
 0:00:59
The Easiest Way to Fix Analog Stick Drift!
 0:11:24
How to FIX PS5 Controller Stick Drift & Moving on its own (Best Method)
 0:00:15
another stick drift fix
 0:01:56
How To Fix Controller Drift PS5! PS5 Controller Analog Stick Drift Easy Fix! (No tools required!)
 0:35:49
MST RMX 2.5 Brushless Unboxing – My First RC Drift Car! 🔥 Is It Worth It?
 0:00:23
How to Fix Stick Drift
 0:00:23
Controller Stick Drift (easy fix)
 0:02:03
5 Easy Ways to Fix Drift on ANY Controller (Analog Stick Fix)
 0:02:42
How To Fix Controller Drift PS4! PS4 Analog Stick Drift Easy Fix!
 0:08:08
IS THIS THE UNIVERSAL- STICK DRIFT FIX?🤨
 0:14:14
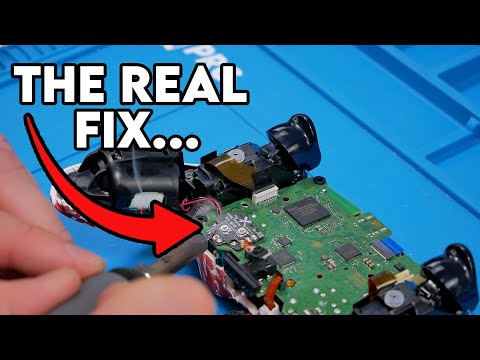
Do THIS if your PS5 controller has stick drift!
 0:00:26
How to Fix Stick Drift on PS5
 0:00:18
Fixing stick drift #stickdrift #gaming #console
 0:00:15
how to fix stick drift #gaming #console #ps5 #ps4 #xbox #stickdrift
 0:00:54
Easy Fix for Stick Drift! 😱
 0:00:50
Fixing stick drift on Xbox One Controllers (the best way)
 0:00:58
How To Fix Controller Drift PS4! PS4 Analog Stick Drift Easy Fix! #Shorts
 0:01:00
5 Easy Ways to Fix Drift on ANY Controller (Analog Stick Fix)
 0:00:38
Fixing Stick Drift PS5 vs Xbox
 0:01:00
5 MINUTE Fix for PS5 Controller Stick Drift!
Комментарии