filmov
tv
How To Fix Your Leaky Aluminum Boat with solid rivets

Показать описание
Does your aluminum boat leak? How to repair leaky aluminum boat rivets. If your aluminum boat is leaking at the rivets, it is usually the solid rivets that have loosened over time and that is what is causing the leak. Your small boat can be repaired correctly with a few tools and an assistant. Don't just slap on sealant to repair your leaking jon boat - learn how to rebuck the original solid rivets. Solid rivets used in aluminum boats are often brazier head rivets and need a special tool to fit over the rivet head to properly install the rivets in your boat or reseat the leaking rivets in an aluminum boat.
In this video I cover topics like - how to tighten old rivets, the tools I used to repair and replace rivets on my boat, the proper tools to instal solid rivets in an aluminum boat, how aluminum boats are riveted, the types of rivets used for aluminum boats, how to get the proper diameter rivet for your boat and my experience with replacing rivets in a boat.
If you have a Jon Boat that is leaking around the rivets or an old aluminum utility boat that needs some rivets replaced this video shows you the tools you need and the steps involved to replace and reset rivets for a boat. My boat used solid aluminum brazier rivets but every riveted aluminum boat is different. How to do solid rivet repair for leaky aluminum boats. Fixing a leaking aluminum boat that has solid rivets. How to do solid rivet repair for aluminum boats.
► Do you need any of the items shown in this video?
As an Amazon Associate I earn a small commission from qualifying purchases.
00:00 Introduction
00:25 Why aluminum boats start leaking
01:09 How aluminum boats are riveted - the solid rivets used to make aluminum boats
02:57 The tools I have used to reset solid aluminum rivets on my boat
03:24 Getting the right size solid rivets to repair an aluminum boat
04:08 How to tighten up old and loose solid rivets
04:38 Using sealant around solid rivets
05:20 Why you need an assistant to install solid rivets in an aluminum boat
06:11 The proper tools to install and/or reset solid rivets in a boat
07:13 Why the right size solid rivet is important
09:19 How to easily determine the correct diameter solid rivet you need to buy
10:01 Practice setting rivets on scrap metal before replacing rivets on your aluminum boat
10:42 How to reset rivets without the proper tools
I have MANY playlists on my channel that I have put together for different boating interests from Jon Boats and 2 strokes to Wooden Boats and electric outboards!
Here are some of the playlists that might be relevant to your interests:
▶︎▶︎▶︎ Boat Repairs & Projects Playlists
#rivets #jonboat #aluminumboat
 0:00:34
How to fix a leaking sink. Love, Dad
 0:01:01
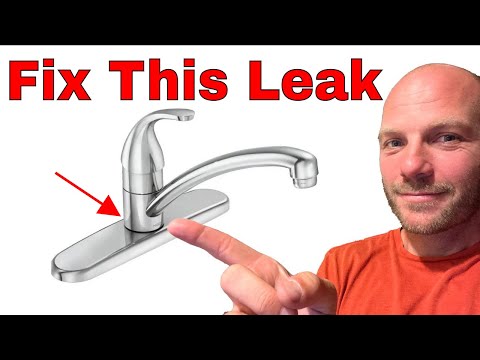
How to Fix a Leaky Faucet in 60 Seconds
 0:00:53
💦 FIX A LEAKY FAUCET In 53 seconds!
 0:01:45
How to Fix a Leaky Faucet | The Home Depot
 0:00:50
5 Minute Leaky Hose Fix for $6!
 0:03:08
Absolute Solution to Leaky Faucet! Your Faucet Will Never Leak Again
 0:00:25
How to fix your leaking shower / tub spout! #plumbing #realestate #leaks #tips
 0:05:25
EASY FIX! Kitchen Faucet Leaking? How to fix a leaky kitchen faucet in 1 minute
 0:08:30
Pulsar N160 Gas Kit Change to Fix Oil Leakage | 1st Service_SK Traders!!!
 0:00:57
Early Warning Signs of Leaky Gut & How to Fix it #shorts
 0:07:26
Kitchen Faucet Leaks at the base. Easy Fix!
 0:01:00
toilet leak toilet repair wax ring failure
 0:00:51
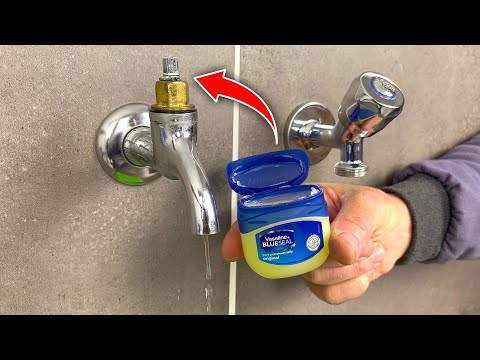
The FREE Way to Stop a Leaking Outdoor Faucet
 0:00:46
How to Fix A Leaky Hose Connection
 0:01:23
How to Fix a Leaky Bathtub Faucet Quick and Easy
 0:00:15
Quickly Diagnose Oil Leaks - Here's What You Need to Know
 0:03:03
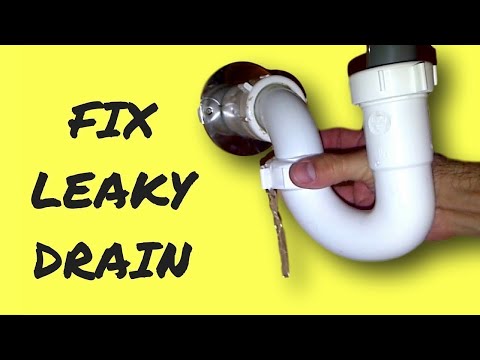
Repair Leaky Sink Drain Pipe
 0:06:15
How To Fix a Leaking Compression Fitting | Stop Plumbing Leak
 0:03:40
How to Fix a Leaky Toilet | How to Stop a Running Toilet Tank | The Home Depot
 0:00:18
Why Is Your Water Heater Leaking? Understanding Leaky TP Valves
 0:09:33
EASY: How To Fix a Leaky Sink - Leaking from Handle or Faucet
 0:00:56
Fix a leak in your pool or hot tub plumbing
 0:08:10
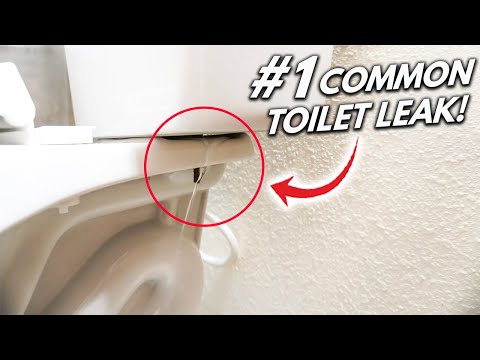
How To Fix The #1 Hidden Toilet LEAK! DIY
 0:00:26
Oil Leak Repair | Cheap Fix | Do It Yourself
Комментарии