filmov
tv
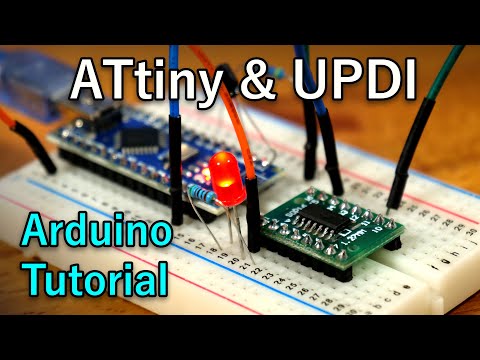
How to Program ATtiny10 with Arduino IDE (Full guidance)

Показать описание
Fully explained tutorial about how to program ATtiny10 small Microcontroller through @Arduino IDE.
I explained in this tutorial how to properly make your Arduino IDE suitable for Tiny10 MCU and I tested some code samples of Arduino APIs such as digitalWrite, analogWrite, delay etc.
The small flash memory of the Tiny10 is not a limit because the microcontroller still can get some basic codes for simple applications which makes it a good solution to replace some electronics components especially due to its cheap price of around $0.4
0:04 Video intro
0:15 Comparison between some Tiny MCUs
0:50 Not working solutions to program the ATtiny10
1:53 Best solution to program ATtiny10
2:28 TPI Programming protocal explanation
3:00 software setup (Arduino IDE)
3:33 Hardware setup (Arduino UNO as programmer)
4:45 IDE error debugging
6:00 Code uploaded successfully
The main Breakout Board PCB has been designed under Altium Designer and you can start a FREE TRIAL of this ECAD software through this link :
★☆★ Trusted sources ★☆★
★☆★ DOWNLOAD UNO CODE ★☆★
★☆★ Recommended Electronics Kit ★☆★
★☆★ My Video filming tools ★☆★
★☆★ 💻 FOLLOW ME BELOW 💻 ★☆★
Keywords
#arduino #electronic #explore #arduinoproject #arduinoprogramming #attiny10 #learn #learning #stem #education #tips ##circuit #breadboard #smd #easytutorial #hardware
 0:07:01
How to Program ATtiny10 with Arduino IDE (Full guidance)
 0:05:06
Programming ATtiny10 with USBasp Programmer
 0:53:02
How to use the Atmel ATTINY10 Microcontroller
 0:07:59
Programming the new ATtiny from Arduino using UPDI [Beginner Tutorial]
 0:00:30
Easy Programming of ATtiny10 #arduino #diy #electronics #shorts
 0:06:25
Programming ATtiny10 in Visual Studio Code
 0:10:09
How to Program an ATtiny with Arduino (Up to Date)
 0:02:15
Ultimate application of tiny ATtiny10: multi function (voltage&frequency) meter!!
 0:03:06
How To Program Attiny85 microchip - Tutorial in 3min
 0:11:09
Building Prototyping Board for ATtiny10
 0:01:04
ATtiny10 Board - Connect to Atmel ICE Programmer | TPI
 0:12:25
How to Blink a LED with ATtiny10 Microcontroller
 0:00:15
Projects using the ATtiny10 Microcontroller IC - Wireless Music Box using Ultrasonics
 0:05:02
Breakout Boards for Programming ATtiny10 and ATtiny5 microcontrollers (1/2)
 0:00:45
Atmel Studio IDE - Create Assembler Project for ATtiny10
 0:14:34
477 Use the very attractive new ATTINY chips for your projects
 0:00:20
Arduino Pushbutton with ATtiny
 0:35:56
PT#16 Memprogram ATTiny10 Menggunakan ATTiny10IDE dan Arduino
 0:01:11
Generating sounds on an attiny10 using Free Pascal
 0:01:35
(6LED) Attiny10 development board powered with micro USB & USB-C
 0:52:51
ATTINY10 Console Part 1
 0:02:17
Joy in 1 cm sq. board by ATtiny10
 0:13:31
I tried the Cheapest Arduino Alternative (that Nobody heard of)
 0:02:36
Program an ATtiny With Arduino using USBasp
Комментарии