filmov
tv
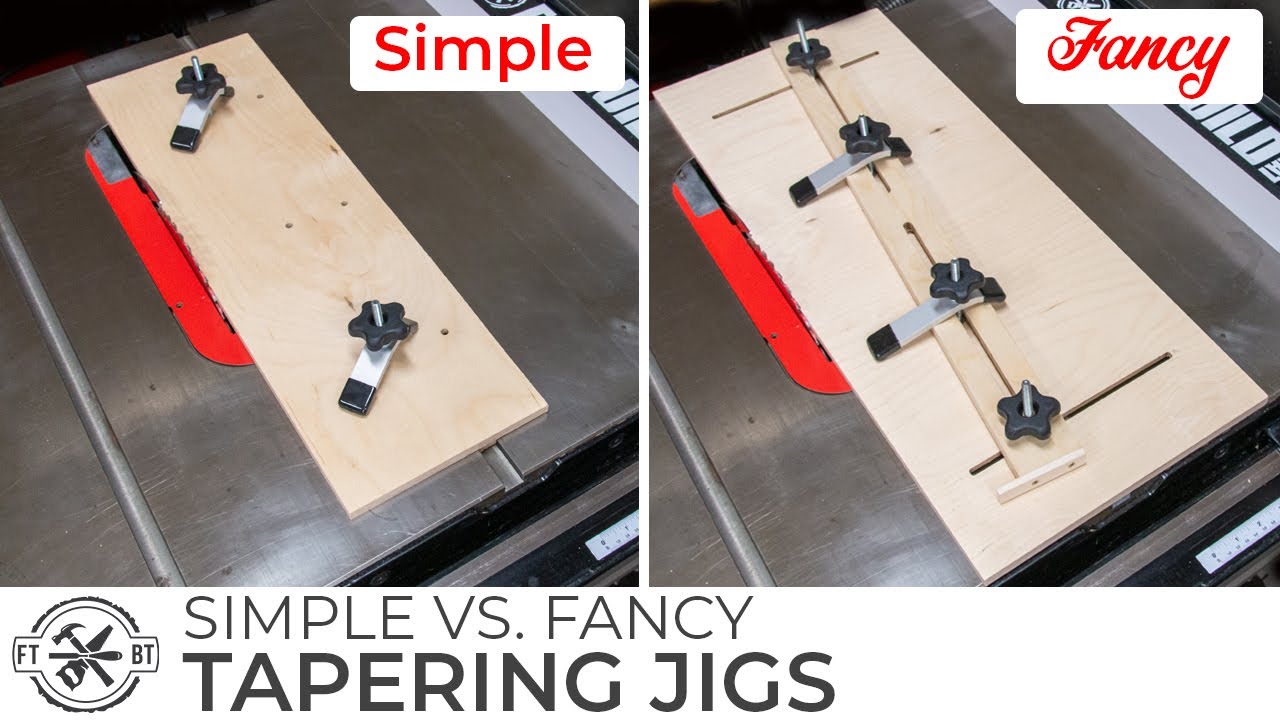
SIMPLE or FANCY Taper Jig for a Table Saw | How to Build
Показать описание
How to build a simple taper jig or a fancy tapering jig for a table saw that doubles as a jointing jig and straight line jig.
#woodworking #taperingjig #taperjig
Thank you to these partners for supporting my channel. Go check them out!
➤Tools/Supplies Used (affiliate):
➤All My Tools (Woodworking & Audio/Video):
➤FOLLOW ME on Social Media:
How to build a tapering jig the simple way or the fancy way. The simple tapering jig can be made in just a few minutes and will get the job done for you. But spending some extra time on a fancy DIY taper jig will give you some cool features and make this staple of table saw woodworking even easier to use. This sled also works as a table saw jointing jig and a straight line jig. It's perfect for any woodworker who uses the table saw a lot in their woodworking projects.
 0:12:49
SIMPLE or FANCY Taper Jig for a Table Saw | How to Build
 0:06:04
Simple Taper Jig // Jointer Jig // Woodworking // Diy Jig
 0:04:50
How to Make an Extremely Simple Tapering Jig
 0:10:24
You Only Need One Taper Jig // Woodworking
 0:06:03
How to Make a Dead Simple Leg Tapering Jig
 0:03:02
Basic Mini Tapering Jig
 0:09:56
Making tapered legs doesn't have to be difficult. Essential woodworking shop project.
 0:04:48
Taper Jig Template, quick and easy for repeatable cuts! DIY! (2020)
 0:14:36
Quick and Dirty Taper Jig
 0:02:54
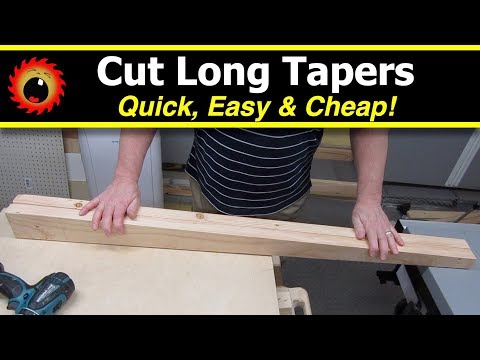
Cut Long Tapers on your Table Saw, Quick, Easy & Cheap
 0:03:58
A Tapering Jig So Easy Anyone Can Make it
 0:04:35
How to Make a Taper Jig and Perfect Tapers
 0:12:19
Taper Jig For Long Cuts | Table Saw Jointer Jig
 0:14:43
Tapering jig, Straight edge jig and Planer jig all in one solution
 0:07:23
🟢 Taper Jig for Table Saw - DIY Tapering Jig for Long Cuts
 0:12:34
My Favorite Table Saw Jig For Tapers and Angles - Woodworking Essentials
 0:13:49
Tapering jig. Table saw sled - Каретка для циркулярки своими руками
 0:00:25
Quick And Easy Leg Tapering Jig
 0:01:46
World's Easiest Tapering Jig EVER
 0:00:13
Quick and easy taper jig for making table legs and feet.
 0:16:35
29 - How to make a Tapering Jig in an hour (for little money)
 0:06:02
Three In One Table Saw Sled || Taper Cuts- Jointer Sled - Miter Cuts
 0:00:15
MatchFit Dovetail Tapering Jig Sled by @nickboes.
 0:09:10
Make a Simple Taper Jig for the Bandsaw
Комментарии