filmov
tv
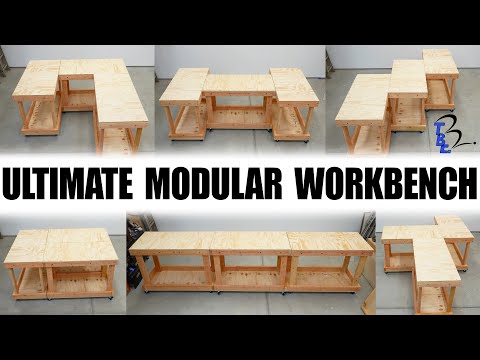
Modular Workbench for Beginners

Показать описание
The ultimate modular workbench for beginners and people with a tight workshop. The two work benches latch together to create either a wider or longer surface. This build only uses one sheet of plywood and 2x4s. Plus, you can build another set to make even larger tables!
**Project Plans**
Modular Workbench Plans
**Products Used**
Toggle Latch Clamps:
4" Heavy Duty Casters:
90 degree positional clamps:
Kreg Pocket-Hole Jig 310 (Budget Version):
Kreg Pocket-Hole Jig 720 (This is the new design of the one I use most often):
100'' Straight Edge Saw guide:
DEWALT circular saw:
DEWALT impact driver & drill:
DEWALT bit set:
Gorilla glue:
6'' Clamps:
12" Clamps:
**Filming Equipment**
Disclosure: Links contain affiliates.
As an Amazon Associate I earn from qualifying purchases. When you buy through one of my links I will receive a commission. This is at no cost to you.
Thank you for supporting Bear Mountain Builds and allowing us to continue to bring you valuable content.
**Bear Mountain Build things**
 0:15:13
Modular Workbench for Beginners
 0:14:17
Ultimate Modular Workbench: A Design for Everyone
 0:09:53
EASY Beginner Basic Tool Workbench Build!
 0:18:18
Don't Make a 2x4 Workbench
 0:16:56
Super Align & Lock Mechanism - Modular Workbench Solution
 0:15:12
Modular Workbench & Mobile Tool Stand (Ep.3)
 0:04:44
Modular Workbench that doubles as an OUTFEED Table too! QUICK and EASY!
 0:11:09
Budget Mobile Workbench System
 0:19:03
Building a Sturdy Mobile Workbench / Woodworking
 0:08:40
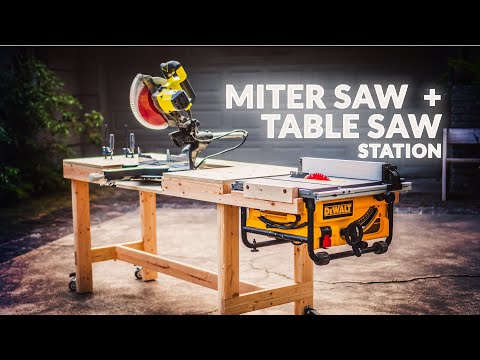
Simple but Highly Functional WORKBENCH with Table Saw and Miter Saw Stations
 0:12:38
Build This Workbench for UNDER $200
 0:34:46
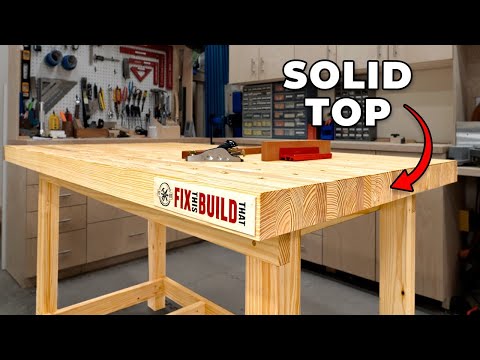
Making a 10 in 1 Workbench
 0:19:53
Building a Sturdy Workbench with Cheap Wood
 0:24:20
DIY Garage Mobile Workbench / Miter and Table Saw / How I Built In 10 Steps
 0:20:04
My DREAM Workbench Build // PART 1: The Base
 0:11:39
Don't Make These 5 Mistakes When Building Your Workbench!
 0:21:18
Four Workbench Building Mistakes (that we all make).
 0:05:04
Build A Workbench In A Weekend With These Free Plans!
 0:05:32
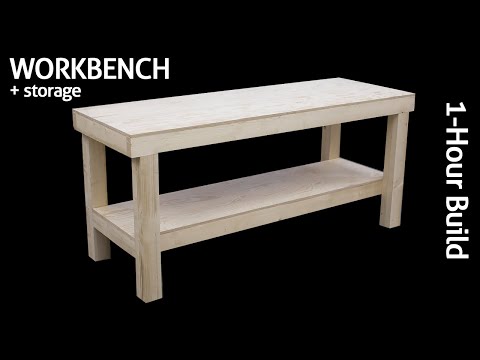
Building a Workbench With Storage in Less Than One Hour - Only One Plywood Sheet and Some 2x4's
 0:10:50
Modular Workbench & Mobile Tool Stand Build (Ep.1)
 0:05:31
DIY Workbench for Beginners (Cheap & Easy for Small Garages)
 0:11:05
Safe HUNDREDS of dollars building your workbench like this!
 0:13:49
Your Shop NEEDS this Mobile Workbench || Free Plan/Shopping List (Tips and Trick)
 0:12:21
99% of Beginners Don't Know These 5 Mistakes Ruin Wood!
Комментарии