filmov
tv
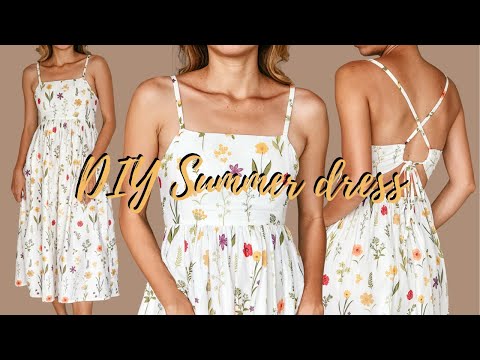
DIY Summer dress | Simple open back dress for beginner | Step by step sewing tutorial

Показать описание
Hi everyone,
Welcome or welcome back to my channel. My name is Jess and I loving doing DIY, making clothes in a "simple but pretty" way.
In today's video, I'm going to share with you a very beautiful summer dress that could be one of your outfit this season. And it's also very easy to make.
So if you want to make it, make sure you check out some of my basic information below:
- Sewing machine: Merrit Joyful Sewingg
- Material: 1.5m of cotton fabric
- My body measurements: 82-64-92. I'm 165cm and usually wear Small size
And stay connected around social media with me here:
Have a lovely day everyone!
Cheers,
Jess Dang
 0:10:55
DIY Summer dress | Simple open back dress for beginner | Step by step sewing tutorial
![[DIY] Simple ZERO-WASTE](https://i.ytimg.com/vi/OT_U1YOyGao/hqdefault.jpg) 0:13:48
0:13:48
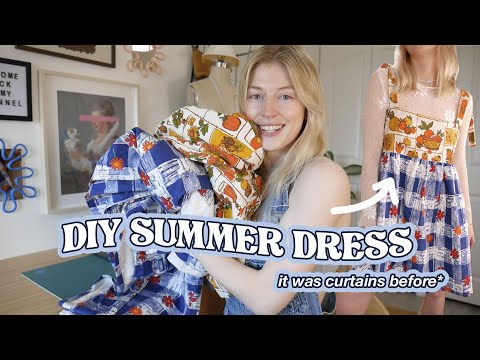
[DIY] Simple ZERO-WASTE tiered dress! Quick & easy to make :)
 0:17:13
DIY a super EASY spring/summer dress | very* beginner friendly w/ pattern | THRIFT FLIP
 0:09:09
DIY MIDI DRESS from scratch - An easy way to make a pretty dress for your wardrobe
 0:07:01
DIY Dress Tutorial // Sew a Dress without a Pattern
 0:09:18
DIY The Perfect Summer Dress | Sewing with @coolirpa
 0:11:21
Very easy Maxi dress cutting and sewing | DIY maxi dress | Even a beginner can do it
 0:10:22
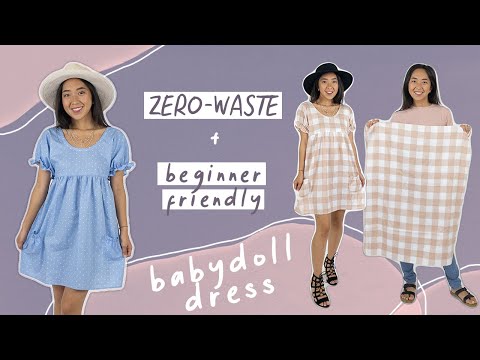
Make a ZERO-WASTE babydoll dress (beginner sewing project)
 0:08:39
Very Easy Baby Frock Cutting and Stitching/Simple and BeautifulSummer Dress/Baby Frock#stylebysiddhi
 0:09:52
VERY Easy DIY Summer Dress that you can make!
 0:12:42
Making the PERFECT Summer Dress (PATTERN & Tutorial) // DIY Circle Skirt Dress
 0:16:01
DIY // Tiered Flowy Dress (with tie straps)
 0:20:21
DIY A Very Nice Summer Maxi V-Neckline Linen Dress With Split | DIY Summer Maxi Dress [No Need Bra]
 0:09:04
Reformation Inspired Summer Dress | DIY | Pattern Drafting
 0:12:16
Easy DIY Dress (no zipper & it has pockets!) Pattern Available |Tie Back Dress With Ruffles Tuto...
 0:03:45
#4 DIY 30 Min Maxi Dress -Derri's Diary| Sew Derri
 0:04:44
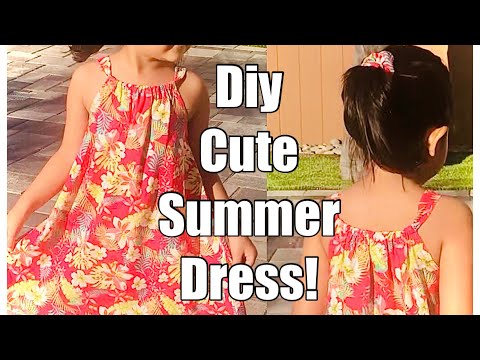
DIY EASY AND CUTE SUMMER DRESS FOR YOUR LITTLE GIRL STEP BY STEP DETAILED TUTORIAL
 0:10:02
DIY Tiered maxi dress | Super easy & Beginner friendly sewing tutorial
 0:15:19
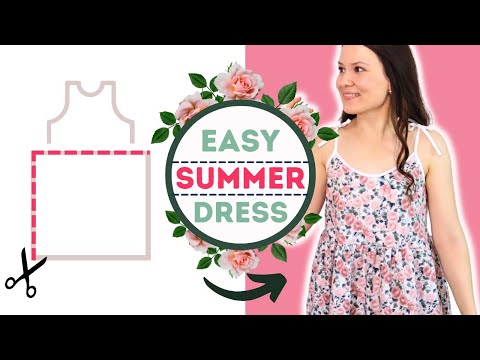
DIY Summer Dress 🌞🌿 | Easy Summer Dress for Beginners | FREE PATTERNS
 0:07:46
DIY Sleeveless Linen Maxi Dress | Linen Dress | Summer Dress
 0:17:13
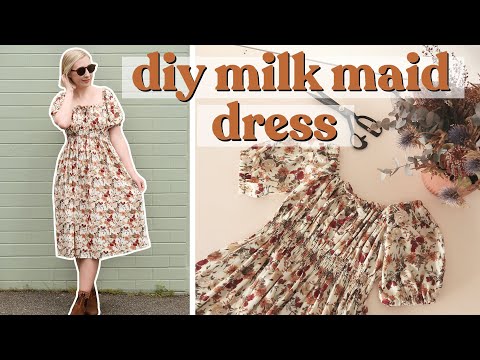
Sewing a Dress From 5 Rectangles of Fabric! DIY Milk Maid Dress
 0:14:54
DIY // Simple Slip Dress (ft. Low back & leg splits)
 0:13:38
DIY Linen Sleeveless Maxi Dress With Leg Split | How To Sew A Dress
 0:16:11
DIY Beginner Friendly Dress Tutorial | Simple Empire Waist Sundress
Комментарии