filmov
tv
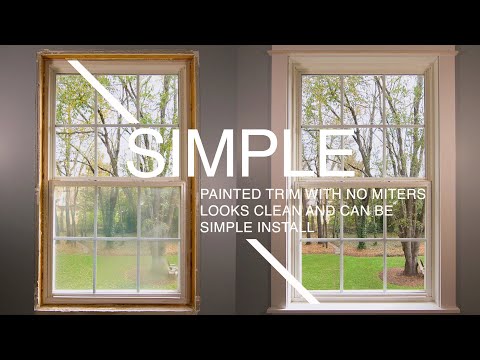
How to Install Interior Window Trim

Показать описание
How to Install Interior Window | to get the Wood Cased Look!
to see more videos just like this - I make videos like this every week!
☀ Social
☀ Videos You Might Like..
DIY…
☀ About me
I'm into building things for my home, lover of all things healthy/organic/non-toxic, learning new things, kind people & newly interested in a minimalistic lifestyle.
_____________________________
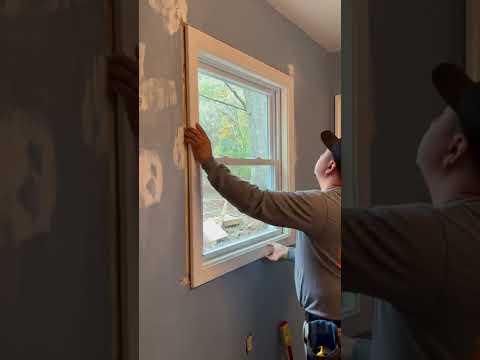
FOR THIS PROJECT YOU WILL NEED:
MATERIALS LIST:
*quantity depends on window measurements
*use "Select Pine" when you can for a smooth finish (it's more expensive, but looks nice for trim)
1X6 (for stool and header)
1X4s (for apron and left & right vertical sides)
1x3 (for header)
1X2 (for header)
ultra pure white semi-gloss paint and paint supplies
1 1/4" nails (attaching header boards together)
2" nails (fastening to wall)
spackle + putty knife
220 grit sanding block
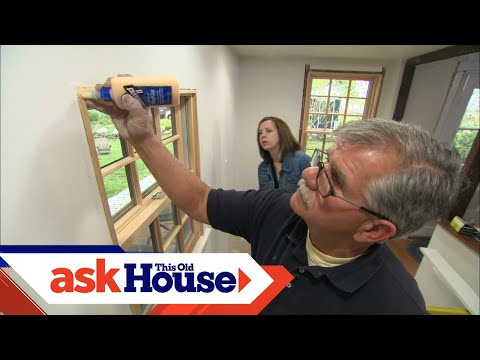
trim caulk + caulk gun
TOOLS:
tape measure
utility knife (to cut existing caulk to remove existing stool and apron)
jigsaw (to cut side openings for stool)
nailer
large clamp
crowbar
mallet
chisel
MEASUREMENT CUTS:
*custom measurements to fit YOUR windows
FOR ME:
(2) 1x4 @ 58-3/4" (the two vertical sides)
(1) 1x4 @ 42-1/8" (apron)
(1) 1x6 @ 43-1/8 (stool)
(1) 1x6 @ 42-1/8" (header)
(2) 1x2 @ 43-1/8" (header)
(1) 1x3 @ 44-1/8" (header)
—————————
Once a week I upload a new DIY video.
to see more videos just like this - I make videos like this every week!
☀ Social
☀ Videos You Might Like..
DIY…
☀ About me
I'm into building things for my home, lover of all things healthy/organic/non-toxic, learning new things, kind people & newly interested in a minimalistic lifestyle.
_____________________________
FOR THIS PROJECT YOU WILL NEED:
MATERIALS LIST:
*quantity depends on window measurements
*use "Select Pine" when you can for a smooth finish (it's more expensive, but looks nice for trim)
1X6 (for stool and header)
1X4s (for apron and left & right vertical sides)
1x3 (for header)
1X2 (for header)
ultra pure white semi-gloss paint and paint supplies
1 1/4" nails (attaching header boards together)
2" nails (fastening to wall)
spackle + putty knife
220 grit sanding block
trim caulk + caulk gun
TOOLS:
tape measure
utility knife (to cut existing caulk to remove existing stool and apron)
jigsaw (to cut side openings for stool)
nailer
large clamp
crowbar
mallet
chisel
MEASUREMENT CUTS:
*custom measurements to fit YOUR windows
FOR ME:
(2) 1x4 @ 58-3/4" (the two vertical sides)
(1) 1x4 @ 42-1/8" (apron)
(1) 1x6 @ 43-1/8 (stool)
(1) 1x6 @ 42-1/8" (header)
(2) 1x2 @ 43-1/8" (header)
(1) 1x3 @ 44-1/8" (header)
—————————
Once a week I upload a new DIY video.
 0:07:48
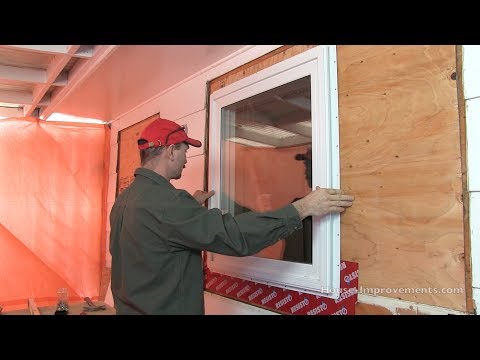
Installing Interior Window Trim | Beginner
 0:00:13
TRIM A WINDOW WITH ME - install window trim and sill #diyhomedecor #homeimprovement
 0:00:26
How install windows casing! #carpenter #diy #remodeler #installation
 0:03:00
How to Install a Window | Window Removal & Installation | The Home Depot
 0:12:15
How to Install Window Casing and Interior Trim
 0:06:26
How to Build an Interior Window in a Partition Wall | DIY Projects
 0:08:33
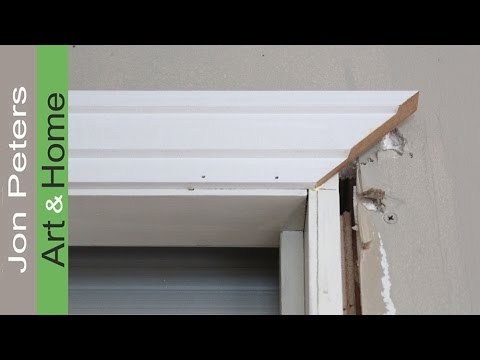
The Easiest Way to Install Window Casing and Trim
 0:04:12
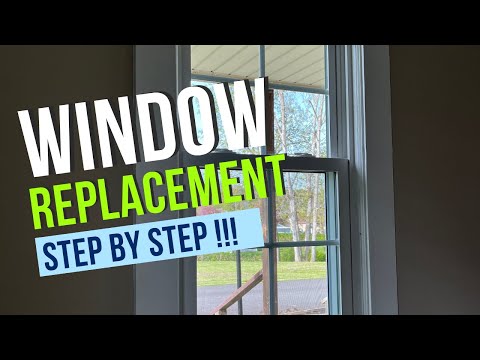
How To Replace a Window
 0:02:03
How to Install Window Trim | Windows & Doors | The Home Depot
 0:11:08
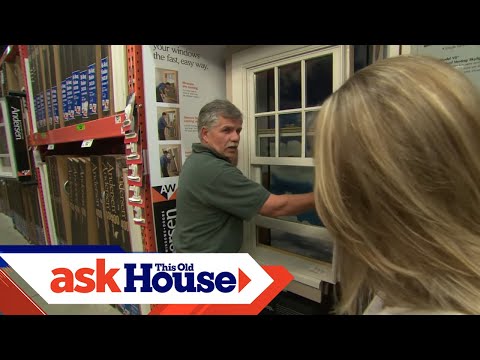
How to Install Interior Window Trim | Ask This Old House
 0:00:28
How To Upgrade your Window Sill #diy #homeimprovement #shorts
 0:06:57
How to Install Interior Window Trim | Ask This Old House
 0:12:20
How To Install A Window In 12 Minutes! - Beginners Guide
 0:22:07
How To Install a Window with a Nailing Flange
 0:09:29
How To Replace Your Windows | Ask This Old House
 0:14:41
Casing Windows Ep.113
 0:25:58
How to Picture Frame a Window - EASY Casing Trim Install
 0:04:21
Installing an Interior Stained Glass Window Feature
 0:00:42
Window Trim Install Made EASY
 0:19:18
How to INSTALL WINDOW TRIM you LIKE TO LOOK AT!!!
 0:17:24
How to Remove Old Windows and Install New Windows. #Windows, #Replacement, #Wincore, #DIY, #House
 0:17:46
How To Install Pro-Level Window Trim w/ EASY TRICK
 0:08:47
How to Install Window & Door Trim - Casing Made Simple
 0:05:42
How to Install Interior Window Trim
Комментарии