filmov
tv
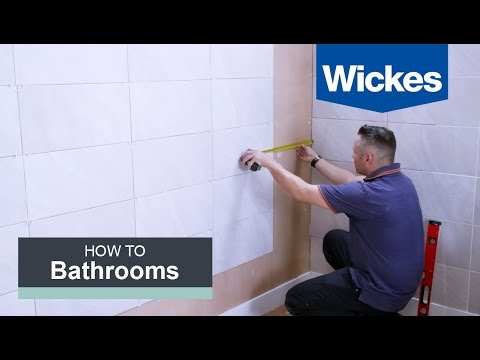
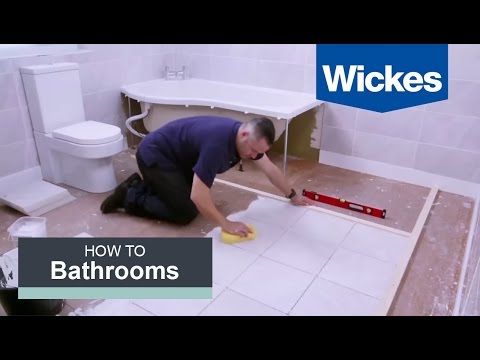
How to Tile a Bathroom Floor with Wickes

Показать описание
Our How to Tile a Bathroom Floor will give you all the help and advice you’ll need to do this job well. There’s even advice on how to tile around a toilet.
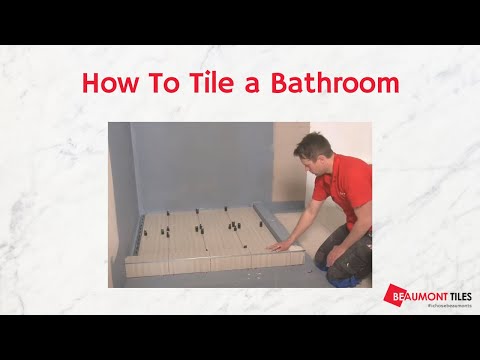
In this step-by-step video, you’ll learn how to tile a bathroom floor. From measuring and marking out the floor, evenly spacing your tiles and ensuring they’re symmetrical right through to grouting and applying sealant, we’ve broken down each stage of the process so it’s easy to digest. Follow these instructions and you’ll end up with a tiled floor that’s water-tight, level and looks great.
Preparation & planning
If you have a concrete floor, you can tile directly onto it. Timber floors needs to be strengthened with exterior-grade plywood which has been primed before tiling can begin. Tiles always need to be laid onto clean, dry and level surfaces, therefore sand and clean as necessary in both cases. Check whether your tiles need sealing, too.
Aftercare
After finishing your tiling project, use a grout protector spray to stop penetration by water, dirt, oil, grease and lime scale. Using this product will help to prolong the life of your grout and keep the area easy to clean.
Getting the job done - hints & tips
Make sure all surfaces are prepared before tiling. Porous surfaces should be prepared with primer before tiling. Always make sure your grout and adhesive is in date if you're using product which has been left over from another project.
Safety
Before screwing battens into the floor, always check for pipes and wires which may be under the floor. If there are pipes or wires under the floor where you are intending to screw down battens, use pencil lines to guide your tiling.
Watch more helpful DIY videos from Wickes below;
For more tips and general advice on how to do it yourself from Wickes, you can visit;
 0:12:32
How to Tile a Bathroom Wall with Wickes
 0:18:49
How to Tile and Grout a Bathroom Floor - Complete Beginners Guide
 0:09:18
Small Bathroom Tile Upgrade (How To)
 0:07:01
How to Tile a Shower | Tile Prep and Installation
 0:06:47
How To Tile A Bathroom
 0:05:36
How to Tile A Bathroom Floor
 0:09:00
How to Install Tile on the Bathroom Wall [Step-by-Step]
 0:15:03
How to tile a bathroom
 0:01:01
bathroom tiles installation#shahnawaz #interiordesign #home #mywork #kts#construction
 0:29:10
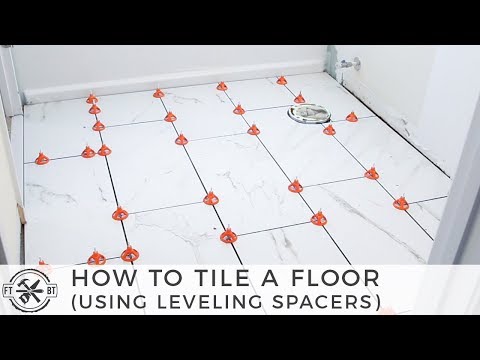
Tiling a Bathroom Floor for Beginners
 0:12:45
How to Tile a Bathroom Floor with Wickes
 0:33:20
How To Tile A Floor - Bathroom Floor COMPLETE Step-By-Step GUIDE
 0:16:41
Tile Floor 101 | Step by Step How to Install Tile for the First Time
 0:06:44
How to tile a floor or wall, A beginner’s Guide
 0:46:42
How to Tile a Floor for Beginners
 0:40:37
How To Tile A Shower - Start To Finish Walls
 0:03:20
How to tile a bathroom floor
 0:22:45
Tile a Bathroom Floor in a Day
 0:01:19
How to tile a bathroom floor
 0:00:47
Tile shower wall pro tips
 0:08:01
How To Tile A Shower Pt. 1 - Layout And Starting First Row
 0:00:41
🛁 Makeover that old bathroom tile with an easy, cheap & beautiful DIY method! #diy #howto #bathr...
 0:04:42
How To Install Porcelain Tile On A Bathroom Floor SIMPLE & EASY
 0:08:03
How to Tile a Bathroom: DIY Tiling Made Easy
Комментарии