filmov
tv
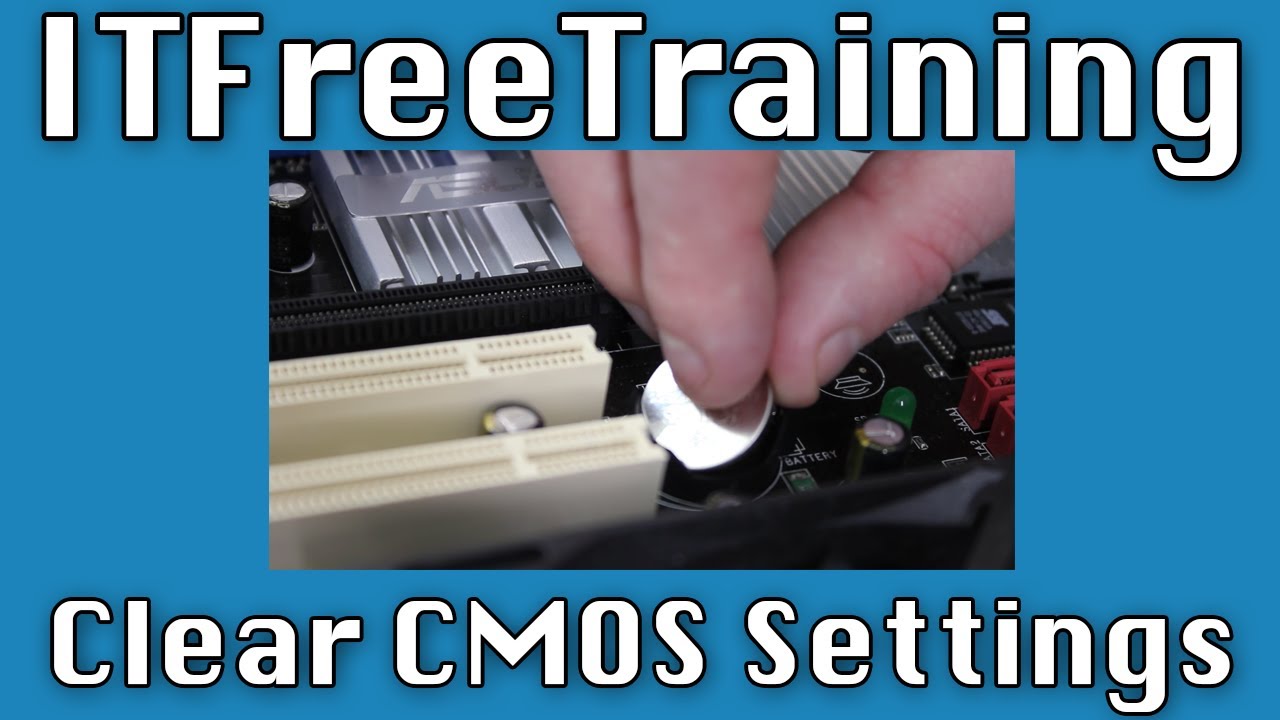
Clear CMOS Settings
Показать описание
In this video from ITFreeTraining, I will look at how to clear the CMOS settings on a computer. When changes are made in the BIOS or UEFI, these settings are stored in the CMOS. This video will look at how to clear these settings which will return the computer back to its factory defaults.
BIOS and CMOS
0:19 Before I start, I will first look at how the BIOS and the CMOS work. This will give you a better understanding of what happens when the settings are cleared. In this video, I will only refer to BIOS, but if you have a computer with a UEFI chip on it, the principal is the same and the procedures are also the same.
The BIOS is a small chip on the motherboard. This chip contains a small amount of code and when the computer is first switched on, this code tests the hardware and starts the computer.
The BIOS also contains setup software that allows configuration changes to be made to the computer. These configuration changes need to be stored somewhere, but cannot be stored in the BIOS because it is read only.
In the early days of computing, this configuration was stored in a chip called the CMOS. CMOS stands for complementary metal-oxide semiconductor. Nowadays, motherboards do not have a CMOS chip, but instead the configuration is stored in the South Bridge.
The size of this storage varies, but in modern motherboards it is around 64 kilobytes. The average computer may only require 100 bytes of storage depending on what options you configure. This storage is traditionally volatile, meaning that when the power to the computer is switched off everything in memory will be lost.
Since this data is the configuration for the computer, you need the configuration to be available even if the computer does not have power for long periods. To do this, the motherboard will have a battery installed. This battery keeps the memory powered and thus data will not be lost between reboots.
You may be thinking, why not use flash RAM as it is non-volatile and thus keeps its values between power losses? A lot of modern motherboards use flash RAM and thus do not require power to keep their settings. Even if flash RAM is being used, the settings are still referred to as CMOS because administrators are so used to calling it by that name. If we are making the move to flash RAM, the question arises, do we still need the battery?
The battery is still found on modern motherboards because it is used to power the clock. The clock is referred to as the real time clock or RTC. The battery allows the clock on the motherboard to function even when the computer is not powered. This allows the computer to accurately keep track of the time, including the current date even if the computer is not connected to the power for a long period of time.
Now that we understand how the settings are saved, what happens if you make a change to CMOS on your computer and the computer becomes unbootable? The most common time this occurs is when a password has been configured and no one knows what that password is. When something like this occurs, you need a way of clearing the CMOS settings.
Clearing CMOS
3:13 1_Bullet12_Jumper
To clear the CMOS settings, which will set the motherboard back to factory defaults, there is a jumper on the motherboard. To clear the settings, move the jumper to the second position and start the computer up.
Clearing CMOS
3:25 If you have trouble locating the jumper, refer to the motherboard manual for its location. It is usually located next to the BIOS chip. There will usually be some printed text next to it help you find it. Usually it will have the letters CLRTC which stand for Clear Real Time Clock. Essentially you reset all the settings and also reset the real time clock. If you have a computer that you keep having to set the time and date on, chances are the battery on the motherboard is dead.
I will now have a look at how to reset the CMOS and also have a look at the effect removing the battery will have on the computer.
Demonstration
4:05 First, I will start the computer and press the delete key to enter the setup. Once in the setup, notice that the date is currently set correctly. Once I reset the CMOS setting, we will notice that the time and date will not be correct.
References
“The Official CompTIA A+ Core Study Guide (Exam 220-1001)” Chapter 3 Position 6115 - 6269“CompTIA A+ Certification Exam Guide Tenth Edition” pages 125 - 126
Credits
 0:01:18
How To Reset Bios (CMOS)
 0:00:16
Reset BIOS on motherboard in fastest way
 0:00:22
How To Reset Bios (CMOS) #shorts
 0:01:00
How To Clear CMOS (Reset BIOS) - The Easy Way
 0:00:08
How to reset/clear your CMOS Battery #shorts
 0:09:31
Clear CMOS Settings
 0:00:23
What to do if your computer won't start after changing BIOS settings
 0:07:43
How To CORRECTLY Clear Your CMOS
 0:00:35
What Happens If You Remove a CMOS Battery from a Running PC #shorts #pcbuilding #pcrepair #cmos
 0:01:09
How To Clear Your CMOS - BIOS Reset Tutorial
 0:03:29
How to Reset Motherboard BIOS Settings? | ASUS SUPPORT
 0:00:24
Quick and Easy BIOS Reset: Master the 10-Second Method #windows #computer #motherboard
 0:00:45
HOW TO RESET MOTHERBOARD BIOS MEMORY.
 0:00:32
Here's how to reset CMOS battery on your motherboard! 🔧⚡
 0:01:25
How to reset bios to default settings in 1 minute?
 0:00:16
How to reset BIOS | UEFI | Firmware Reset | Optiplex 330 #shorts #shortvideo
 0:01:27
PC BIOS Reset - 3 Ways To Quickly Reset Your BIOS If Your Computer Won't Start or Boot
 0:00:33
CMOS RESET! #shorts #pc #pcrepair #computerrepair #gamingpc #tech
 0:08:34
How To RESET Your PC BIOS Or CMOS To Factory Default Settings and Change The CMOS Battery
 0:02:05
How to remove cmos battery in your pc? Cmos reset / hard reset on bios
 0:05:46
How To RESET Your PC BIOS Or Change The CMOS Battery
 0:00:45
How to reset bios to default settings PART 1 #shorts
 0:07:17
How To RESET Your Bios (CMOS)
 0:00:34
How to Reset BIOS settings to Default? (MSI B350 PC MATE motherboard)
Комментарии