filmov
tv
How to make a sea shell from wood

Показать описание
Had to bring out all the toys to make this one! scroll and band saw, power sanders, angle grinders and Dremel. plus a whole lot of sanding. I would like to give credit to Steve Garrison for making such a great "how to" video , you all should check his channel out! this is a bit of a long one so hope you can make it to the end. thanks for watching!
Where to get the tools I used, Links Below!
Affiliate links
Where to get the tools I used, Links Below!
Affiliate links
 0:00:21
How to make Sea Salt with Seawater #ocean #beach
 0:00:13
turning sea water into salt!🧂✨
 0:09:16
Underwater Constructions | How do Engineers Make Them?
 0:00:32
I Turned Sea Water Into Cooking Salt...
 0:00:22
DIY sea turtle tutorial🌊🐢
 0:00:50
How To Turn Sea Water Into Fresh Drinking Water
 0:00:17
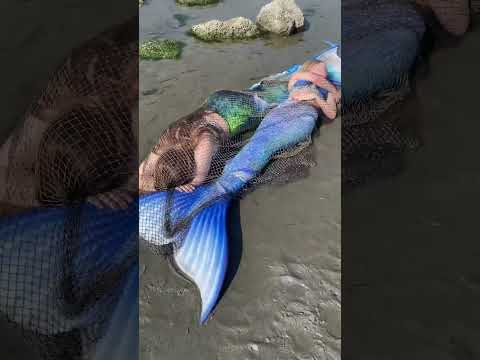
Two Real Mermaids washed up on the beach?! 😨 is one still moving?? #realmermaid
 0:00:15
You Won't Believe How Easy Sea Painting Is! Texture Art
 0:00:27
Make Your Own Mini Ocean With Sea Animals 🐋🐬🐟🐙🦀 #diy #craft #creative #learning #sea #toys #shorts...
 0:00:15
How to Make a Cardboard Sea Turtle (Easy and Fun Crafts!) #short #craftyideas #diy #cardboardcrafts
 0:01:01
Small trench connects river to ocean!
 0:00:31
EASIEST BAKED WHOLE FISH RECIPE EVER! EUROPEAN SEA BASS — BRANZINO
 0:03:35
How To Make SEA MOSS GEL! In 3 Easy Steps!
 0:10:03
How To Make Deep Sea Fish and Hammerhead Sharks Diorama / Polymer Clay / Epoxy resin
 0:00:26
DIY cardboard whale shark!!!🦈 part 1
 0:00:33
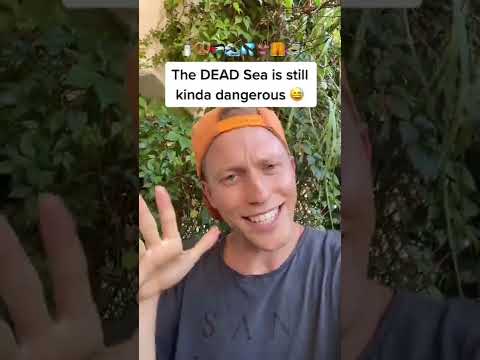
Can you DROWN in The Dead Sea? (Jordan) #shorts
 0:00:14
this is your sign to make a beach in a bottle 🤭🐚
 0:35:20
How To Make Clay Sea Animals + Learning The Names Of Sea Animals | Clay Modeling Projects 2
 0:00:28
Mixing Salt in Acrylic Paint to create sand like texture for beautiful green ocean #series #relaxing
 0:00:29
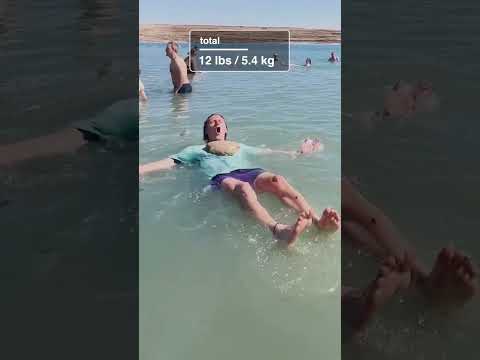
Can a Human Sink in Dead Sea?
 0:04:25
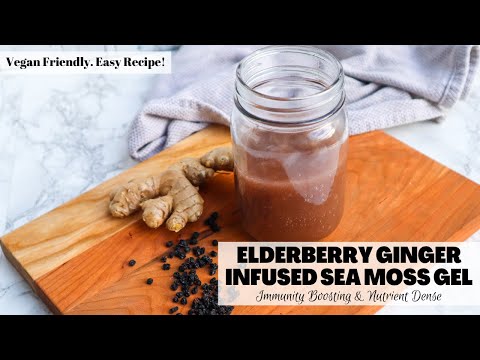
Elderberry Ginger Infused Sea Moss Gel |Easy Recipe | Immunity Boosting & Nutrient Dense
 0:00:47
How to pan sear sea bass / branzino #cooking #branzino #fish
 0:00:44
How to paint a beach!🎨 #easypainting #acrylicpainting #paintingtutorial #beach #art #beginner #easy...
 0:06:03
Make your own SEA SALT!
Комментарии