filmov
tv
How to Repair Drywall and Match Texture - DIY Duke

Показать описание
 0:03:10
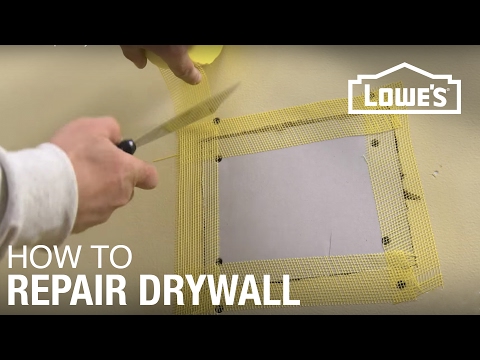
How to Repair Drywall
 0:09:19
How to Repair Drywall
 0:15:38
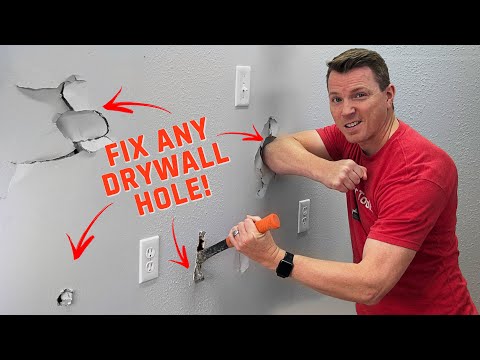
How to Fix Holes in Drywall - 4 Easy Methods
 0:01:00
The Fastest Way To Patch Drywall!!!
 0:00:42
How to repair a big hole in drywall
 0:00:48
FAST! DIY Drywall Hole Patch #drywall #diy
 0:03:06
How to Cut and Repair Drywall | The Home Depot
 0:05:37
Fixing Big Holes from Drywall Anchors!
 0:05:55
Secret Drywall Finishing Tip
 0:14:14
🏠 How to Repair Drywall and Fix a large Hole in the Plaster Wall the easy way
 0:00:32
Drywall repair quick and easy
 0:06:20
How to repair a hole in drywall (california patch)
 0:05:30
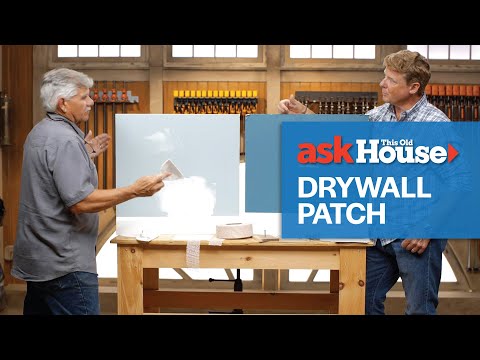
How to Patch a Drywall Hole | Ask This Old House
 0:07:10
HOW TO REPAIR TORN DRYWALL PAPER
 0:00:15
How to Fix Small Holes in Drywall | The Home Depot Canada
 0:12:54
HOW TO REPAIR DRYWALL (PEAKED JOINTS)
 0:11:53
3 BEST Ways To Fix Drywall Holes + Why You NEVER Do This!
 0:01:00
Fixing drywall around an outlet box
 0:04:24
How to Repair Drywall NO DUST or SANDING - Fast & Easy
 0:00:43
How to patch large drywall holes
 0:01:00
Drywall Ceiling Repair Tips - #shorts
 0:00:33
How to repair ceiling drywall
 0:02:26
How to Repair Torn Drywall Paper
 0:00:51
😱 How to fix a crack in drywall #shorts #crack #drywallrepair
Комментарии