filmov
tv
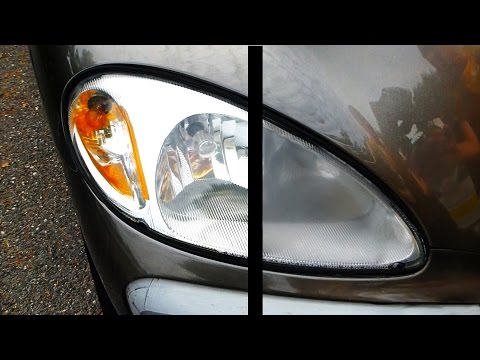
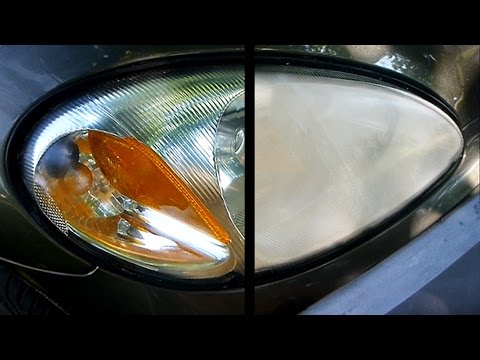
How To Restore Your Headlights | BEST RESULTS

Показать описание
GET MY FREE CAR FLIPPING GUIDE 👇
MAKE $5K/MO FLIPPING CARS WITH MY HELP 👇
--
How to restore your headlights on your car or truck is a common problem that every one asks. how do i clean my headlights? should i use toothpaste to restore my headlights? how do restore my headlights? some people use to clean headlights with wd40. how to restore headlights with sandpaper is also a common problem but which grit sand paper to use to restore headlights is also a asked. I've even heard of people using cocoa cola to restore your headlights. well in this video I will show you the best way to restore you headlight and remove the oxidation off your headlights! this is not a video on. how to clean headlights this is a video on how to restore your headlights and to make your headlights look like new! This is the ultimate guide to clean and restore your oxidized headlights or headlight.
Support my BEAUTIFUL best friend on OF!!!!
------------------
MATERIALS
-------------------
Buffing Pad (Drill Attachment)
-------------------------
Assorted Sandpaper Kit (All You Need)
--------------------------------
Best Compound For Headlights
-----------------------------
Recommended Tape
----------------------------------
alcohol Pad (Cheapest Option)
---------------------------------
Car Flipping Video!
--------------------------------
Follow My Instagram!
-----------------------------
Support Me On Patreon! (Message Me Personally!)
-------------------------------------------
Buddy's DIY Merch!!
-----------------------
If You Want To Leave a Tip
---------------------------------
0:00 Intro
0:41 Materials You Will Need
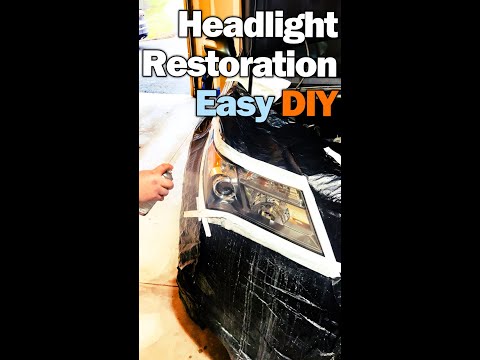
2:03 Taping The Headlight Off
2:50 Wet Sanding The Headlight With 500 Grit
5:01 Wet Sanding With 1000 Grit Sand Paper
6:17 Wet Sanding With 2000 Grit Sand Paper
7:11 Cleaning The Headlight
7:28 Buffing The Headlight
8:57 How To Maintain The Shine
MAKE $5K/MO FLIPPING CARS WITH MY HELP 👇
--
How to restore your headlights on your car or truck is a common problem that every one asks. how do i clean my headlights? should i use toothpaste to restore my headlights? how do restore my headlights? some people use to clean headlights with wd40. how to restore headlights with sandpaper is also a common problem but which grit sand paper to use to restore headlights is also a asked. I've even heard of people using cocoa cola to restore your headlights. well in this video I will show you the best way to restore you headlight and remove the oxidation off your headlights! this is not a video on. how to clean headlights this is a video on how to restore your headlights and to make your headlights look like new! This is the ultimate guide to clean and restore your oxidized headlights or headlight.
Support my BEAUTIFUL best friend on OF!!!!
------------------
MATERIALS
-------------------
Buffing Pad (Drill Attachment)
-------------------------
Assorted Sandpaper Kit (All You Need)
--------------------------------
Best Compound For Headlights
-----------------------------
Recommended Tape
----------------------------------
alcohol Pad (Cheapest Option)
---------------------------------
Car Flipping Video!
--------------------------------
Follow My Instagram!
-----------------------------
Support Me On Patreon! (Message Me Personally!)
-------------------------------------------
Buddy's DIY Merch!!
-----------------------
If You Want To Leave a Tip
---------------------------------
0:00 Intro
0:41 Materials You Will Need
2:03 Taping The Headlight Off
2:50 Wet Sanding The Headlight With 500 Grit
5:01 Wet Sanding With 1000 Grit Sand Paper
6:17 Wet Sanding With 2000 Grit Sand Paper
7:11 Cleaning The Headlight
7:28 Buffing The Headlight
8:57 How To Maintain The Shine
 0:10:34
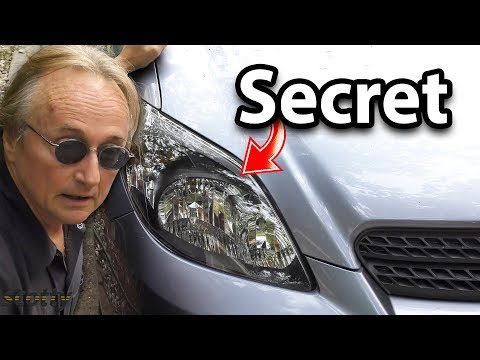
How To Restore Headlights PERMANENTLY ( Better Than a BRAND NEW Headlight )
 0:12:47
How to Restore Headlights PERMANENTLY
 0:03:41
Headlight Restoration using Toothpaste
 0:03:37
How To Clean Headlights Easy Simple
 0:00:59
How To Restore Your Old Headlights DIY!!!
 0:05:07
This is the Real Way to Restore Headlights Permanently
 0:00:58
How to restore headlights WITHOUT sanding
 0:05:34
How to Restore your Headlights (crystal clear)
 0:00:13
#headlights #cleaning #cleaner #headlights #clean ##headlights #restore #viralvideo #car #modified
 0:00:46
Cleaning headlights with WD-40
 0:07:04
How to RESTORE your Headlights in 3 Easy Steps - DIY no tools needed
 0:00:59
Quickest Way To Restore Faded Headlights! #diy #headlight #restoration #easy #cheap #lifebuildz #fyp
 0:00:39
How To Restore Headlights | Headlight Restoration - Chemical Guys
 0:10:06
How To Clean, Polish & Restore FOGGY Car Headlights Back To Clear!
 0:05:47
EASY and FREE Way to Clean and Restore Your Headlights
 0:00:58
Car detailing headlight restoration diy tips
 0:01:00
Finally a way to restore headlights permanently
 0:00:59
Restoring a vehicles headlights! Headlight restoration done right! #autodetail #cardetail
 0:00:59
The BEST Way to Restore Headlights - Permanent Results - Like New Again #detailing #restoration
 0:03:33
How to Restore Headlights – Poor Man’s Way (Using Household Products)
 0:00:56
How Headlights Are Professionally Restored
 0:00:17
Headlight cleaning hack
 0:00:17
How to Restore Headlights with Acetone Vapor: Amazing Hack!😡 #gadgets #car #Carryovers
 0:17:53
How to Clean & Restore Your Car Foggy Headlights If Your Labor Cost is 0$
Комментарии