filmov
tv
Understanding FreeCAD Lesson 3.1 (a) Retrospective and optimisation of Piston Crank Shaft Assembly

Показать описание
In lesson 3 part 1 we learnt how to create a master sketch in FreeCAD using the sketcher and then use that to create the piston head in the part design with revolves and pockets. There has been some questions ask in the comments in the subject of why I used a datum plane and the draft clone rather that the shape binder. In this retrospective I go over the reasons why and further optimise the model removing unnecessary datum constrains and using a formula to reference one of the constraints from the master sketch
This is a 4 (5) part lesson of how to create a piston head, connecting rod and crank shaft assembly, modelling them in the partdesign wb, assembling and finally simulating and animating these in the A2 plus workbench. We will be going through the master sketch workflow in the part design workbench and then the assembly workflow in the a2plus wb.
In Lesson 3 part 2 we continue with modelling both the connecting rod and crank shaft.
Lesson 3.2 Model a Piston Crank Shaft Assembly Animation in Part Design A2Plus
#FreeCAD , #CAD , #basics , #3DPrinting
Journey with me and
Donate:
Patreon
Subscribe:
Browse my Redbubble Shop:
 0:25:38
Understanding FreeCAD Lesson 3.1 (a) Retrospective and optimisation of Piston Crank Shaft Assembly
 0:33:26
Understanding FreeCAD Lesson 3.1 Model a Piston Crank Shaft Assembly Animation in Part Design A2Plus
 0:09:48
!NEW! Basic Beginners FreeCAD v1 / 0.22 | Lesson 3 | - UI and Panel Layout and How To Change
 0:07:27
Part vs Part Design which one to choose? Basic Beginners FreeCAD v1 / 0.22 | Lesson 5
 0:11:54
FreeCAD Beginner Tutorial #3
 0:27:50
FreeCAD 0.19 - Basic Course - Part 1 - Your start with FreeCAD (EN)
 0:05:55
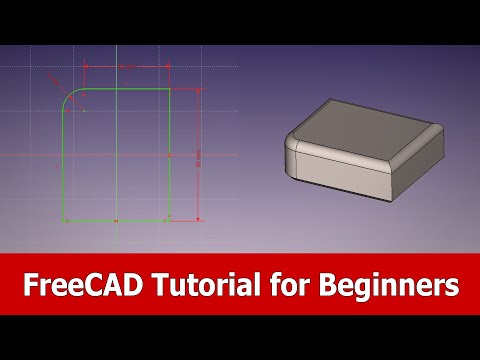
FreeCAD Tutorial for Beginners
 0:31:06
Understanding FreeCAD Lesson 3.4 Model a Piston Crank Shaft Assembly Animation in Part Design A2Plus
 0:23:04
FreeCAD for Beginners | Practical 3d Prints | Lesson 3
 0:06:45
FreeCAD Basic Tutorial | Exercise 3: Design Corner Brace in Part Design Workbench using Pocket
 0:02:16
⚠ FreeCAD Thickness Bug - FreeCAD Shell - FreeCAD Tutorial - FreeCAD Help
 0:06:45
Introduction to FreeCAD Part Design Workbench. Video 1/3. Tutorial for Beginners
 0:06:18
HOW TO DEVELOP A HEMISPHERICAL DISH 3D BY USING FREECAD TUTORIAL #3
 0:10:18
FreeCAD Tutorial Part 1/3 | Creation the Model of Screwdriver
 0:05:32
From Start to first 3D print in 5 Minutes with FreeCAD 0.19 (English)
 0:02:27
FreeCAD 0.18 Tutorials - Ball bearing (Part2/3)
 0:22:23
Understanding FreeCAD: Lesson 4 Auto Scale Features with Formula | Part Design | Beginners Tutorial
 0:07:03
Exercise 3 FreeCAD Part Design Tutorial For Beginner
 0:09:08
Learn FreeCAD: #1 Introduction - Tutorial
 0:06:30
FreeCAD Tutorial | Part 3/3: Creation the Assembly in A2Plus and Render of Screwdriver in CADRays
 0:16:04
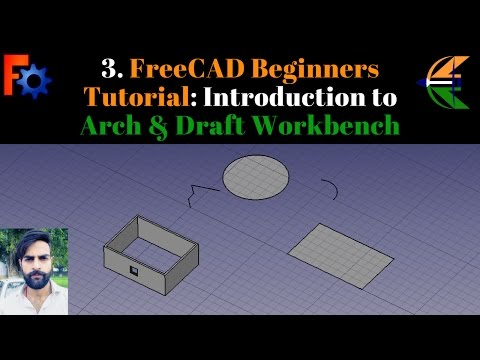
3. FreeCAD Beginners Tutorial: Introduction to Arch & Draft Workbench
![[FreeCAD Link] Surfacing](https://i.ytimg.com/vi/NJYep637c14/hqdefault.jpg) 0:19:39
0:19:39
[FreeCAD Link] Surfacing Tutorial Part 3 (Curves WB & Surface WB)
 0:01:47
FreeCAD 0.18 Tutorials - The Screw Nail (part 1/5)
 0:04:18
FreeCAD: Sketcher | Basic Tutorial - 3
Комментарии