filmov
tv
Building Your Perfect Fire Pit on a Budget

Показать описание
How to build a DIY fire pit as a beginner. A complete guide for your backyard project!
Sponsored by Georgia811, call before you dig.
🎥 What to Watch Next:
➤Tools/Supplies Used (affiliate):
More content, early access, FREE plans, video credits
➤Support the FTBT Channel:
➤Thank you to these partners for supporting my channel. Go check them out!
➤Plans from this build:
➤FOLLOW ME on Social Media:
➤Referenced people/videos:
Build a DIY fire pit in your backyard and enjoy evenings around the fire. We explore all the materials, stones, fire ring inserts, leveling and drainage options you’ll need to build a fire pit as a beginner. This is an easy outdoor diy project you can tackle in one day!
0:00 Lots of Fire Pit Options!
0:40 Picking the Right Stones
3:30 Which Fire Ring is Right for You?
5:49 Best Location for a Fire Pit
6:34 Laying out the Fire Pit Space
7:40 Digging out Your Fire Pit Base
8:30 Adding Drainage to the Pit
10:20 Leveling for the Stones
12:20 Laying the First Row of Pavers
13:50 Adding the 2nd and 3rd Layers
15:10 Installing the Fire Ring and Fill Stones
15:58 Cost Breakdown and Thoughts
 0:16:48
Building Your Perfect Fire Pit on a Budget
 0:16:15
Stop the Smoke, Do THIS to Your Fire Pit
 0:11:38
I Perfected The DIY Smokeless Fire Pit That Works
 0:13:42
My 4-Day Fire Pit Patio Build [Full DIY Project]
 0:04:19
How to build a Firepit in 4 minutes!!
 0:03:28
All About Our Firepit (how we did it & how you can too!) | AspenAckley
 0:03:21
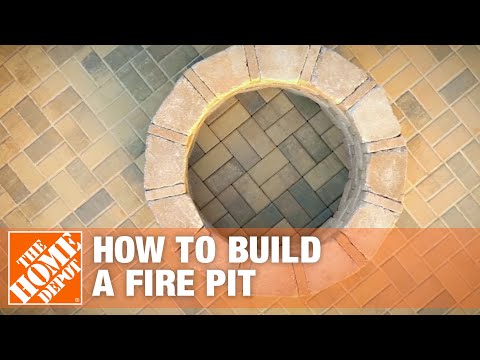
DIY Fire Pit: How to Build a Fire Pit | The Home Depot
 0:04:30
The Perfect Camp Fire Pit
 0:16:13
Over Built Smokeless Fire Pit Using Methods From How To Home & Haxman. MISTAKES MADE!
 0:10:14
How To Build A Fire Pit Under $60 Easy Simple
 0:05:32
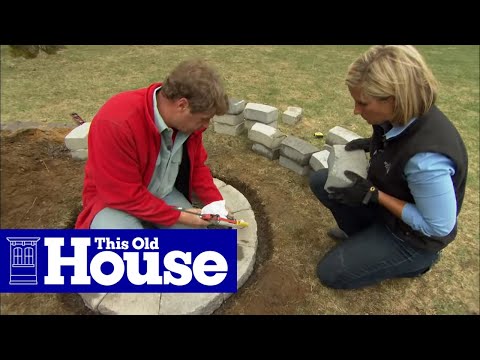
How to Build a Fire Pit | This Old House
 0:00:32
I wanted a simple firepit in our backyard #shorts #firepit
 0:02:12
FIRE PIT DIY ON A BUDGET ! | BACKYARD TRANSFORMATION! | EASY
 0:03:24
How to Build a Fire || REI
 0:05:31
How to Start the Perfect Fire in a Fire Pit - Bright Ideas: Episode 8
 0:00:25
DIY Fire Pit Build for CHEAP! #diyprojects
 0:10:16
How To Build A Smokeless Fire Pit Using Clean Air Technology - Smokeless firepit that truly works
 0:14:32
DIY Patio And Fire Pit Seating Area
 0:29:30
build the perfect fire pit
 0:00:51
How to Build a Fire Pit & Table Top on a BUDGET!!! #diy #harttools
 0:09:42
Build a Smokeless Fire Pit For Under $25. DIY Smokeless Fire Pit For RVing.
 0:13:21
HOW TO BUILD A BACKYARD SEATING AREA WITH FIRE PIT | OUR BIGGEST DIY PROJECT YET
 0:01:13
Building Your Perfect Fire Pit in 3 Hours
 0:10:45
Build The Coolest Backyard Fire Pit in Under 10 Minutes - NO TOOLS REQUIRED!
Комментарии