filmov
tv
Arduino Tutorial 40: Controlling DC Motor Speed and Direction with Pushbuttons

Показать описание
You guys can help me out over at Patreon, and that will help me keep my gear updated, and help me keep this quality content coming:
You guys can help me out over at Patreon, and that will help me keep my gear updated, and help me keep this quality content coming:
In this tutorial we show how to control the speed and direction of a DC motor using two push buttons. One increments speed, and the other decrements speed. We look at the special cases needed to make things work smoothly.
You can get the kit I am using for this series at the following link:
Follow these lessons for free at our WEB site:
#Arduino
 0:45:35
Arduino Tutorial 40: Controlling DC Motor Speed and Direction with Pushbuttons
 0:21:13
Control Big Motors with your Arduino (Step by Step Tutorial)
 0:10:07
How to Use a DC Cooling Fan with Arduino (Lesson #40)
 0:31:25
Arduino Tutorial 37: Understanding How to Control DC Motors in Projects
 0:03:46
How to Control a Servo With an Arduino
 0:00:40
Arduino project 😎^ Arduino #arduino #2022 #2021 #2023 #dc #arduinoproject #diy #foryou
 0:00:25
Arduino Farming Robot | Arduino Stepper Motor | Arduino L293d Motor Driver Shield | Arduino Car DIY
 0:02:06
Arduino AC Motor Control using Solid State Relay (SSR)
 0:09:50
Air Pressure Sensor / Breath Controller / Arduino Nano
 0:09:30
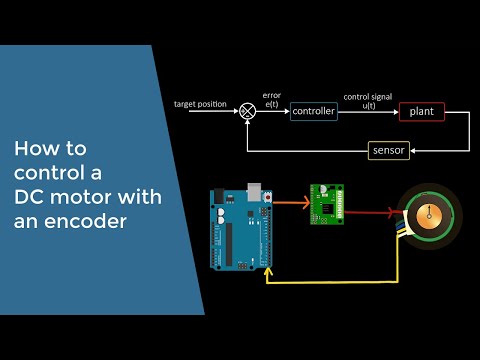
How to control a DC motor with an encoder
 0:10:05
Arduino DC Motor Control Tutorial
 1:00:30
Arduino Tutorial 66: Controlling DC Motor, Speed and Direction with a Remote
 0:15:58
Lesson 95: Using L293D 4 DC Motors Shield for Arduino UNO and Mega | Arduino Step By Step Course
 0:08:14
Synchronizing Motor Position with Encoders, PID Control and Arduino
 0:00:27
dc motor direction control using arduino #short #diyprojects #arduino | dc motor control
 0:43:46
Control AC Devices with Arduino SAFELY - Relays & Solid State Switches
 0:11:21
Arduino Tutorial: How to change DC Motor's direction using Push Button
 0:02:56
DC MOTOR MOSFET Control Speed Using Arduino
 0:33:41
Arduino Tutorial 39: Using a Joystick to Control DC Motor Speed and Direction
 0:01:13
Arduino DC motor control with H-Bridge
 0:05:33
Wireless DC Motor Speed and Direction Control using Arduino with IR Remote
 0:17:33
Motor speed controller tutorial - PWM how to build
 0:12:48
L298N | how to control dc motor with Arduino | Motor speed and direction control
 0:00:42
Arduino - Speed Control of Brushless DC Motor, Part 1
Комментарии