filmov
tv
How to control a DC motor with an encoder
Показать описание
If your platform does not have access to "atomic.h" (and so you get an error message), you can use the alternative version of the code that has been uploaded to the repository. It is labeled "_NoAtomic".
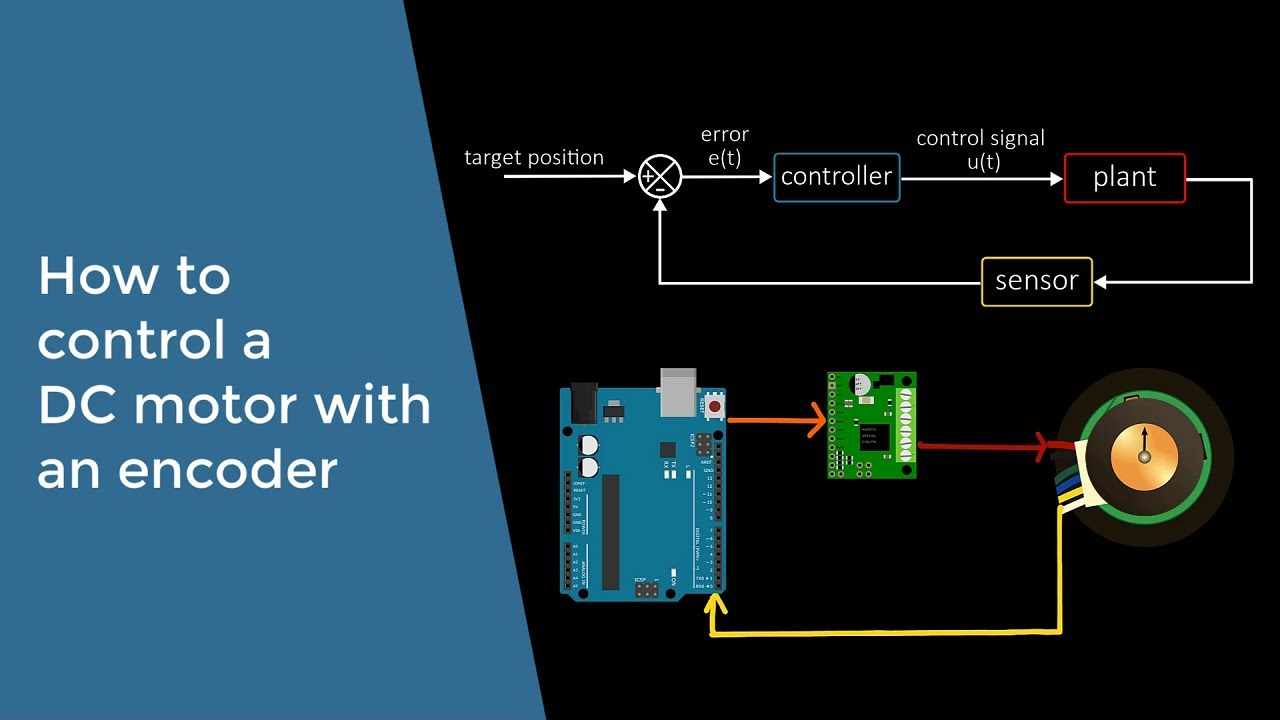
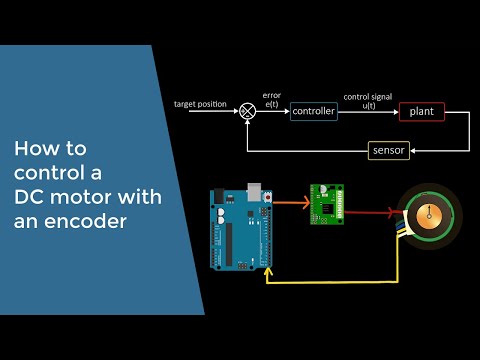
An encoder makes it possible to control the position of a DC motor. In this video, I illustrate how an encoder works, and then use a PID control algorithm to control the motor position. All of the steps are included so that you will be easily able to make the system yourself.
Parts used in this video:
1. DC Motor - 19:1 Metal Gearmotor 37Dx68L mm 12V with 64 CPR Encoder:
2. Motor Driver - TB67H420FTG Dual/Single Motor Driver Carrier:
3. Microcontroller - Arduino Uno:
(okay actually I used an Elegoo Uno, but the Arduino descriptions are better :)
 0:07:33
How to control DC & AC motors
 0:09:30
How to control a DC motor with an encoder
 0:14:01
Control a DC Motor with Arduino (Lesson #16)
 0:10:01
How PWM works | Controlling a DC motor with a homemade circuit
 0:04:42
PWM DC Motor Speed Control Module 2A (1.8V-12V) | How to motor speed control | POWER-GEN
 0:09:59
Arduino DC Motor Control Tutorial - L298N | H-Bridge | PWM | Robot Car
 0:08:24
how to make Simple dc motor speed control circuit, electronics projects , banggood
 0:31:25
Arduino Tutorial 37: Understanding How to Control DC Motors in Projects
 0:00:19
DC motor hacks#shorts
 0:01:07
How to Make 3.7v Dc Motor and Fan Speed Controller Circuit
 0:05:32
Speed Control - AC and DC Motors
 0:09:19
How to control multiple DC motors with encoders
 0:09:50
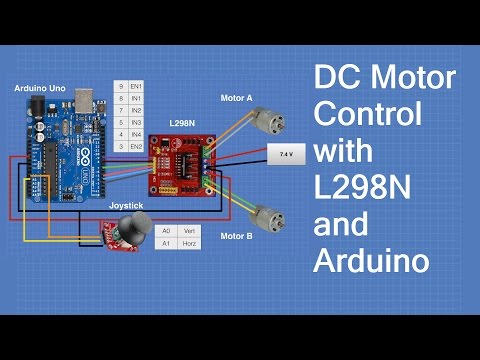
How to control a DC motor with L298N driver and Arduino Uno
 0:12:48
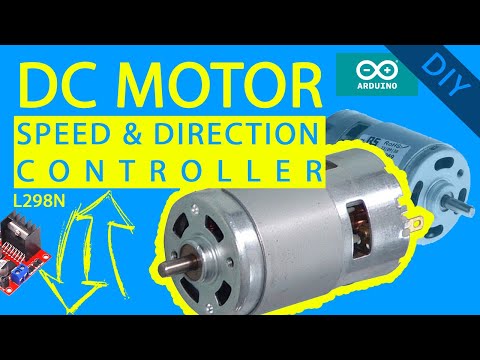
L298N | how to control dc motor with Arduino | Motor speed and direction control
 0:36:41
Controlling DC Motors with the L298N H Bridge and Arduino
 0:00:52
DC motor's speed Controller | Electronics
 0:00:17
dc motor | speed control | Amazing Experiment Projects
 0:04:32
High power DC motor speed control circuit
 0:15:29
DC motor PID speed control
 0:09:30
How To Make Simple DC Motor Speed Controller Circuit
 0:06:04
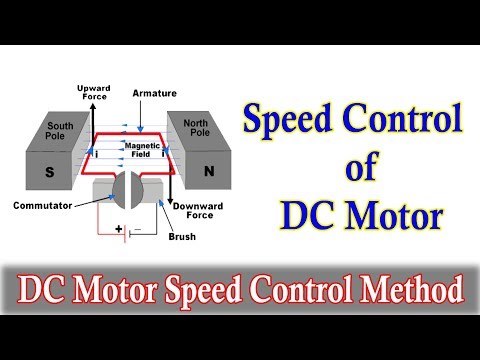
Speed Control of DC Motor - DC Motor Speed control
 1:04:32
Driving DC Motors with Microcontrollers
 0:00:25
DC motor forward reverse #shorts
 0:03:23
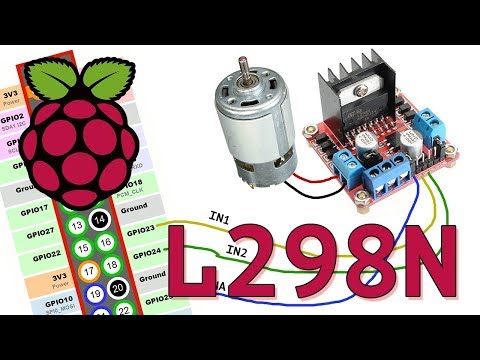
Raspberry Pi How to Control a DC Motor With an L298N Driver
Комментарии