filmov
tv
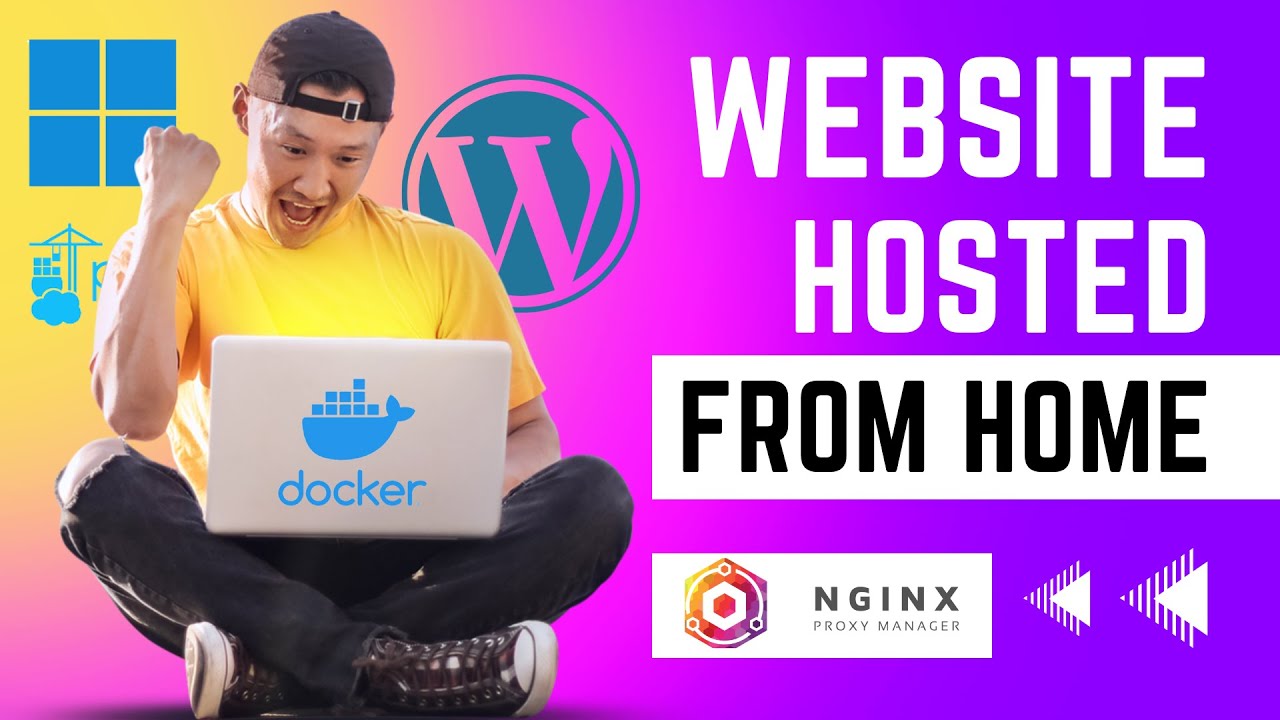
Host Your Website From Home | Windows Docker | WSL2 Lan Fix | Nginx Proxy Manager
Показать описание
#Nginxproxymanager #docker #windows11 #wsl2 #selfhosted #portainer #nginx #bsnl #portforwarding
WSL LAN issue fixed, SSL with LetsEncrypt,
Host Your website from home using Nginx Proxy Manager in a Docker.
Docker Images used- NginxProxyManager, Wordpresss Stack, Nginx Phpmyadmin, MySql Database , Portainer.
--------------------
Steps
--------------------
2. Open powershell and go to the NginxProxyManager directory and run (docker-compose up) command
4.Add LetsEncrypt ssl using cloudflare API token.
4.1. Go to cloudflare and add subdomain and create API token for LetsEncrypt.
5.Copy IP from WSL shell (ubuntu or Docker-Desktop) and Unblock some ports like 80, 443, 9443, 8001 9443 etc from WSL2
6. Now restart nginxproxymanager and check its working on LAN. Test with your LAN IP on browser. You can see your ip using ipconfig on cmd or powershell.
7.Check the nginxproxymanager Congratulations! Page on localhost, yourLanIP.
8.If you have not enabled ports 80, 443 on windows firewall then you should open these two ports from windows firewall.
9.Login to you router using 192.168.1.1 and port forward 80, 443
10.Install Wordpress Docker Stack- (Wordpress, Nginx, phpmyadmin DB)
11. PORTAINER- Go to portainer docker website choose WSL and follow the instruction.
12. Add Webserver to NginxProxyManager-Default network so that it can access the port 80 website internally on docker with hostname.
13.Once Your Wordpress Database is ready on docker stack then Go to your Domain/Subdomain and run the Wordpress installation.
12.Now Login to wordpress and start Designing your website or you can try already existing website. (upload limit is increased to 2 GB using config file, its on previous video)
Thanks For Watching.
 0:10:47
How To Host Your Own Website For FREE - Home Server Tutorial
 0:16:53
Host Your Own Website at Home: A Complete Guide
 0:08:39
Raspberry Pi versus AWS // How to host your website on the RPi4
 0:07:18
The Downsides of Self-Hosting Your Applications at Home
 0:04:50
Understand Self Hosting in 5 Minutes! Self Hosting for Noobs!
 0:07:50
How To Host a Website At Home For Free
 0:19:15
you STILL need a website RIGHT NOW!! (yes, even in 2024)
 0:15:46
Self Hosting on your Home Server - Cloudflare + Nginx Proxy Manager - Easy SSL Setup
 0:20:14
How To Build and Host A Website From Scratch in 2023 (For Free)
 0:06:37
How to Upload Your Website To The Internet
 0:04:21
How to Host a website for free on google drive
 0:07:08
How to Host Your Website for Free (FOREVER!)
 0:00:53
How to deploy your website for free
 0:00:51
Why you should SELF-HOST your software 👩💻 #code #programming #technology #tech #software #develop...
 0:00:43
Deploying a Website to AWS in Under 1 Minute
 0:29:55
How to host a website from your own computer! (no hosting services)
 0:03:35
How to Host a Website on your Raspberry Pi
 0:20:16
How To Create A Free Website - with Free Domain & Hosting
 0:01:01
Host Your website for Free 🆓 #webhost #host #website #netlify #html #css #javascript #webdevelopment...
 0:02:23
Host website on github for free in just 2 mins
 0:12:04
How to Host a Website in 2025
 0:01:41
How to Host Your HTML and CSS website for FREE
 0:05:24
The Easy Way to Host A Website on Your Raspberry Pi
 0:00:53
Ultimate Budget Home Server!? #Shorts
Комментарии