filmov
tv
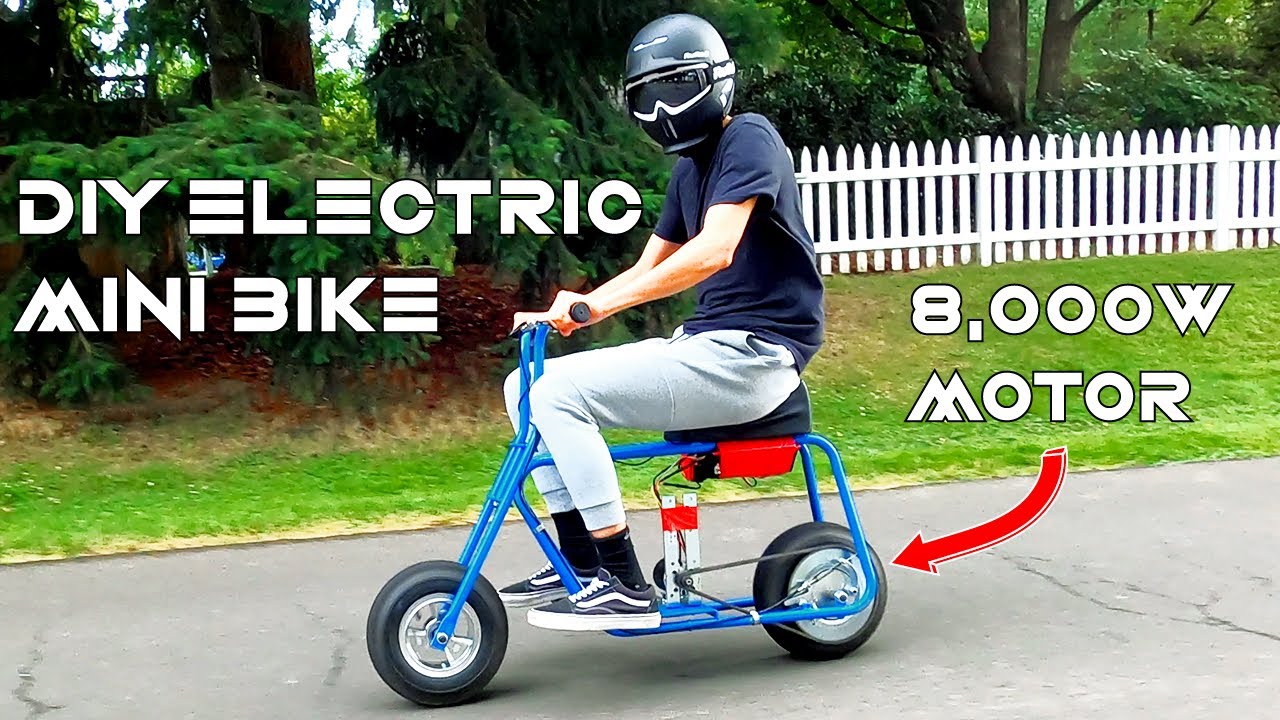
How to Build a DIY Electric Mini Bike - 7,000W INSANE E-BIKE
Показать описание
The cost of this build is $1300
Follow our Instagram @diyesk8builders
PARTS LIST:
 0:08:07
DIY - How To Build Beautiful Villa And Swimming Pools With ASMR Magnetic Balls
 0:10:01
DIY Platform Bed Made from ONLY 2x4's!! | Modern Builds
 0:27:33
Building a DIY submarine
 0:16:37
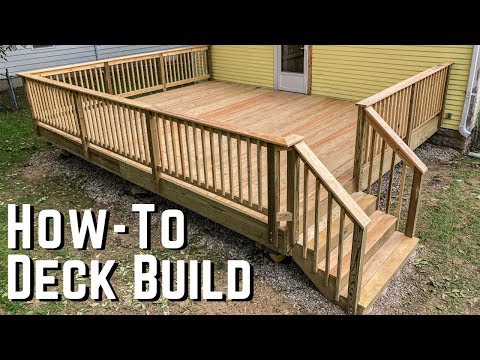
How To Build A Deck // DIY Home Improvement
 0:24:28
INFINITE RANGE ELECTRIC CAR - DIY Build
 0:04:36
DIY Build - French cleat system
 0:31:58
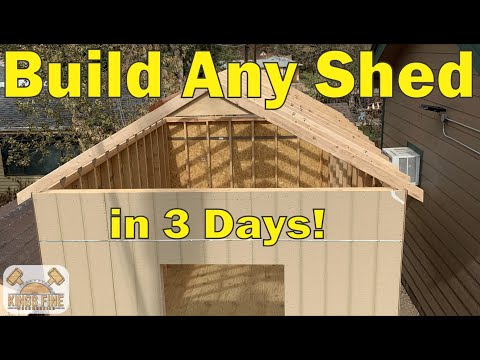
99 - DIY Shed - Complete Instructions - Best Tutorial There Is!
 0:08:21
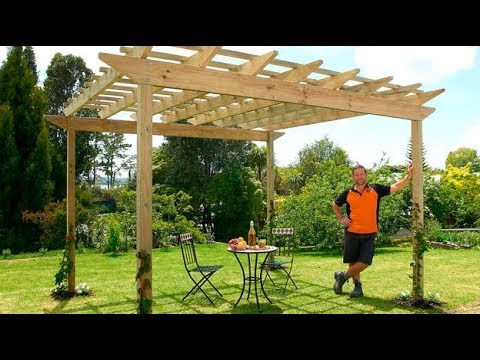
How to Build a Pergola | Mitre 10 Easy As DIY
 0:27:03
CLEANING UP THE TENNESSEE RIDGE/ rv Living, homesteading, cabin build, DIY HOW TO tractor tiny
 0:14:17
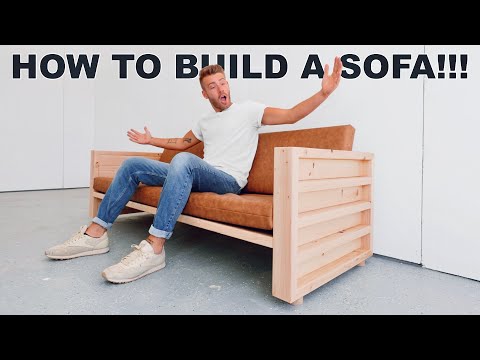
DIY SOFA MADE OUT OF 2X4'S + FREE PLANS | MODERN BUILDS
 0:10:01
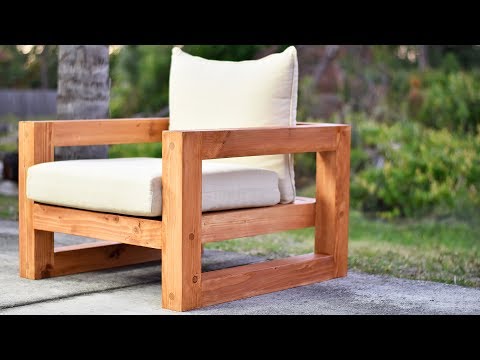
DIY Modern Outdoor Chair
 0:23:48
DIY SCHOOL BUS TINY HOUSE CONVERSION EP. 1 | MODERN BUILDS
 0:18:50
Learn How To Build a Deck with Wood | DIY Projects
 0:16:25
How to make A Workbench | DIY WOODWORKING
 0:06:59
DIY MEGA CAT TREE | MODERN BUILDS
 0:05:22
How to Build a Floating Mantel | Fireplace Wooden Mantel DIY
 0:10:43
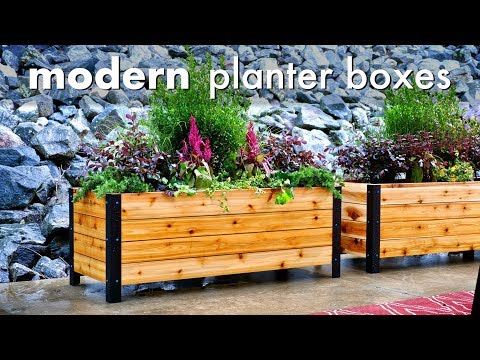
DIY Modern Raised Planter Box // How To Build - Woodworking
 0:10:32
DIY Raised Planter Box with Hidden Drainage | How to Build
 0:05:06
DIY Elevated Garden Bed
 0:03:14
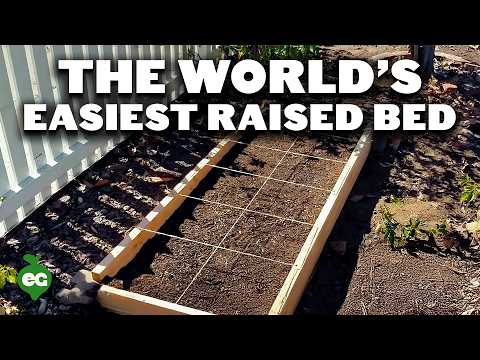
How to Build Cheap, DIY Raised Garden Beds In Under 30 Minutes
 0:06:23
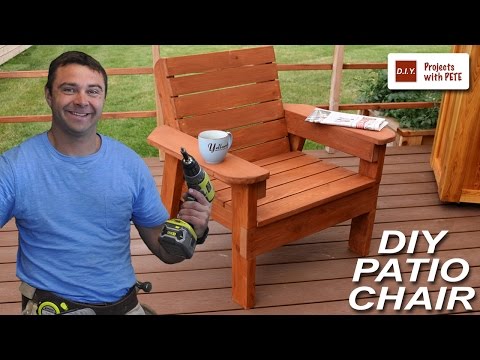
How to Build a Patio Chair - DIY Outdoor Chair Build
 0:16:10
DIY 2x4 Workbench for Under $100 | Modern Builds | Woodworking
 0:03:11
The $6 DIY Bar Stool Made Out of 2x2's | Modern Builds | EP. 9
 0:03:13
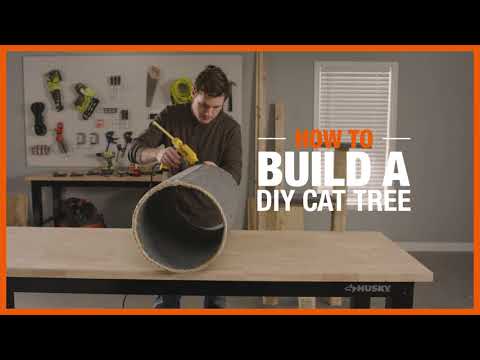
How to Build a DIY Cat Tree | The Home Depot
Комментарии