filmov
tv
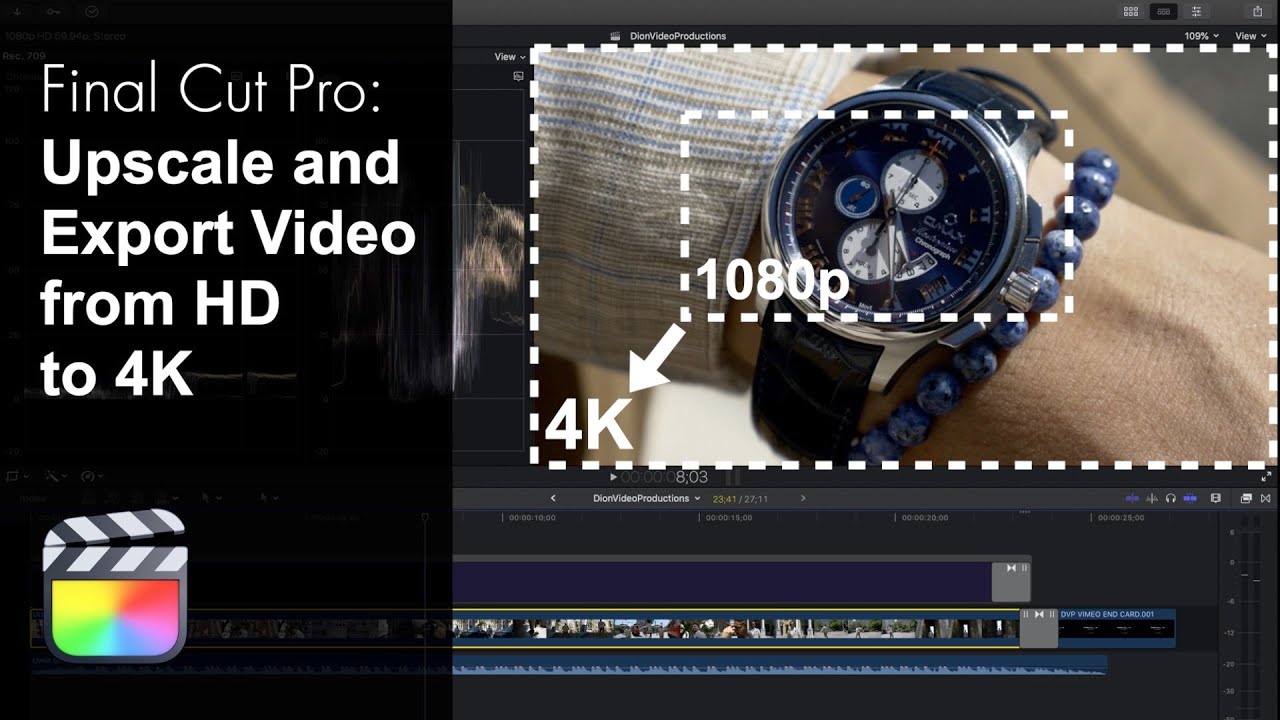
How to Upscale and Export Video from HD to 4K in Final Cut Pro X
Показать описание
Up next! ⬆️ Useful links! ⬇️
How to correctly upscale and export your project from HD to 4K in Final Cut Pro! Exporting your project in 4K will allow your video to be properly scaled to fit a 4K display. Additionally, it is shown that upscaling from HD to 4K before you upload to YouTube, will not only allow viewers to select 4K as a quality option. But also, because YouTube detects the video as a 4K file, it will give the video a higher playback bitrate. Ultimately resulting in sharper image quality! Here is the example clip that we're working with today and this is a fashion film. You can see this is a hd file with a resolution of 1920 by 1080. Let's change this to 4k. Import the video like you would any other video. Create a new event, once the video has imported this will now be listed under our new event. Go under file select new and then project, select the use custom settings button, this will allow you to change the video format from 1080p to 4k 8k or even 360 or actually also a custom size and this is what will allow you to even create videos formatted for instagram or tiktok. For now select 4k. There are some different options under the 4k preset however i'm going to go with the standard 3840x2160. Let's drag the clip into the new project, expand this view by pressing shift z and you'll notice above the clip we have these dotted lines which indicates that it has to be rendered. This is because the upscaling hasn't happened yet so let's let this render. Now as FCP is rendering it is actually upscaling the footage bringing it from 1080p to 4k. After rendering we can now play this back in 4K. Now, to export it in 4k, go to the share menu and select master file as this gives best options. We have the option to change the title and we can also add a description or creator tags. Let’s go ahead and take a look at settings this is where we get to the codec now as standard final cut will export this as a apple prores 422 file which will give you a very high quality export you'll notice the file size is very large. If you're uploading to youtube let's say we are this is not an ideal preset as this will have very long upload times so we're going to go ahead and change this to h.264 now this is a slightly more compressed video codec however this will make massive difference in terms of file size and will retain much of the quality including the resolution and frame rate so let's go ahead and select this. As you can see this brings the file size down significantly to only 417 megabytes. That’s all the settings we're going to change let's go ahead and select our destination. Alright so the video has now finished exporting let's go back to that same folder and here we have the newly exported 4k version, resolution of 3840 by 2160. We can play this back and it will play back smoothly this time of course scaled properly for a 4k display and again when uploaded to youtube will be played back in a higher bit rate.
Thank you for watching, let me know if you have any questions.
Dion Schuddeboom
DionVideoProductions
(Tags)
Final Cut Pro x playlist video tutorial how to upscale scale hd to 4k guide setup help easy step by step follow export import project timeline video photo production editing edit web YouTube tv media platform social media marketing digital playback full resolution quality film movie music text element plugin download upload DionVideoProductions,Dion,Schuddeboom,Dion Schuddeboom,Professional,Video,Production,Film,Tech,Reviews,Quality,Content,Trending,personal brand,unboxing,tutorial,how to,Final Cut Pro x,playlist,step by step,easy,follow,upscale,hd,4k,hd to 4k,convert,YouTube,export,apple,devices,upload,download,fast,timeline,project,import,new,event,file,command,shortcut,must,watch,education,guide,form,profesional,beginner,zoom,scale,increase,size
 0:00:26
How To UPSCALE Video To 4K In Davinci Resolve
 0:07:34
Upscale 1080p Video to 4K | 4K Export Hack!
 0:03:16
SUPER SCALE in DaVinci Resolve | Upscale 1080p to 4K | EASY Tutorial
 0:05:03
How to Upscale and Export Video from HD to 4K in Final Cut Pro X
 0:02:09
UPSCALE 1080P TO 4K | PREMIERE PRO
 0:03:26
How to Increase Video Quality | Enhance to 4K
 0:07:35
How to Upscale Anime and Export it in 4K! | Watch Upscaled Anime
 0:01:37
How to Upscale Video Quality - Premiere Pro 2023 Best Export Settings
 0:04:56
How To PROPERLY Upscale HD Video to 4K In Premiere Pro
 0:05:33
Upscale 1080p Footage to 4k with Davinci Resolve Superscale!!
 0:07:59
Convert any 1080p screen recording or video to 4K for FREE 🤯 (Video2X)
 0:04:15
Best FREE AI Image & Video Upscaler Software - Upscale To 4K ✔️
 0:08:07
Adobe Premiere Pro 2023: How To Export 4K Video (Highest Quality Settings)
 0:01:55
How to properly UPSCALE video to 4K in after effects
 0:01:32
How To Upscale to 4K in Davinci Resolve 18 | Enhance Your Footage by Upscaling to 4K | Tutorial
 0:01:24
How To Upscale Video to 4K in Davinci Resolve 19
 0:06:36
My EASY Way To Upscale My Sony A7iv's 120fps 1080p Footage to Crispy 4k!
 0:01:54
How to Upscale Videos in After Effects 2024 | Upscale Tutorial 720p to 4K | NO PLUGIN
 0:07:30
How I Get the Best Video Quality | Davinci Resolve Export Settings
 0:06:43
How To Export 4K in DaVinci Resolve from 1080p Timeline | Can You See The Difference?
 0:01:17
How To 720p to 4k in Davinci Resolve 18 | Upscale Resolution from 720p to 4K | Tutorial
 0:02:28
Video Quality ENHANCER - Too good to be true!? Convert HD to CRISPY 4K VIDEO
 0:09:54
How To Edit Video With Mixed Resolutions | Upscale 1080P & Downscale 4K Footage In Premiere Pro
 0:02:48
Upscale Your Footage To 4k Or 8k Using This One Thing - Davinci Resolve 18.5
Комментарии