filmov
tv
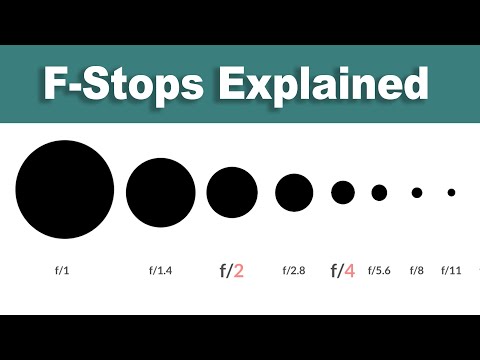
F-Stops Explained — Camera Lens Tutorial

Показать описание
For more of my free tutorials, visit:
 0:02:49
F-Stops Explained — Camera Lens Tutorial
 0:05:19
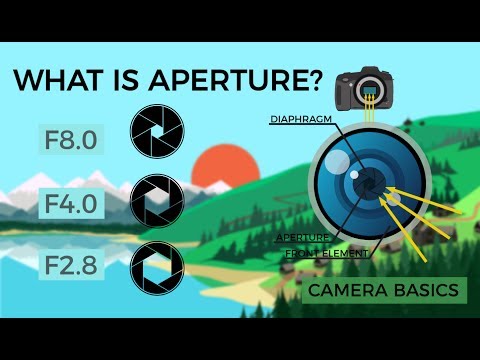
Camera Basics - Aperture
 0:06:13
Photography Tutorial - Aperture and F Stops Explained
 0:00:53
What is F-Stop?
 0:00:29
What is Aperture? 📷 (Photography)
 0:14:54
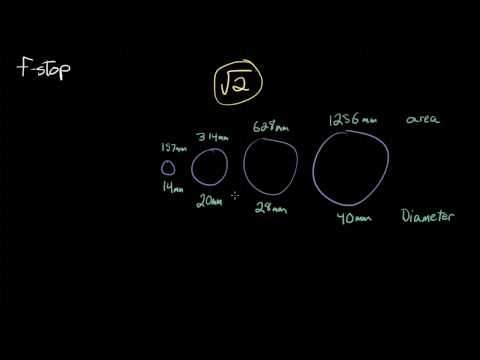
A Simple Explanation of F-Stop
 0:01:44
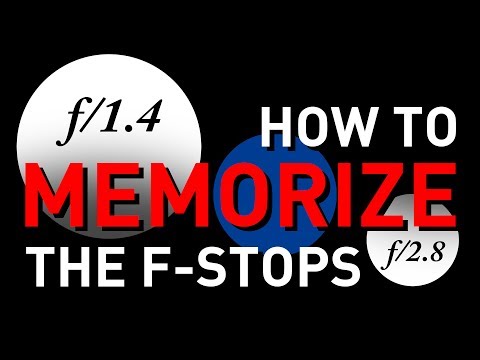
How to Memorize the F-Stop Scale, Easily
 0:03:31
ISO, Shutter Speed and Aperture Explained | Exposure Basics for Beginners
 0:00:57
F Stop For Beginners
 0:00:51
F Stop VS T Stop - What’s The Difference?
 0:04:42
T-stops vs f-stops Explained - The Practical Differences & The Math
 0:02:05
How to Understand F-Stops | Digital Cameras
 0:11:30
Camera Lenses Explained For Beginners (What Do The Numbers Mean?)
 0:00:59
f1.8 vs f1.2 (Aperture Explained) #photography
 0:00:52
Aperture is SO IMPORTANT!
 0:00:59
The Difference Between F-Stop And T-Stop #Shorts
 0:05:12
Camera Basics - Focal Length
 0:06:35
Aperture numbers explained - THE SCIENCE behind the aperture, 'f' and why the numbers make...
 0:00:41
Take SHARPER PHOTOS with this RULE 📷 What is Shutter Speed?
 0:06:27
Beginners guide to aperture, f stops explained.
 0:00:36
Shutter speed explained *SIMPLE*
 0:00:26
The BEST Aperture for Landscape Photography
 0:00:57
What is an Aperture Stop (explained with MATH) #photography
 0:08:56
APERTURE AND F STOPS EXPLAINED
Комментарии