filmov
tv
How to install WampServer in Windows 7
Показать описание
Learn how to install wampserver in Windows 7. Wamp server is a web development platform on Windows
Wamp server allows you to create web applications which are dynamic and interactive. It is a Window's based web platform used for developing web applications.
In this tutorial, we will show you how to install wampserver in windows 7.
Step 2 -- Download installation file
With that done, a notification window will open up. Over here, click on the "you can download it directly" option and the downloading will start automatically.
Step 3 -- Open Wamp Server Installation Wizard
Once the installer has been downloaded, double click on the file to run the installer.
With that done, the wamp server installation wizard will open up. Click on the next button to proceed with the process.
Step 4 -- Accept the license
Over here, you will be required to accept with the license agreement and continue installing wampserver.
Step 5 -- Set installation path
Now you will be required to set the directory for the installation. Let the default settings remain and do not change the directory over here. Simply click on the next button to continue installing wampserver.
In Next Screen, you can create a desktop icon and a quick launch icon for wamp server if you want to. To complete the installation process, simply click on the Install button.
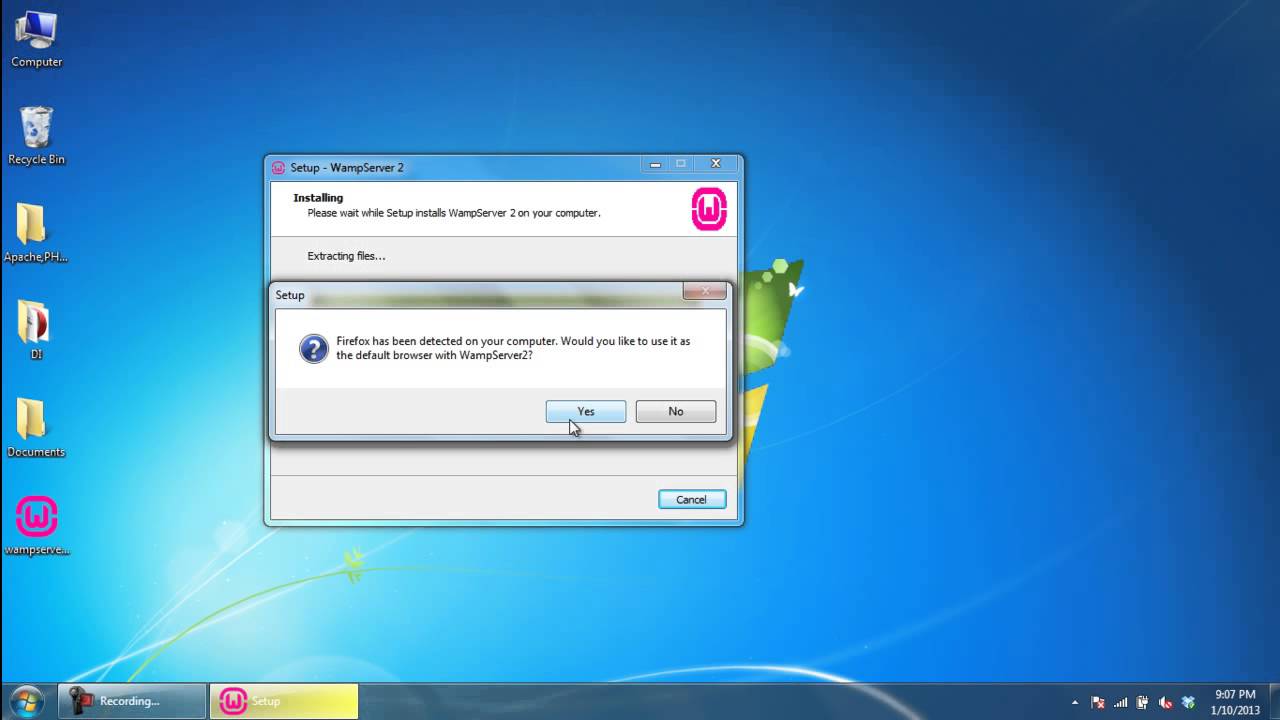
Step 6 -- Set the default browser
During the installation, you will be asked for the default browser with wamp server. In this tutorial, the installation wizard automatically detected that firefox was our current default manager and whether we want to use it with the wamp server. Simply click on Yes to continue with the installation.
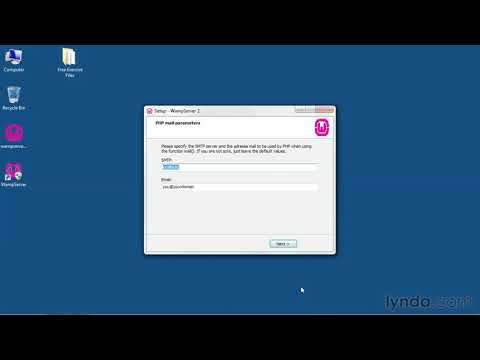
Step 7 -- Set up the mail parameters
In the next step you can set up the mail parameters. If you working on a test environment, leave the default settings as it is and move on to the next step.
Step 8 -- Complete wamp server installation
And the installation is now complete. Simply click on the finish button to exit from the window and launch wamp server.
Step 9 -- Click on localhost
Move to the notification area and click on the "Wamp" Icon to open up the server menu. Over there, click on the "localhost" option.
Step 10 -- WampServer Configuration
With that done, Firefox will open up and you will see the WampServer Configuration page open up. Scroll down the page and you will see the phpinfo tab, phpmyadmin, sqlbuddy and webgrind.
Wamp server has now been successfully installed on your computer.
Wamp server allows you to create web applications which are dynamic and interactive. It is a Window's based web platform used for developing web applications.
In this tutorial, we will show you how to install wampserver in windows 7.
Step 2 -- Download installation file
With that done, a notification window will open up. Over here, click on the "you can download it directly" option and the downloading will start automatically.
Step 3 -- Open Wamp Server Installation Wizard
Once the installer has been downloaded, double click on the file to run the installer.
With that done, the wamp server installation wizard will open up. Click on the next button to proceed with the process.
Step 4 -- Accept the license
Over here, you will be required to accept with the license agreement and continue installing wampserver.
Step 5 -- Set installation path
Now you will be required to set the directory for the installation. Let the default settings remain and do not change the directory over here. Simply click on the next button to continue installing wampserver.
In Next Screen, you can create a desktop icon and a quick launch icon for wamp server if you want to. To complete the installation process, simply click on the Install button.
Step 6 -- Set the default browser
During the installation, you will be asked for the default browser with wamp server. In this tutorial, the installation wizard automatically detected that firefox was our current default manager and whether we want to use it with the wamp server. Simply click on Yes to continue with the installation.
Step 7 -- Set up the mail parameters
In the next step you can set up the mail parameters. If you working on a test environment, leave the default settings as it is and move on to the next step.
Step 8 -- Complete wamp server installation
And the installation is now complete. Simply click on the finish button to exit from the window and launch wamp server.
Step 9 -- Click on localhost
Move to the notification area and click on the "Wamp" Icon to open up the server menu. Over there, click on the "localhost" option.
Step 10 -- WampServer Configuration
With that done, Firefox will open up and you will see the WampServer Configuration page open up. Scroll down the page and you will see the phpinfo tab, phpmyadmin, sqlbuddy and webgrind.
Wamp server has now been successfully installed on your computer.
 0:14:18
How to Install WAMP Server 3.3.2 on Windows 10/11 [ 2024 Update ] Step-by-Step Installation guide
 0:08:13
How to Install WAMP Server 3.3.0 on Windows 10/11 [ 2023 Update ] Step-by-Step Installation guide
 0:12:07
How to Install Wamp Server on Windows 11
 0:00:54
How to fix wampserver installing error (VC++ packages install)
 0:02:12
How to install WampServer in Windows 7
 0:05:29
How to Download & Install WAMP Server on Windows10
 0:09:21
How to Install WAMP Server 3.3.2 on Windows 10/11 [ 2024 Update ] Step-by-Step Installation guide
 0:11:40
How to Install WAMP Server 3.3.2 on Windows 10/11 | Step-by-Step Guide - 2024
 0:04:29
How To Download And Install WampServer In Windows 7/8/10 |2024 | Techtronics
 0:06:58
How to install WordPress on wamp server in windows 10 | Step By Step | WordPress Tutorial
 0:04:03
How to Install WampServer on Windows 11 | WampServer Installation on Windows 11 | Download Wamp
 0:02:15
How to Use WampServer for Windows
 0:11:46
How to Install WAMP Server 3.3.2 64 bit on Windows 10/11
 0:03:24
How to Install WampServer on Windows 10 PC (Localhost) 2021
 0:06:26
MySQL Tutorial - How to install WampServer on Windows
 0:09:25
How to install Wamp server on windows 10 Step by Step: Wamp server Installation
 0:11:41
How to Install WAMP Server on Windows 10 [2021 Update] & How to Run PHP Program | Step by Step g...
 0:05:41
How To Install Wamp Server In Windows? Free
 0:09:38
How to Install WAMP Server on Windows 11 [2021 Update] & How to Run PHP Program | Step by Step g...
 0:13:23
How to Install WAMP Server on Windows 10 / 11 - Clean Installation - Avoid .dll & VCRUNTIME Erro...
 0:03:02
how to install wamp server 2.0c
 0:08:02
How to Install WAMP Server 3.2.6 on Windows 10/11 [ 2022 Update ] Step-by-Step Installation guide
 0:05:13
How to install wamp server 2.5 in windows 10
 0:06:38
How to download and install Wamp Server on Windows 11 || Tutorial for Beginners
Комментарии