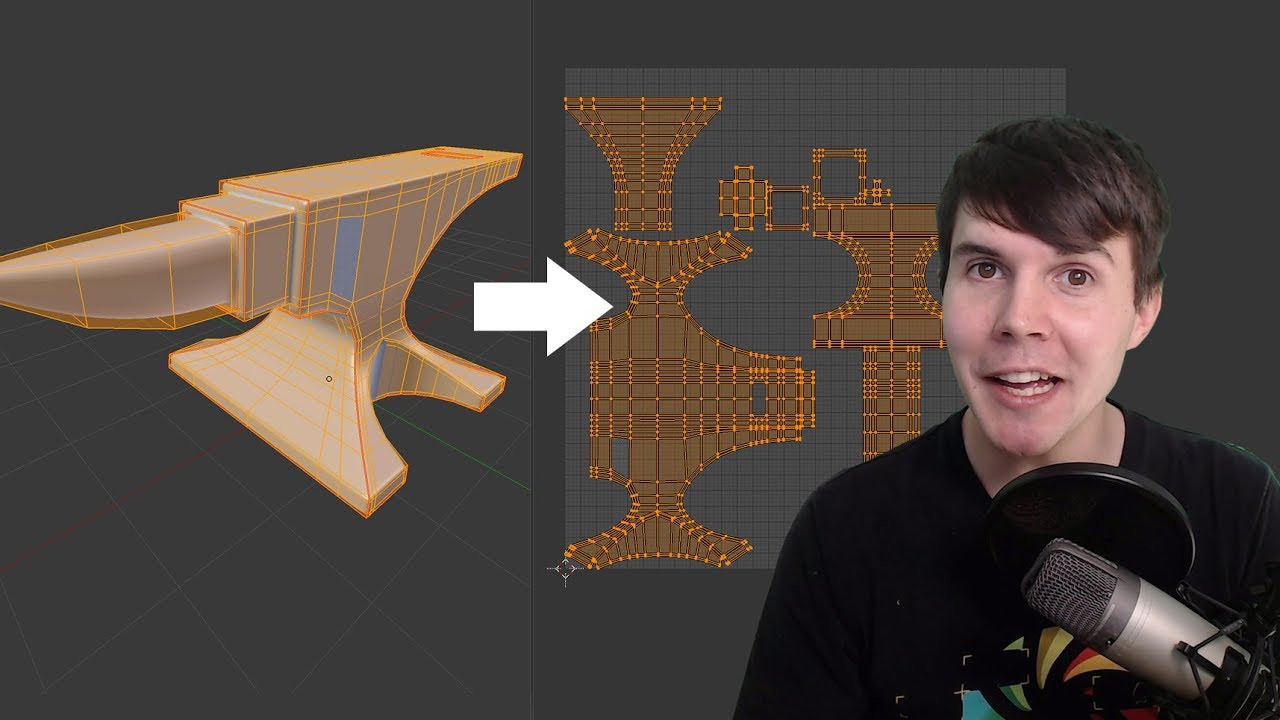
Blender Intermediate UV Unwrapping Tutorial

preview_player
Показать описание
Blender tutorial about how to UV unwrap in Blender, so that you can texture your model.

-----------------------------------------------

Follow me:

Рекомендации по теме
Комментарии
Автор

If you're following this tutorial in Blender 2.91, the Heatmap stretch option is under a button called "Show Overlays" (looks like two circles crossing one another) next to the UVMap name (should say UVMap in a text box by default). Within that drop down under "UV Editing" there is a tick box to "Display Stretch"

gavinctate
Автор

me "wow this looks grea"
andrew "notice how ABSOLUTE SHIT THIS IS"
me "absolutely."

SUBtrauma
Автор

Useful to state that when adding a material at 2 minutes 44 seconds then be sure to have it set to Cycles Render. Default Blender Render will provide different material options. As a noob it took me a short while to figure out what the issue was as I was not getting the same options as shown on the video.

grimventures
Автор

Heatmap in Blender 3.3. Go to UV Editing tab > Hover mouse above the top bar (the place where you see View, Select, Image etc) > Scroll down to see the right of the top bar > Click on the arrow next to the input that says "UV Map" to open Overlays > Under the "UV Editing" section, click on "Display Stretch"

chrisrabe
Автор

3 minutes in video, and I clearly understand what UV Unwrapping means :) ... that's what I call tutoring !

milanmestka
Автор

Coming from someone who's old enough to be your dad, I've experienced my fair share of teachers, tutors, lecturers, professors, mentors etc., and I can honestly say your teaching and explanation skills are really really exceptional. Thanks for giving your time to the Blender community. You are a genuinely rare and valuable resource. Keep up the great work. Thanks mate.

pappapiccolino
Автор

At 11:14, for those using Blender 3.4.1, you want to go to the UV Editor window, click the "Show Overlays" dropdown, and beneath UV Editing click "Display Stretch".

matthewbaldeosingh
Автор

11:09 The heat map overlay is a bit hidden in Blender 2.80. If you go to the UV editor and open the side-panel (with the N-Key) there is Display -> Overlays -> Stretching.

HarqoGames
Автор

Quick tip! Blender has a Clone Stamp brush in Texture Paint mode - just like the one in Photoshop. This is super useful if you have unavoidable seams in your UV map, as you can paint over them and blend the two sides together, even if they're not actually touching in your map. It uses the 3D Cursor as a source, which you can move in Texture Paint mode by holding CTRL and left-clicking. Happy texturing :)

trentstonedigital
Автор

TIP: To be able to see where a part of the UV map came from, click the icon of the two arrows in the top left corner (UV sync selection) in UV editing, this will allow you to deselect the edit mode thing and keep the UV map. Select anything on the UV map then it will be selecting in edit mode!

Wildash
Автор

I wanted to say that I have greatly appreciated all of your tutorials, especially with the 2.8 Blender series and these as well. :) Thank you for all your hard work, it makes it much easier to learn Blender with these high quality videos to refer to. :)

annakaricole
Автор

All the other tutorials I’ve seen on UV unwrapping have added in lots of other stuff and made it look very complicated and confusing. This gets to the heart of the matter and makes it straightforward. Andrew also explains how and why you put seams in certain places to get the best result, not just press this button then that button. So thanks.

glennet
Автор

These tutorials of yours are just pure loveliness👍👍

nebobyeoli
Автор

Thank you, Andrew, for everything you are doing here on Youtube. It's incredible, you're tutorials are so great to follow - they're clear you are well spoken and you're an excellent teacher. Thank you once more!

OverloadedM
Автор

I'm a brazillian doing Game Design college and your tutorials have been helped me out so much. Thank you for spread your knowledge and keep up the awesome work!

raysalima
Автор

Man, it would have been nice to have this a year ago when I was trying to flash-learn UV editing, but at least everyone else will have a nice, clear option now. There's a few other good UV tutorials, but they're hard to find, so it's nice to finally have one from one of the best blender tutorial guys.

Fluffysbeans
Автор

It's been almost five years since the video was released, but your lessons are still relevant today. Thank you for your work!

fyktsve
Автор

I appreciate how you took the time to explain, in laymen's terms, what UV unwrapping is. Unwrapping a cube was genius, because I've never seen anyone explain it that way before.

joshuabermudez
Автор

Brilliant animated illustration of unwrapping! I have viewed several tutorials demonstrating unwrapping a cube, you are the first to animate the unfolding action. Kudos. I am enjoying you tutorials and learning a lot.

horner
Автор

11:09 for blender 2.9 and above, just click "show overlays" next to open image pin, in 2nd top bar, in dropdown menu, you will see first option as "display stretch" ... just enable it.

tulipbaba