filmov
tv
Bending Oak Beam Live Attempt #3 ⚠️ Glue Lam Danger ⚠️

Показать описание
 0:56:46
Bending Oak Beam Live Attempt #3 ⚠️ Glue Lam Danger ⚠️
 0:29:40
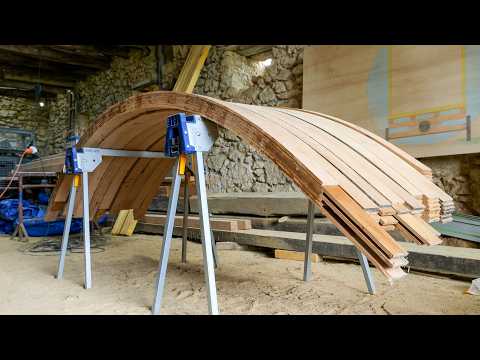
Bending a 2.5m Curved Oak Roof Beam
 0:15:45
Perfecting 2.5m Oak Bending
 0:18:56
Bending wood for furniture...tips, tricks and techniques.
 0:09:14
Bending Wood With Heat
 0:00:59
Tips Wood Bending // Ingenious Skills Curved Woodworking Craft Worker
 0:00:18
#golfswing #fyp #waitforit #followthrough
 0:00:06
Sprinters Fighting For It 😅
 0:00:20
This is not sped up.
 0:00:15
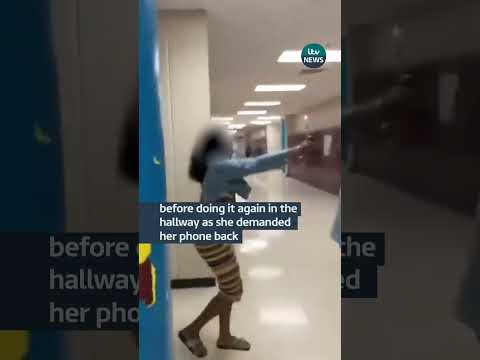
Teacher takes away student’s phone #itvnews #school
 0:27:08
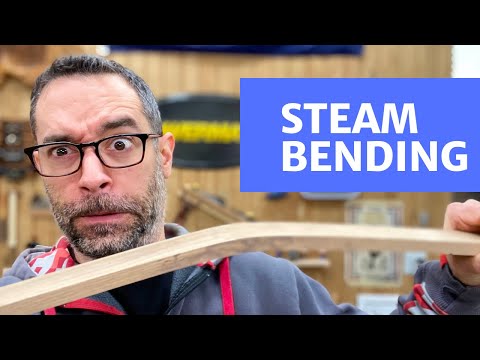
Adventures in Steam Bending
 0:00:28
This can happen in Thailand
 0:12:26
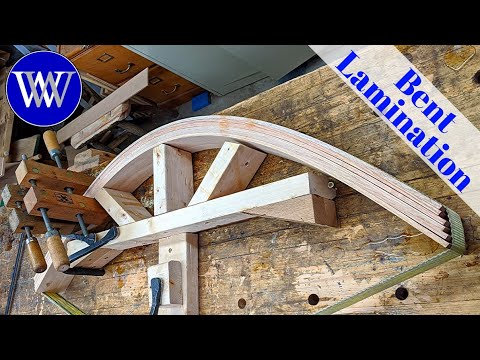
How to do Bent Lamination
 0:00:16
Describe your perfect vacation. #philippines #angelescity #expat #travel #filipina #phillipines
 0:24:07
Difficult Bird Mouths on Curved Roof Beams
 0:04:24
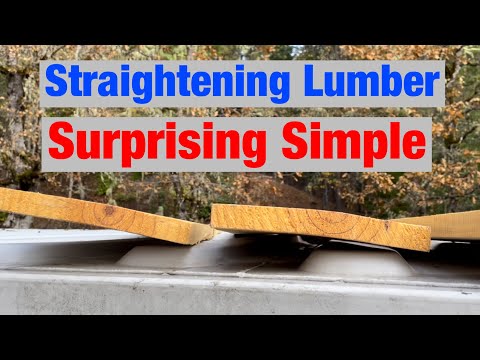
Easy Way to Straighten Out Warped Twisted Crooked Cupped Lumber.
 0:38:49
Bending Wood with Heat
 0:00:31
Getting Trees for FREE
 0:00:28
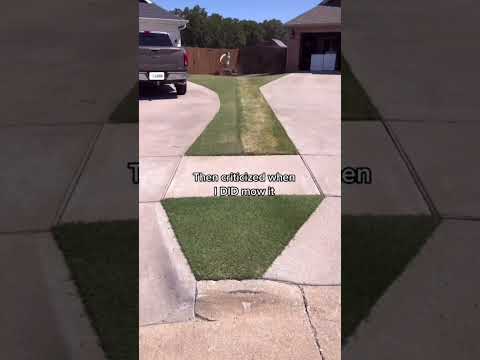
The Most Controversial Lawn on the Internet
 0:00:17
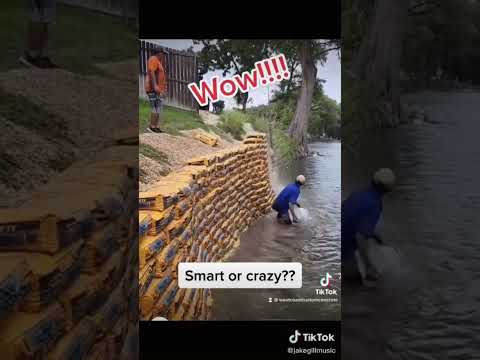
How to pour a dry bag🤣retaining wall😉
 0:00:26
Almost 3 Years As A condo Owner in Miami Beach.. This is pretty normal on a Monday in South Beach
 0:00:18
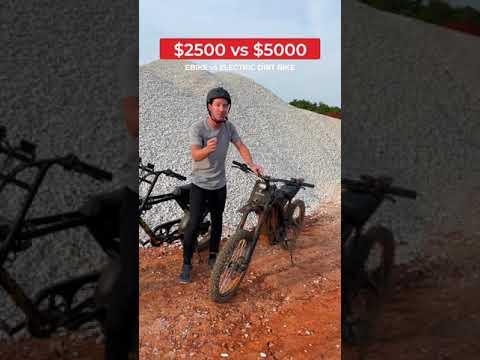
$2500 eBike vs $5000 Electric Dirt Bike!
 0:00:16
Lokicraft top 3 seeds ! 😍 #shorts
 0:00:45
These Black Holes are REALLY Close to Earth!
Комментарии