filmov
tv
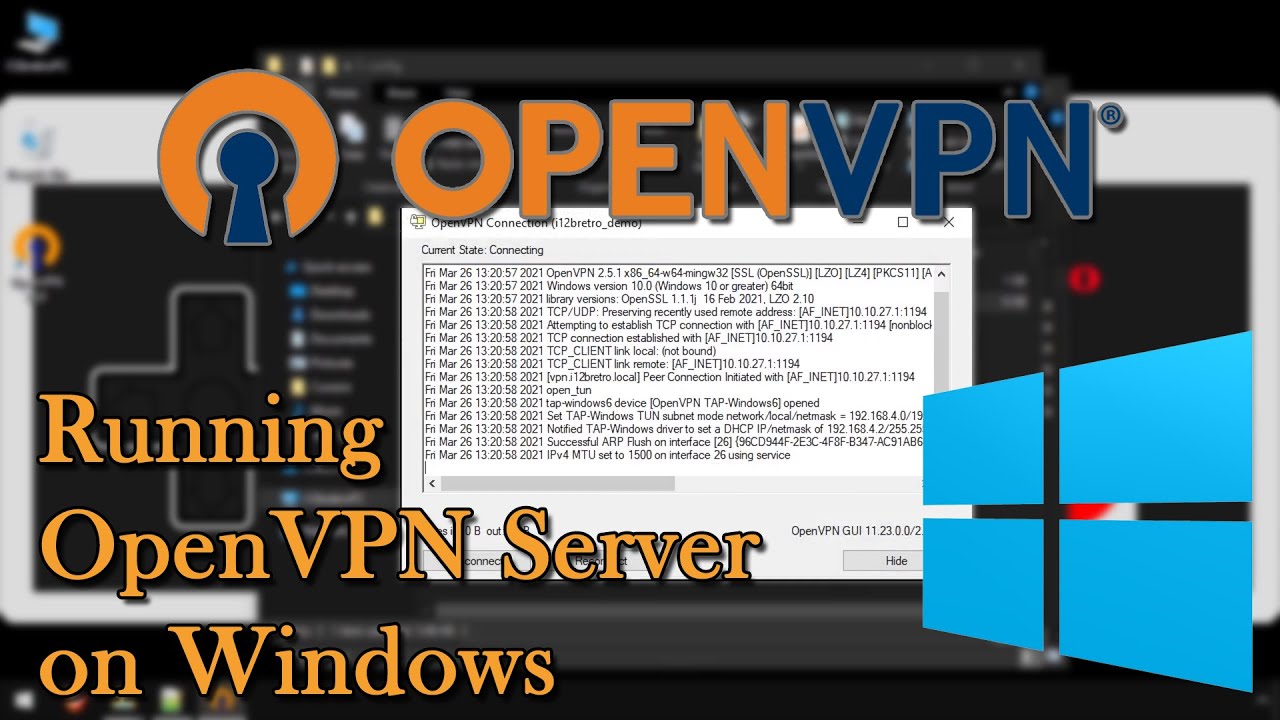
Running OpenVPN Server on Windows
Показать описание
#OpenVPN #VPNServer #SelfHosted
Prerequisites
Create Required Certificates
01. Launch XCA
02. Open the PKI database if it is not already (File ≫ Open DataBase), enter password
03. Click on the Certificates tab, right click on your Intermediate CA certificate
04. Select New
05. On the Source tab, make sure Use this Certificate for signing is selected
06. Verify your Intermediate CA certificate is selected from the drop down
07. Click the Subject tab
08. Complete the Distinguished Name section
internalName: OpenVPN Server
countryName: US
stateOrProvinceName: Virginia
localityName: Northern
organizationName: i12bretro
organizationUnitName: i12bretro Certificate Authority
09. Click the Generate a New Key button
10. Enter a name and set the key size to at least 2048
11. Click Create
12. Click on the Extensions tab
13. Set the Type dropdown to End Endity
14. Check the box next to Subject Key Identifier
15. Update the validity dates to fit your needs
16. Click the Key Usage tab
17. Under Key Usage select Digital Signature and Key Encipherment
18. Under Extended Key Usage select TLS Web Server Authentication
19. Click the Netscape tab
20. Deselect all options and clear the Netscape Comment field
21. Click OK to create the certificate
22. Click on the Certificates tab, right click on your Intermediate CA certificate again
23. Select New
24. On the Source tab, make sure Use this Certificate for signing is selected
25. Verify your Intermediate CA certificate is selected from the drop down
26. Click the Subject tab
27. Complete the Distinguished Name section
internalName: OpenVPN Client #1
countryName: US
stateOrProvinceName: Virginia
localityName: Northern
organizationName: i12bretro
organizationUnitName: i12bretro Certificate Authority
commonName: VPN Client 1
28. Click the Generate a New Key button
29. Enter a name and set the key size to at least 2048
30. Click Create
31. Click on the Extensions tab
32. Set the Type dropdown to End Endity
33. Check the box next to Subject Key Identifier
34. Update the validity dates to fit your needs
35. Click the Key Usage tab
36. Under Key Usage select Digital Signature, Key Agreement
37. Under Extended Key Usage select TLS Web Client Authentication
38. Click the Netscape tab
39. Deselect all options and clear the Netscape Comment field
40. Click OK to create the certificate
41. On the Certificates tab, click the OpenVPN Server certificate
42. Select Extra ≫ Generate DH Parameter
43. Type 2048 for DH parameter bits
44. Click OK
Exporting Required Files for OpenVPN
01. In XCA, click on the Certificates tab
02. Right click the Intermediate CA certificate ≫ Export ≫ File
04. Click OK
05. Right click the OpenVPN Server certificate ≫ Export ≫ File
07. Click OK
08. Right click the OpenVPN Client #1 certificate ≫ Export ≫ File
10. Click OK
11. Click on the Private Keys tab
12. Right click the OpenVPN Server key ≫ Export ≫ File
14. Click OK
15. Right click the OpenVPN Client #1 key≫ Export ≫ File
17. Click OK
Installing and Configuring OpenVPN Server
02. Run the downloaded .msi installer
03. Click Customize and make sure the OpenVPN Service option is selected for installation
04. Click Install Now
06. Open a text editor and paste the following text
port 1194
proto tcp
dev tun
....Full steps can be found on GitHub [link at the top]
### Connect with me and others ###
 0:17:51
 0:19:42
 0:12:22
 0:09:09
 0:10:35
 0:06:47
 0:09:26
 0:12:26
 0:04:06
 0:10:39
 0:01:57
 0:18:27
 0:10:07
 0:09:48
 0:19:17
 0:16:24
 0:03:34
 0:02:23
 0:08:50
 0:05:04
 0:11:01
 0:09:13
 0:08:16
 0:05:59