filmov
tv
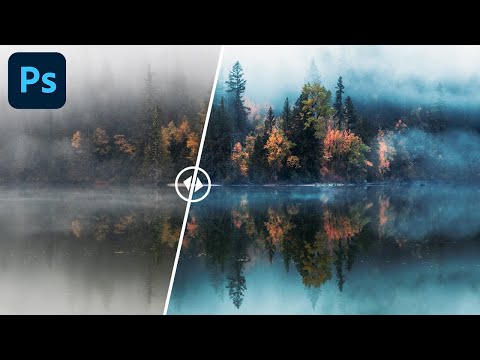
Simple COLOR GRADE Trick To Make Your Photo 'Pop' (Look MORE 3D!)

Показать описание
In this Photoshop tutorial, learn how to make your Portrait photo "pop" & look more 3D (using several 'Subject Separation' color grading effects!)
Chapters:
0:00 Intro
0:43 Initial Adjustments
1:38 'Subject Separation' Overview
2:07 Background DEPTH
4:15 Subject SEPARATION
6:34 Final 3D Effects!
* SUBSCRIBE for more videos like this!
* Music via SoundStripe: Peppermint Mocha (by Mala) & Epidemic Sounds
Chapters:
0:00 Intro
0:43 Initial Adjustments
1:38 'Subject Separation' Overview
2:07 Background DEPTH
4:15 Subject SEPARATION
6:34 Final 3D Effects!
* SUBSCRIBE for more videos like this!
* Music via SoundStripe: Peppermint Mocha (by Mala) & Epidemic Sounds
 0:09:09
Simple COLOR GRADE Trick To Make Your Photo 'Pop' (Look MORE 3D!)
 0:01:01
Color Correct with One Click | 1-Minute Photoshop (Ep. 5)
 0:00:58
Color Grade Your Videos 10x Better With These Tips
 0:01:01
Saturation Mask? A Great Way to Enhance Colors!
 0:00:39
Steal the Color Grade From Any Movie in Premiere Pro
 0:00:45
📽️ Cinematic Color Grading in Photoshop!
 0:16:20
Color Correction with Easy '4-Point' Technique! - Photoshop Tutorial
 0:09:19
Try This: Simple and Easy Color Grading Tricks in Photoshop
 0:13:59
Simple Color Grade & Photo Retouch Tricks!
 0:17:42
Color Grading 101 - Everything You Need to Know
 0:00:42
The Most Accurate Way To White Balance in DaVinci Resolve
 0:08:43
Photo Editing Tutorial: Bright, Airy & VIBRANT Color-Grade (In Photoshop!)
 0:00:23
Quick Lightroom Tips: Brighten Dark Photos #shorts
 0:05:28
Simple Way To Apply a Cinematic Color Grade in Photoshop!
 0:00:09
A simple color grade can go a LONG way #filmmaking #colorgrading #sonyfx3
 0:00:48
The Right Way to Change Color in Photoshop! #Shorts
 0:12:57
5 POWERFUL Ways To Color Grade Images In Photoshop
 0:13:08
My Davinci Resolve Color Grading Process - Simple & Effective!
 0:11:53
COLOR GRADE in Lightroom Like a PRO // Cinematic Color Grading
 0:13:05
3 Simple Color Grading Tricks to make your Footage POP | DaVinci Resolve 17 Tutorial
 0:00:19
Copy any film's color grade using DaVinci Resolve
 0:03:29
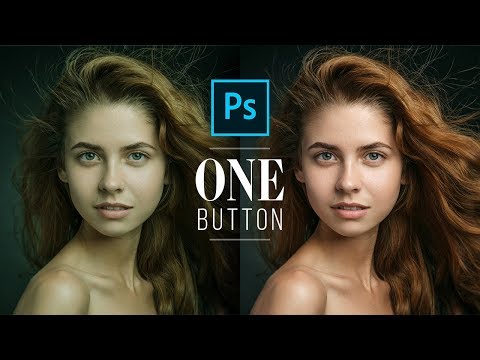
Fix Skin Tones with One Button in Photoshop!
 0:13:21
The ONLY Way to Steal Color Grading That Works 100%!!! - Photoshop Tutorial
 0:00:20
How To Color Grade In Premiere Pro
Комментарии