filmov
tv
How to disassemble and clean your PS3 laser

Показать описание
This video is about how to clean your PS3 laser. When the PS3 laser gets dirty you will get an error code and your disc's won't play. This video will show you how to clean your PS3 laser and restore your PS3 's function
 0:17:13
How to disassemble and clean your airbrush easy step by step
 0:11:04
How to Disassemble and Clean the Dyson V6 Vacuum Cleaner - Full Tutorial
 0:13:07
How to Disassemble & Clean an Olympic Barbell!
 0:10:39
XBOX 360 DISASSEMBLE AND CLEAN // how I took apart my Xbox 360 to clean/ make it quieter2
 0:19:02
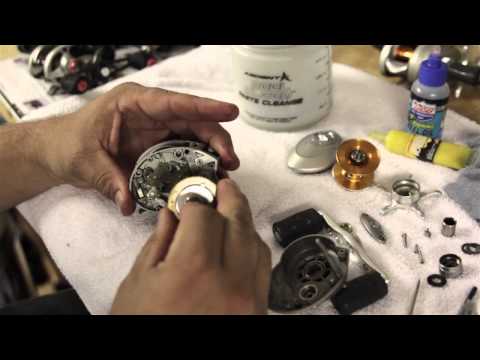
How to Disassemble and Clean a Baitcaster for Beginners (Part 1)
 0:08:12
How to Disassemble and Clean Your PlayStation 4 Pro for Optimal Performance
 0:01:03
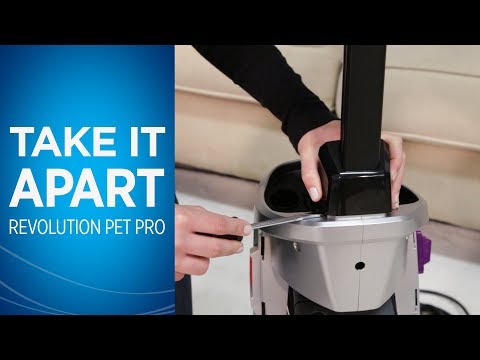
How to Disassemble your ProHeat 2X® Revolution™ Pet Pro
 0:06:34
How to Disassemble the LG Magic Remote to Clean It
 0:12:28
Spray Nozzle Clogged With Dry Paint Also Leaking. Safe Paint, Clean Machine (Graco Magnum X7 )
 0:11:31
How to Clean Your PS5 Safely - 3 Stages
 0:16:34
How To Disassemble And Clean Your Instant Pot
 0:03:40
Xbox 360 controller - How to disassemble, clean and reassemble
 0:06:21
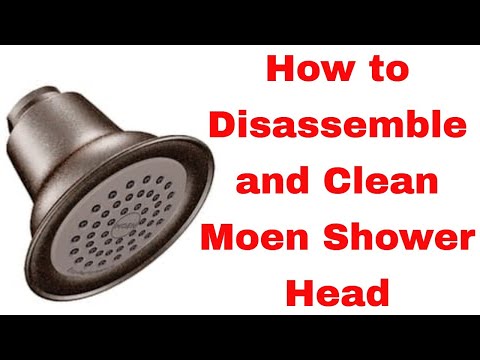
How to Disassemble and Clean a Moen Shower Head
 0:23:54
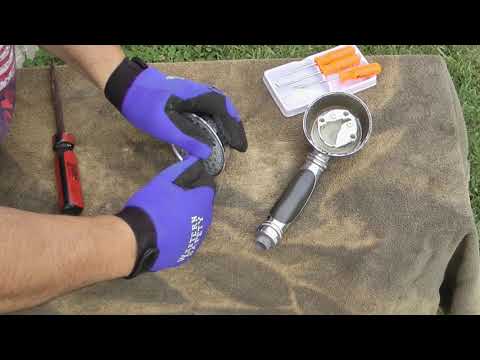
How to Disassemble and Clean Low-Profile Baitcaster Fishing Reels
 0:49:09
OPEN ME UP! Dyson V11 Outsize Complete Disassemble and Clean
 1:03:35
OPEN ME UP! Dyson V10 Complete Disassemble and Clean Updated 19.7.22
 0:07:55
HOW TO disassemble and clean a Metrohm exchange unit
 0:05:26
How to Disassemble and Clean the Margaritaville Machine - Margaritaville Frozen Concoction Maker
 0:08:30
How to Disassemble and Clean Binocular Telescope | Disassembling and Cleaning Binocular Telescope
 0:19:57
How to Disassemble, Clean & Quiet a Tower Fan
 0:05:22
How to Disassemble & Reassemble a TWSBI Piston-Filled Pen
 0:19:47
Learn how to disassemble Any Laptop easily | How to Take Apart and Clean a laptop
 0:12:15
How To Clean A DIRTY Barbell (Disassemble, Clean, & Reassemble Your Wonder Bar)
 0:10:20
How to disassemble shower head (all methods)
Комментарии