filmov
tv
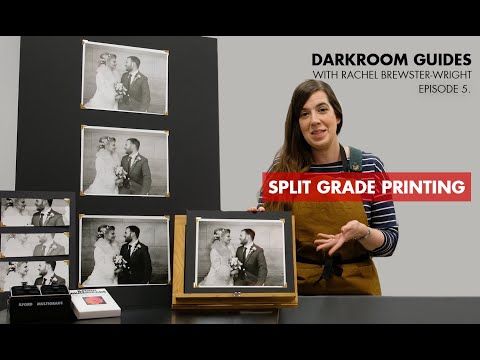
How to do Split Grade Darkroom Printing

Показать описание
In this video I demonstrate how I make my traditional darkroom prints using the split grade technique. It is a very easy process to use and hopefully I show the advantages and flexibility it affords.
In essence my process boils down to :
1) Make a test strip at Grade 2.5
2) Pick the time that has the best overall balance of highlights and shadows
3) Split that time in half and make one exposure at grade 0 and the other at 5
4) Re-evaluate and adjust the 0 and 5 exposures to get the best looking print
5) Add dodges and burns during either exposure to produce the final print
Hope you find this useful, the print demonstrated can be purchased from my Etsy shop in a fully archival Fibre based form made on Ilford Multigrade Warmtone paper.
Etsy Shop
Contact Details
 0:03:09
Split Grade Printing - ILFORD Darkroom Guides
 0:08:19
How to do Split Grade Darkroom Printing
 0:11:39
Split Grade Printing
 0:11:46
How to Split Grade Print (Darkroom Holy Grail)
 0:18:38
Darkroom Printing Pt4 - Split Grade Printing 101
 0:11:19
Better control in the darkroom with f-stop & split grade printing
 0:17:05
FX 1 Pt2 - Maximizing Print Sharpness and Detail with Split Grade Printing
 0:06:32
The PROBLEM With Split-Grade Darkroom Printing
 1:34:13
🎉 Learn Consonants, Vowels, Short & Long Vowel Sounds, CVC & CVCe Words | Compilation With 2...
 0:08:26
SPLIT GRADE PRINTING - DARKROOM PRINT
 0:12:21
Thoughts on Split Grade Printing
 0:08:54
Split Filter Printing: How It Works and Why It's Brilliant
 0:00:16
watch the moment my daughter realizes she can do her right split!! lol
 0:00:12
THIS TRICK Will Get You ALL THE WAY Into Front SPLITS - How To
 0:13:37
How to do a Split Fast! Stretches for Splits Flexibility
 0:00:18
Can you do a split?😸😈
 0:19:15
EP 172 - Strategies for Teaching a Split Grade
 0:00:16
Silver Gelatin Printing variations with split grading #darkroom #filmphotography #photography
 0:00:08
3 steps to get the Splits (even if you’re not flexible)
 0:00:51
Split tutorial 🔥 Can you do a split?❤️✨
 0:00:16
I tried the human windmill challenge…
 0:00:15
How I achieved side split
 0:00:30
Anna McNulty’s Crazy split!
 0:00:19
Back Bend
Комментарии