filmov
tv
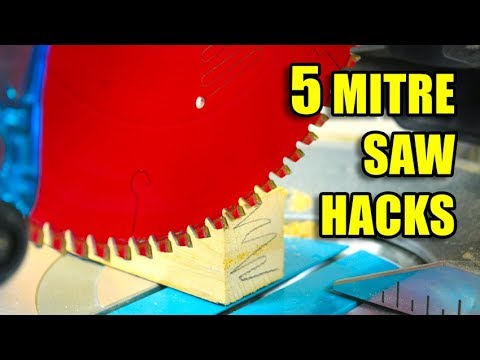
Top 5 Miter Saw Tips

Показать описание
Choose the miter saw that’s best for you, then get clean, on-the-money results using these tips and techniques.
Miter saws help you do a lot more than simply cut boards to length. With one you can make clean and accurate angle cuts past 45°, making them the perfect tool for cutting miters in everything from interior trim to picture frames to structural framing.
Secret #1: Use a good blade. Most miter saws come with a blade for rough-cutting 2x4s. Switch it out for a blade capable of also making splinter-free cuts in solid woods and sheet goods. Blades with high tooth counts cut cleaner but more slowly. On sliding miter saws use only blades with a negative tooth pitch angle.
Secret #2: Wait until the blade stops. A lot of damage can be done when you lift a spinning blade from the workpiece after making the cut. The blade can catch the workpiece and cause splintering. Doing so can also launch a small cutoff piece across the shop or at you. Be patient and wait until the blade stops before lifting it out of the cut.
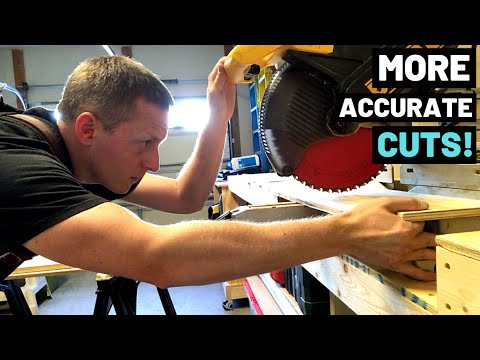
Secret #3: Extend your support. For safety and accuracy, longer workpieces should be supported beyond the ends of the saw’s table. Some miter saws have extendable supports. You can also use roller stands. Many portable miter-saw stands have built-in, extendable supports.
Secret #4: Raise the workpiece to increase capacity. If your workpiece is just a bit wider than your saw’s capacity, you can effectively increase the cutting capacity of the saw by raising the workpiece. For example, on a 10″ machine you can increase cutting-width capacity by about ½” by placing the workpiece on ¾” plywood. Be sure to use hold-downs to keep the boards in place.
Secret #5: Use stop blocks for repeatable cuts. To saw multiple pieces to the same length, simply clamp a scrap piece to your fence. Place one end of your workpiece against the block, make the cut, and repeat.
Miter saws help you do a lot more than simply cut boards to length. With one you can make clean and accurate angle cuts past 45°, making them the perfect tool for cutting miters in everything from interior trim to picture frames to structural framing.
Secret #1: Use a good blade. Most miter saws come with a blade for rough-cutting 2x4s. Switch it out for a blade capable of also making splinter-free cuts in solid woods and sheet goods. Blades with high tooth counts cut cleaner but more slowly. On sliding miter saws use only blades with a negative tooth pitch angle.
Secret #2: Wait until the blade stops. A lot of damage can be done when you lift a spinning blade from the workpiece after making the cut. The blade can catch the workpiece and cause splintering. Doing so can also launch a small cutoff piece across the shop or at you. Be patient and wait until the blade stops before lifting it out of the cut.
Secret #3: Extend your support. For safety and accuracy, longer workpieces should be supported beyond the ends of the saw’s table. Some miter saws have extendable supports. You can also use roller stands. Many portable miter-saw stands have built-in, extendable supports.
Secret #4: Raise the workpiece to increase capacity. If your workpiece is just a bit wider than your saw’s capacity, you can effectively increase the cutting capacity of the saw by raising the workpiece. For example, on a 10″ machine you can increase cutting-width capacity by about ½” by placing the workpiece on ¾” plywood. Be sure to use hold-downs to keep the boards in place.
Secret #5: Use stop blocks for repeatable cuts. To saw multiple pieces to the same length, simply clamp a scrap piece to your fence. Place one end of your workpiece against the block, make the cut, and repeat.
 0:09:11
5 Miter Saw Tips You NEED To Know!
 0:03:01
Top 5 Miter Saw Tips
 0:11:55
My Top 7 Miter Saw Tips for Beginners.
 0:07:35
Why Doesn't Everyone Make These 5 Miter Saw Upgrades?
 0:10:06
5 Little Known Miter Saw Tips Every Beginner Should Know!
 0:11:23
My Top 5 Miter /chop Saw Tips and Tricks
 0:07:48
5 Quick Mitre Saw Hacks - Woodworking Tips and Tricks
 0:16:00
20 Miter Saw Tips for Beginners
 0:11:02
Do these 5 things to make your miter saw better
 0:09:08
The 5 Miter Saw Mistakes That Beginners Make!!!(some Pros as well)
 0:05:21
5 Tips For MORE ACCURATE CUTS! (On Any Saw--Make More Accurate Cuts)
 0:01:00
How to Make Acute Cuts With a Miter Saw
 0:14:52
99% of Beginners Don't Know These Miter Saw Mistakes to Avoid!
 0:20:01
Should You Buy A Miter Saw? - Beginner Woodworker's guide
 0:07:00
DON’T Build a Miter Station — Do THIS Instead
 0:03:55
The Genius Miter Trick You Were Never Taught
 0:00:36
Woodworking 101: Mitre Saw For Beginners
 0:00:58
STOP using MITER SAWS to CUT STUDS!
 0:00:44
Best Miter Saw Accessory Ever?
 0:07:40
99% of people don't know this about a miter saw...DO YOU??
 0:09:53
Beginner Woodworker Tips on Buying the Right Saw Blades
 0:04:31
60 Second Miter Saw fix that will change the way you work! - Easy DIY Miter Saw Stop Block.
 0:00:34
SHOCKING!!! A Perfect Miter Saw!!!
 0:00:59
Miter Saw Buying Guide #woodworking
Комментарии