filmov
tv
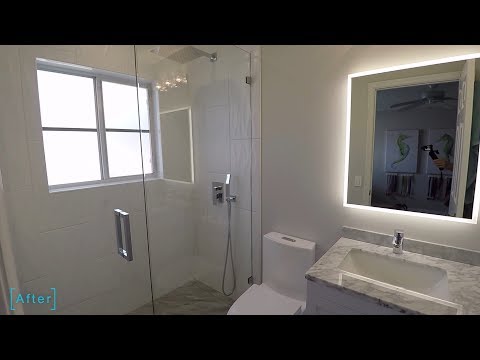
Small Bathroom Remodel - Time Lapse

Показать описание
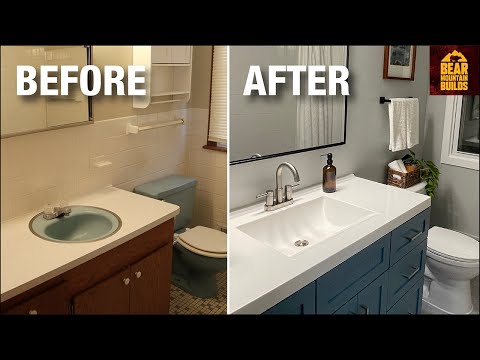
I completely remodeled and updated my small bathroom from top to bottom and couldn't be happier with how it turned out. All pretty straight forward. All very doable. Take a look. If I can do it. You can do it.
**PLEASE SUBSCRIBE**
**Related Videos**
How to paint a bath tub:
How to build a vanity for beginners:
**Tools Used**
Disclosure: Links contain affiliates.
As an Amazon Associate I earn from qualifying purchases. When you buy through one of my links I will receive a commission. This is at no cost to you.
Thank you for supporting Bear Mountain Builds and allowing us to continue to bring you valuable content.
DEWALT circular saw:
DEWALT impact driver & drill:
DEWALT Reciprocating Saw:
DEWALT bit set:
DEWALT multitool:
DEWALT Tape Measurer:
Vinyl Flooring tools:
Stud Finder:
Sanding Sponge:
Pry bar:
Demolition Hammer:
Rigid Nail Gun:
Jig Saw:
Contour Gauge:
Benchtop band saw:
Caulk gun:
Caulking tool kit:
Razor blade Scraper:
3M Reusable Respirator Face Mask:
Drill Brush attachment set:
Rubber gloves:
Scotch-Brite Pads
Comet:
Eye protection:
Painters tape:
Pull Saw:
Blow torch:
Kreg Pocket hole Jig:
Pipe deburring tool:
1/2'' Pipe cutter:
1/2'' Pipe cleaner:
1/2" Shark bite connectors:
Knee pads:
**Products Used**
Bathworks DIY Bathtub & Tile Refinishing kit (White):
Bathworks Tub and Tile chip repair kit(Great for if you miss a spot):
Shower Fixture:
Towel hangers:
Plant Pot:
Basket:
Mirror(I painted the frame black):
Floor matt:
Vanity facet/drain:
Shower Rod:
Wall Paint:
Sherwin Williams Passive
Trim Paint:
Sherwin Williams Extra white
Vanity Paint:
Sherwin Williams Waterloo
Ceiling Paint:
Shower Tile:
Toilet:
Vinyl Floor Tile:
Vanity top:
Handles:
*MY GO TO TOOLS*
100'' Straight Edge Saw guide:
DEWALT circular saw:
DEWALT impact driver & hammer drill:
Bosche miter saw:
DEWALT bit set:
Gorilla glue:
6'' Clamps:
12" Clamps:
Delta Table Saw
**Filming Equipment**
Canon EOS M50 camera
Tripod(best tripod ever)
Hand held Tripod
Universal camera mount
Lavalier Microphone
RODE wireless GO microphone
Directional Microphone
Adjustable Lights
Set lights(mainly all that I use)
**Bear Mountain Builds things**
 0:08:37
Small Bathroom Remodel Time Lapse [Converting a Half Bath to Full Bath]
 0:23:19
Small Bathroom Remodel - Time Lapse
 0:14:03
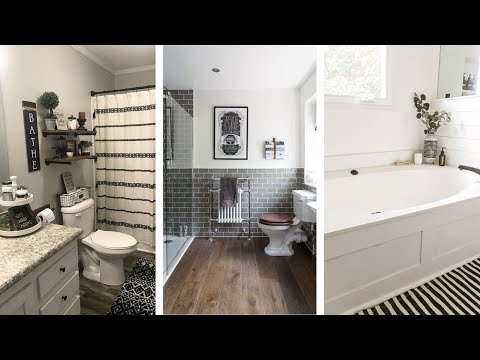
✅ TOP 10 Ideas for SMALL BATHROOMS | Interior Design Ideas and Home Decor | Tips and Trends
 0:05:36
20 Very Small Bathroom Ideas
 0:09:57
DIY Small Bathroom Remodel | Bath Renovation Project
 0:11:04
Bathroom Remodel Start to Finish | DIY Renovation Time-Lapse
 0:08:08
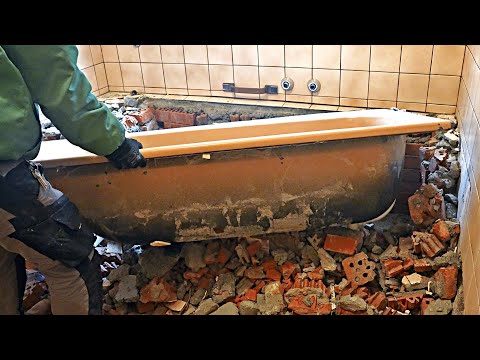
Complete Bathroom Renovation with Demolition
 0:08:23
15 Inexpensive Bathroom Remodel Ideas
 0:00:21
Guest Bathroom Remodel #diy #bathroomremodel #bathroomdesign
 0:14:08
3 Designer Hacks for Teensy Tiny Bathrooms! #homedesign #homedecor #interiordesign
 0:10:37
Timeless Bathroom Design Styles! + Interior Design Tips
 0:01:00
Full DIY bathroom remodel. Everything we’ve done so far! #diy
 0:30:29
Small Bathroom Remodel
 0:36:30
Bathroom Remodel Time-Lapse - DIY Renovation Start to Finish
 0:19:31
DIY Small Bathroom Remodel - Start to Finish Renovation and Design
 0:11:31
5 Things I Wish I Knew Before Renovating My House + Cost Breakdown
 0:21:55
Bathroom Renovation Secrets to Success (Without Breaking the Bank!)
 0:23:34
Master Bathroom Remodel - How to Renovation
 0:18:02
I Gave my Bathroom a Renovation MYSELF.... DIY Renovation Before & After
 0:11:47
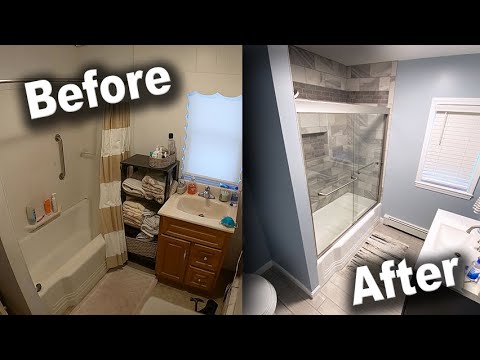
DIY Small Bathroom Remodel | Before and After Bath Makeover
 0:28:59
DIY Bathroom Remodel | First Time Renovation for $4000
 6:27:43
Small Bathroom Remodel Every Single Step In Detail!
 0:11:46
THE 3 WORST BATHROOM MISTAKES EVERYONE MAKES! #homedecor #homedesign #interiordesign
 0:10:31
Complete Guest Bathroom Remodel DIY | Start to Finish Tub to Shower Conversion
Комментарии