filmov
tv
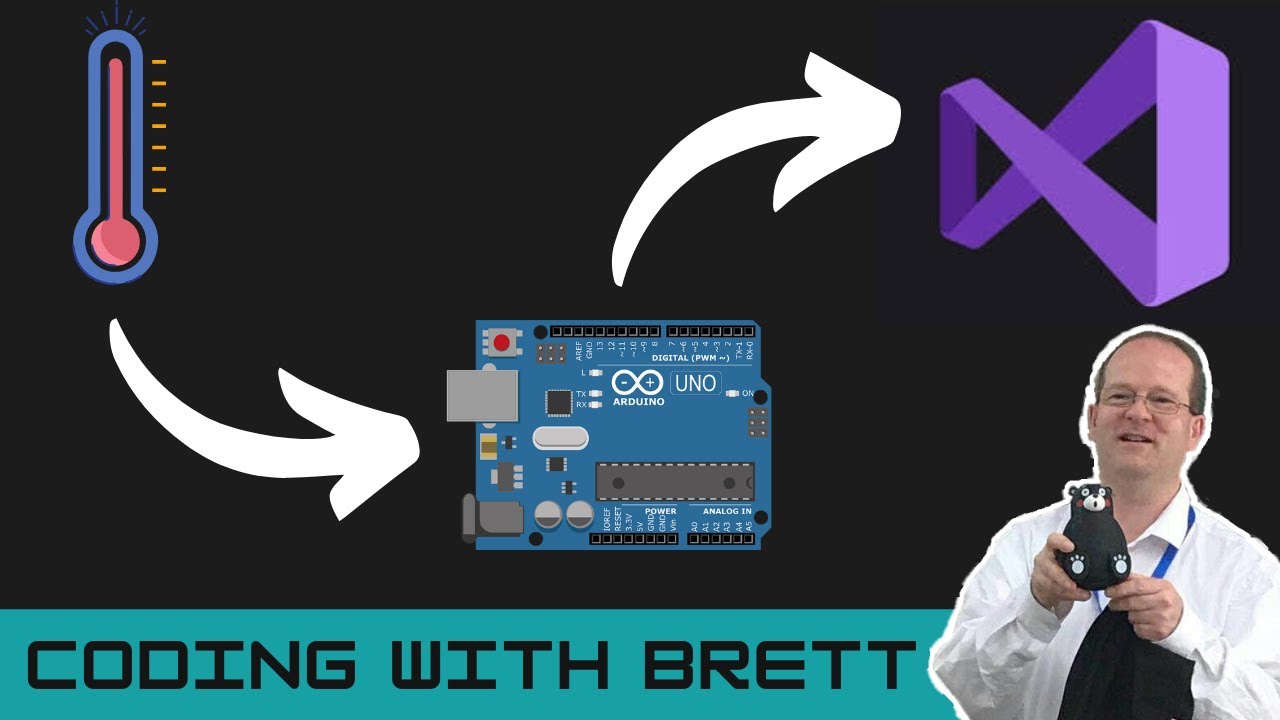
Read Data From Arduino Sensors in Visual Studio C#
Показать описание
Here's a quick tutorial on how to receive data from an Arduino Uno microcontroller in a Visual Studio app written in C#. Here I'm using a DHT11 temperature sensor but the same technique will work with pretty much any sensor that you can connect to an Arduino.
All you need is an Arduino Uno, a USB cable and a Windows PC. Any type of sensor is optional, but I highly recommend the DHT11 or DHT22 temperature and humidity sensors as good modules for beginner's IoT projects. No external libraries or 3rd party devices are required.
Arduino and C# source code is at the bottom of this description.
00:00 - Introduction
00:30 - Circuit Diagram
00:52 - Arduino Code
03:48 - C# Code
07:40 - Integration Testing
If you have any questions about the C# or Arduino code I present in the video then leave a comment below. I think the biggest potential problem with it is that it won't work if you accidentally leave the Arduino IDE's Serial Monitor window open. Also ensure you're using the correct serial port / COM port name and baud rate in both Visual Studio and the Arduino IDE. Finally if you have a four pin DHT11 sensor then you'll have to read the docs or search online to find out how to wire up your specific sensor. Also check the Adafruit DHT Sensor Library's DHTTester example's source code because this also contain notes on correct wiring.
Incidentally I'm using the 3.3V input pin to supply power from the Arduino but the DHT11 will also work on 5V.
As I explain in the video cheap $1 sensors shouldn't be relied on for very precise measurements of temperature or humidity. If you're building something important then buy a professional quality sensor.
Arduino code:
#include "DHT.h"
#define DHTPIN 2
#define DHTTYPE DHT11
DHT dht(DHTPIN, DHTTYPE);
void setup() {
}
void loop() {
delay(2000);
if (isnan(h) || isnan(t) || isnan(f)) {
return;
}
}
Visual Studio C# code:
using System;
using System.Windows.Forms;
using System.IO.Ports;
namespace Temperature_Recorder
{
public partial class Form1 : Form
{
SerialPort serialPort;
public Form1()
{
InitializeComponent();
timer1.Interval = 1000;
timer1.Start();
serialPort = new SerialPort("COM12", 9600);
try
{
serialPort.Open();
}
catch
{
Console.WriteLine("Unable to open COM port - check it's not in use.");
}
}
private void timer1_Tick(object sender, EventArgs e)
{
bool haveTemperature = false;
string temperature = string.Empty;
while (!haveTemperature)
{
temperature = serialPort.ReadLine();
if (!string.IsNullOrEmpty(temperature))
{
haveTemperature = true;
}
}
if (haveTemperature) {
textBox1.Text += "Temperature is:" + temperature + " °C" + Environment.NewLine;
}
}
}
}
 0:09:07
Read Data From Arduino Sensors in Visual Studio C#
 0:14:51
How to read any sensor using only Arduino and Python
 0:03:28
How to Read and Plot Arduino Data Live into Excel
 0:11:51
Python Tutorial - How to Read Data from Arduino via Serial Port
 0:07:33
How to process Arduino data in Python
 0:17:07
Qt & Arduino - Reading a Temperature Sensor - Part 3: QSerialPort
 0:28:01
LESSON 21: Data Logging from Arduino to SD card
 0:03:16
Arduino Tutorial 26# How to take Arduino sensor data to Excel sheet in windows 10/8/7
 0:58:15
ZP Developers Zone 27 October 2024
 0:13:09
How To Filter Signals In Arduino [Arduino Basics Tutorial 9]
 0:04:56
Arduino Basics: Digital And Analog For Input And Output
 0:07:45
SOUND SENSOR DATA ON ARDUINO SERIAL PLOTTER - Arduino tutorial #30
 0:09:44
🔴How to send sensor Data from any Arduino board to MySQL Server(PHPMyAdmin) | IoT | ESP Wi-Fi module...
 0:10:30
Using Serial.read() with Arduino | Part 1
 0:06:44
Lesson6- How to use Arduino to read analog water level sensor
 0:34:54
Using an Arduino with Python LESSON 3: Passing Data From Arduino to Python
 0:08:37
Arduino Sensor Values on Gauges designed in Processing Software, Sensors Dashboard
 0:07:39
How to Save Arduino Serial Data in TXT, CSV and Excel File
 0:15:50
Sensor Data over CAN BUS - Arduino with CAN2515
 0:39:53
LESSON 30: Advanced Software Interrupt Techniques for Reading Serial Data on Arduino
 0:00:16
6 DOF IMU (3 axis accelerometer, 3 axis gyroscope), Arduino, OpenGL, Python, complementary filter
 0:03:01
MPU6050 Sensor Arduino Tutorial
 0:05:57
🔴How to send sensor Data from Arduino UNO to MySQL Server(PHPMYADMIN) Offline (No internet)?
 0:15:25
Create CSV Files with Arduino Uno & Python (FULL TUTORIAL)
Комментарии