filmov
tv
3 Plate Loop-in Method for Wiring a Domestic Lighting Circuit - Connections Explained
Показать описание
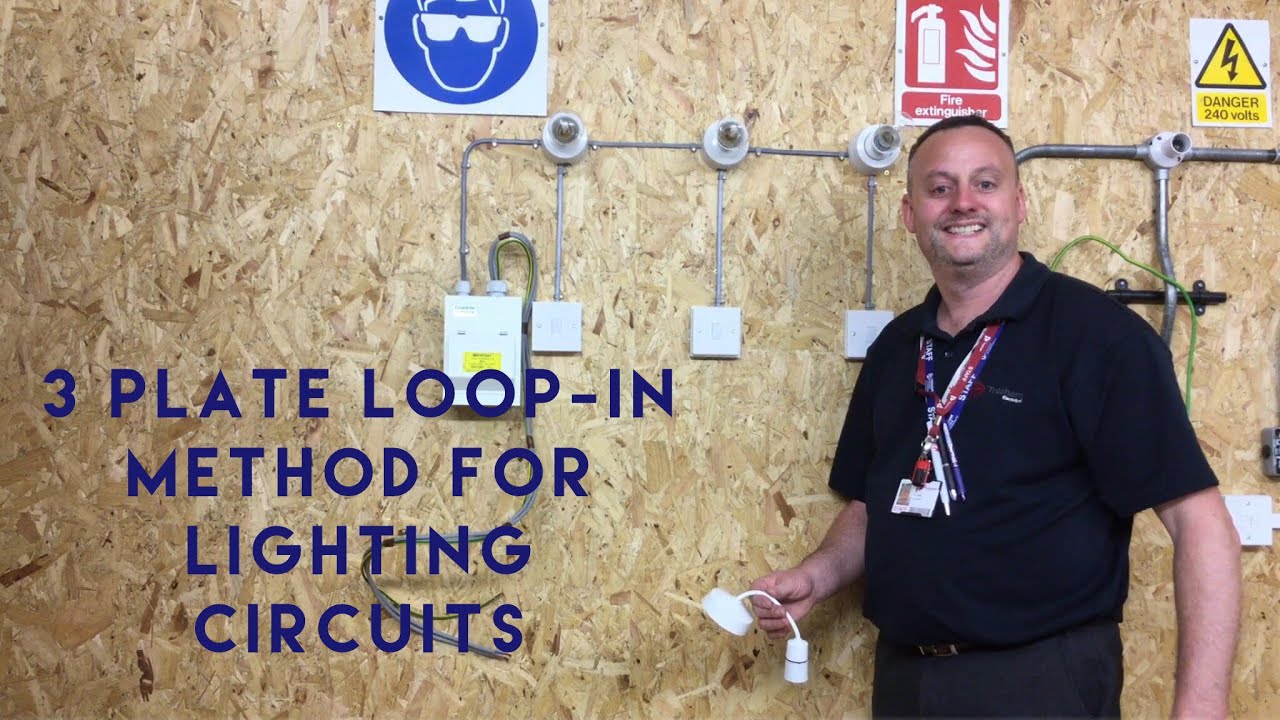
Student training aid for the connections required to wire a lighting circuit using the 3 plate loop-in method. Video explains the connection required within the consumer unit (fuse box), ceiling rose and one way switch. The circuit is wired in 1.0mm2 twin and CPC cable (twin and earth cable) and fused at with a 6 amps type B circuit breaker.
The connections in the consumer unit (fuse box), ceiling rose or batten lamp holder and one way light switches explained when wiring using the 3 plate loop in method for wiring a lighting circuit
== 🕐 Time Stamps - Cut to the action 🕕 ==
00:00 - Connections in a lighting circuit explained for the 3 plate method
00:50 - Metal consumer unit and 6 amp MCB
01:41 - Connections inside my consumer unit
02:54 - Connections in my first lighting point explained
04:37 - Connections in my first light switch explained
05:06 - Continuing on the 3 plate method to other room
06:36 - Connections at the end point of our lighting circuit explained
07:43 - Connections in a one way lighting switch explained when twin and CPC (twin and earth) cables is used instead of with brown and CPC
Videos are training aids for City and Guilds (C and G) and EAL courses Level 1, 2, 3 plus AM2, AM2S and AM2E.
You can follow me day by day on Facebook, Instagram and Twitter lookout for "GSH Electrical.
#GSHElectrical #Electricaltrainingvideos #electricalwiring #lighting
 0:09:19
3 Plate Loop-in Method for Wiring a Domestic Lighting Circuit - Connections Explained
 0:04:39
3 Plate Loop-In Method Connections Explained for Wiring a Domestic Lighting Circuit
 0:04:13
3 Plate Loop-in Method Ceiling Rose Connections Explained in a Domestic Dwelling (Wiring Diagram)
 0:09:14
Lighting Circuit ALL Connections Explained - 3 Plate Loop in Method
 0:13:45
Lighting Circuit Connections Explained in a 3 Plate Loop in Method and RCD’s now Required BS 7671
 0:13:08
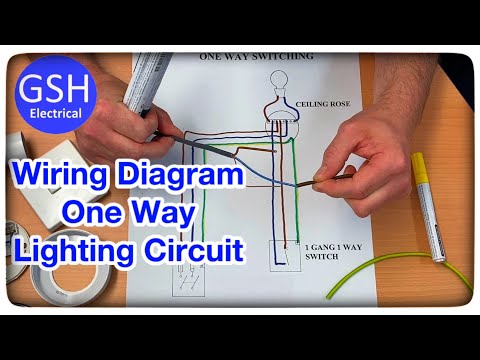
Wiring Diagram For a One Way Lighting Circuit Using the 3 Plate Method - Connections Explained
 0:13:42
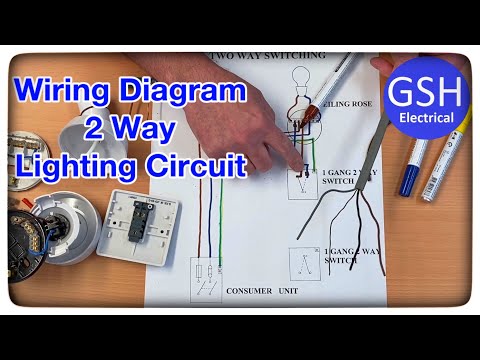
Wiring Diagram 2 Way Switching of a Lighting Circuit Using the 3 Plate Method Connections Explained
 0:13:35
Conduit Loop-in Method for Wiring Lighting Circuits in PVC Singles in Conduit (How to Full Demo)
 0:21:09
DOMESTIC LIGHTING CIRCUITS EXPLAINED - Typical 3 plate or Loop-In Method of a lighting circuit.
 0:15:54
Wiring Diagram Using a 2 Gang Switch to Control 2 Independent Lights Using the 3 Plate Wiring Method
 0:02:55
Conduit Loop-in Method for Wiring 2 Way Switching of a Lighting Circuit Connections Explained
 0:09:49
UK domestic lighting circuits | Loop in at ceiling rose | Loop in at switch
 0:11:40
Lighting Circuit 2 Plate Method Taking the Feed to the Switch and Connecting a 1 Way Switch & Li...
 0:07:05
Two Way Switching Explained - How to wire 2 way light switch
 0:11:52
Conduit Loop-in Method How to Terminate PVC Singles into Switches and Lights (How to Connect Up)
 0:11:37
Circuit Diagram Conduit Loop-In Method Part 7 - Lighting Circuit PVC Singles - 2 Way & Intermedi...
 0:15:03
Wiring Diagram Conduit Loop-In Method Part 3 - Lighting Circuits in PVC Singles - 3 One Way Lights
 0:04:58
Conduit Loop-in Method for Wiring 2 Way and Intermediate Switching of a Lighting Circuit in Singles
 0:05:59
Lighting Circuit Conduit Loop-In Method 2 Way Switching Wiring Explained - Matrix Locktronics Board
 0:13:06
Which Splicing Device is Best? Push Ins Vs. Wago Vs. Wirenuts
 0:03:58
Taking the Feed (Supply) to the Switch & 2 Way and Intermediate Switching of a Lighting Circuit
 0:05:12
BEWARE Of These 3 Common Wiring Mistakes On Outlets & Switches
 0:06:54
Four Quadrant Streak procedure - How to properly streak a Petri plate for isolated colonies
 0:00:48
Titen HD® Threaded Rod Hanger for Faster, More Secure Hanging
Комментарии