filmov
tv
Convert Your Images Into Paintings (ANY STYLE) Using AI - Photoshop Generative Fill

Показать описание
Welcome to our quick Photoshop tutorial where we demonstrate how to use the exciting new feature, Generative Fill, to transform any image into a painting. Whether you're aiming for an oil painting effect or a watercolor style, this process will take you just about 90 seconds! Ready to unleash your inner artist? Let's dive in! 🎨
🕑 TIMESTAMPS:
00:00 - Welcome and introduction to Generative Fill in Photoshop
00:17 - Tutorial begins: Loading image and quick mask mode
00:34 - Fill selection and brightness adjustment
00:52 - Application of fill layer and introduction to generative fill
01:08 - Selecting oil painting in Generative Fill
01:22 - Reviewing oil painting results
01:37 - Selecting watercolor in Generative Fill
01:43 - Reviewing watercolor results
01:53 - Closing thoughts and thanks
📝 SUMMARY:
In this tutorial, we start from scratch by loading an image and entering quick mask mode. After adjusting the brightness to 30%, we apply the fill layer and proceed to create the generative fill. From there, we explore the options available in Generative Fill, turning our image into an oil painting and later, a watercolor style painting. Each time, we present three different style options for you to consider.
Discover the magic of Generative Fill in Photoshop, the new AI functionality that can turn a standard image into a work of art in a couple of steps. This is a great way to add creativity to your images and provide a unique, artistic touch to your graphics.
NOTE: Please remember that the transformation process might take a while, but we've fast-forwarded the video for your convenience. Results may vary depending on the complexity and details of the original image.
🔥 Whether you're a graphic designer, a digital artist, or just a Photoshop enthusiast, you're going to love this feature. Stay tuned for more tutorials like this, and don't forget to hit the like button if you found this helpful, share with your friends, and subscribe for more tips, tricks, and guides. Thanks for watching! 🔥
#generativefill #ai #generativefillphotoshop
 0:02:27
Generative fill: Convert any image into art | Photoshop Beta + BEST prompts
 0:24:10
This Incredible Oil Paint Photoshop Action is 900MB!
 0:07:19
Painting with filament! Convert your images into art with HueForge!
 0:01:24
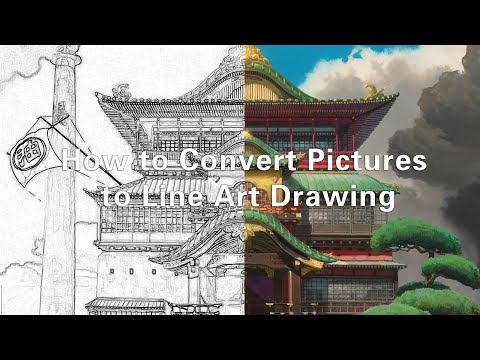
1 Minute PS Skills - How to Convert Picture to Line Art Drawing in Photoshop
 0:01:22
How to convert Canva picture to watercolor | Create Painting Effect - Canva Tutorial
 0:01:54
Convert Your Images Into Paintings (ANY STYLE) Using AI - Photoshop Generative Fill
 0:04:17
How to Convert Photos Into Paintings and Sketches! (No Photoshop Required)
 0:08:10
HOW TO OIL PAINT - Transfer Any Image in 6 Easy Steps (Exclusive Vine Charcoal Grid Method)
 0:01:14
Convert your images into pixel art for game development with Image-to-Pixel Art Converter
 0:03:06
Turn your Portrait into Painting, How to Convert Picture into painting, Photoshop Tutorial
 0:02:11
How to Convert A Photo to Line Art Drawing in Photoshop
 0:31:15
Transform a Photo to a Realistic Oil Painting - Photoshop Tutorial
 0:05:50
How To Convert A Photo to Line Art Drawing in Photoshop
 0:03:34
Leonardo Ai Vectors, How to Convert Ai Art into Vectors
 0:00:59
How to convert image into painting using photoshop | Digital Artist
 0:14:29
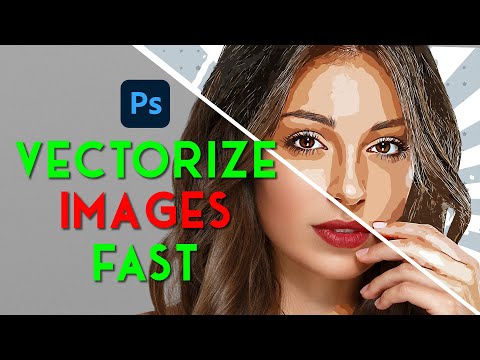
Vectorize Your Photos in One Click | Convert Any Image Into Vector Art
 0:00:33
Convert your images into any art style with this
 0:02:23
Convert your Photos into Paintings with Instapainting - Free Online Converter
 0:04:22
How To Convert Any Image To Pixel Art Using Photoshop [Step-By-Step]
 0:00:16
convert black and white photo to a beautiful oil painting #blacknwhitepose #handmade #painting #gift
 0:00:21
CONVERT ANY IMAGE INTO ARTWORK
 0:08:30
CONVERT photos to ART Hidden Photoshop AI Features
 0:07:22
Midjourney VECTOR ART: How to convert picture into vector (Midjourney AI Art)
 0:00:15
Best way to convert image into painting #photoshop.
Комментарии