filmov
tv
DIY deck building tips: How to detail deck railings and design under a deck

Показать описание
We take a different design approach than most deck builders.
Posts go in the ground in a plastic sleeve called Post-Protector. Soooo much saved time.
We taper our beam ends with a flat spot so we can use a clamp to snug the beam in. And we run skirting--deck boards on edge--to mask the underside of the structure, keep critters out, and add some visual interest on the ground.
Spax #8 x 2 1/2 washer heads work great for this connection. And add cable railing so the homeowner can enjoy the view and add to the home's upscale minimalist style.
👉Find out more about the products seen in this video:
#NotSponsored but we may earn a small commission
 0:08:58
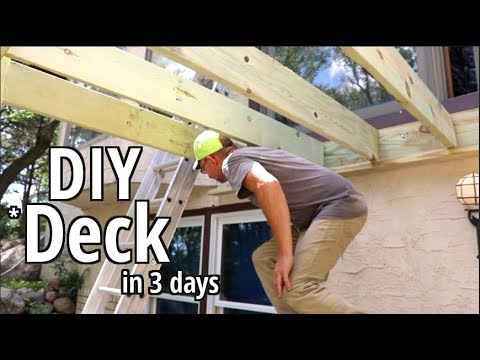
How to Build a deck- DIY Style -in 3 days Step by step Beginners guide
 0:05:37
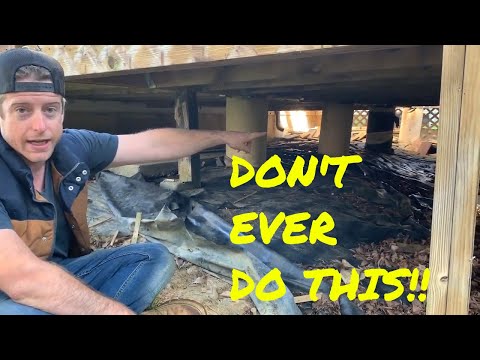
How NOT To Build A Deck - Ultimate Guide On Every Mistake You Can Make
 0:11:15
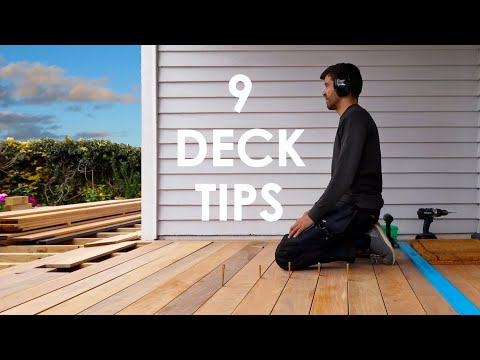
9 Tips for Building a Perfect Deck
 0:08:09
5 Tips for Building a Durable Deck
 0:01:00
DIY deck building tips: How to detail deck railings and design under a deck
 0:07:09
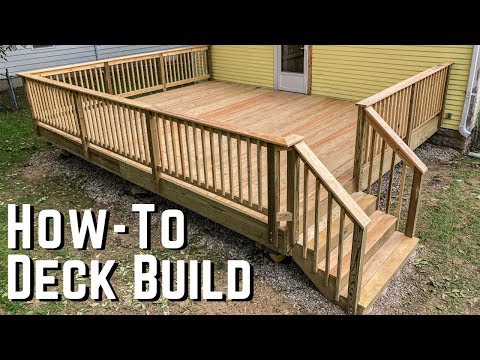
How To Frame A Deck - Tips and Tricks For a Successful Project
 0:13:33
Deck Frame Basics | How I Framed My 4 x 8 Foot Deck
 0:01:00
DIY tips: How to set deck posts for a backyard deck project
 0:13:54
5 Deck Building Hacks || Dr Decks
 0:06:03
How to build a deck | Problems you will run into and how to fix them
 0:01:00
DIY Tips: How to set a deck guard post by yourself
 0:15:04
How To Build a Deck | Why Most People Are Building Decks The Hard Way
 0:16:37
How To Build A Deck // DIY Home Improvement
 0:02:18
Small Floating Deck 2020 | Easy Decking | DIY | No Digging | How to Build a Floating Deck
 0:01:35
Pro Tips: How to Build Deck Footings | New Construction | DIY Project Guide
 0:05:13
How To Build a Deck | Post Holes & Framing (2 of 5)
 0:09:37
My EPIC Deck Build - Planning, Layout, Footers // Episode 1
 0:15:41
How To Build A Deck!! Layout, Framing, and Composite Decking Guide ||| DIY Deck Build
 0:01:00
Home Inspector Finds a VERY WELL BUILT Deck
 0:18:50
Learn How To Build a Deck with Wood | DIY Projects
 0:12:24
DECK FRAMING 101 - My Best Tips For Framing A Deck
 0:00:34
Composite Decking Installation #diy #howto #deck #shorts
 0:11:59
Building a Deck Over Concrete PLUS 5 BONUS Decking Tips!
 0:14:55
How To Build A Deck - Bunnings Warehouse
Комментарии