filmov
tv
Using Keypads with Arduino - Build an Electronic Lock

Показать описание
Today we are going to work with Matrix Keypads, easy-to-use interfaces for your Arduino designs. We’ll also build an electronic combination lock.
I’m sure you’ve seen lots of devices that use keypads, they are a common user interface for many types of electronic equipment that require user input.
Membrane matrix keypads are very inexpensive and, as it turns out, they are also very easy to use with an Arduino. This makes them an ideal input device for your next project.
Today I’ll show you how these devices work and how simple it is to use them. We’ll start with the basics and finish by constructing an electronic combination lock.
Here is what will be covered in this video:
00:00 - Introduction
02:12 - How Keypads work
06:18 - Basic Keypad test
12:37 - Keypad with LCD
18:39 - Electronic Lock
As always, you’ll find an article that has more details and all of the code used in this video on the DroneBot Workshop website.
Hope you enjoy the video!
 0:28:17
Using Keypads with Arduino - Build an Electronic Lock
 0:13:49
How to Set Up Keypads on the Arduino - Ultimate Guide to the Arduino #22
 0:12:19
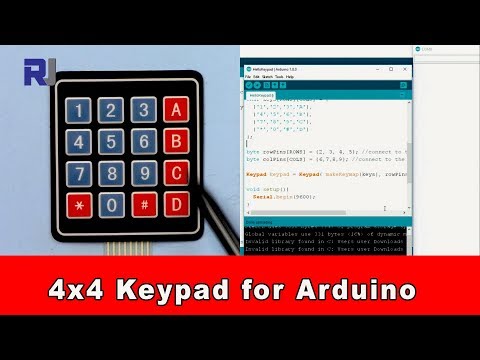
How to use 4x4 Keypad with Arduino | Keypad Basics Tutorial code Explained | Arduino Tutorial- 39
 0:00:22
Password-Based Door Lock System Using Arduino and Keypad
 0:00:16
Keypad with Arduino #keypad #arduino #electronics #engineer
 0:08:01
Keypad tutorial with arduino - Making a password lock
 0:06:39
HariFun #143 - How to read a 4x4 keypad using just one Arduino pin!
 0:02:46
How to use Arduino 4x4 keypad download the code
 0:00:24
DIY Arduino Mellotron part 4 - prog extravaganza. #mellotron #arduinosynth #progressiverock
 0:11:40
How to interface keypad with arduino
 0:22:48
Control your keyboard with Arduino! Automate simple tasks!
 0:07:20
How To Turn An Arduino Into A USB Keyboard Or Mouse! | ATMega32U4
 0:01:30
ARDUINO KEYPAD Tutorial | ARDUINO KEYPAD with Arduino nano [Code and Circuit Diagram]
 0:04:38
How to make password door lock arduino project | Arduino Project
 0:11:10
How to Make a Secure Arduino-Based Door Lock with Keypad and LCD Display
 0:04:05
How to use a 4x4 membrane keypad with Arduino.
 0:09:18
Want to use a Keypad in your Arduino projects but running out of Pins?
 0:16:36
Arduino Tutorial for Beginners 15 - Using 4×4 Keypad With Arduino
 0:06:31
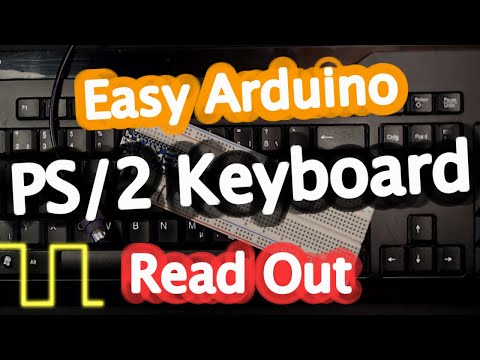
Easy Arduino PS/2 Keyboard Read Out
 0:01:14
Arduino: How to use keypad button multiple integer value input?
 0:06:12
How to Connect a PC Keyboard to an Arduino?
 0:14:55
Programmable Macro Keyboard with an Arduino Pro Micro (32u4), Cherry Switches + Stealth Foot Pedal
 0:02:40
#207 - Arduino Keypad and LCD display
 0:10:09
Arduino Security Panel System with using Keypad and LCD Display
Комментарии