filmov
tv
HariFun #143 - How to read a 4x4 keypad using just one Arduino pin!

Показать описание
 0:06:39
HariFun #143 - How to read a 4x4 keypad using just one Arduino pin!
 0:04:43
HariFun #145 - One HUNDRED Shift Registers!?
 0:02:14
HariFun #135.1 - DIY WiFi Outlet
 0:03:42
HariFun #122 - How to control 12 LEDs with just 4 Arduino Pins!
 0:17:39
HariFun #174 - How to Arduino
 0:03:47
HariFun #150 - FREE ESP32s
 0:12:01
HariFun #115 - Don't Do This!
 0:05:35
HariFun #142 - Mega Sudoku Giant PCB
 0:04:01
HariFun #132 - Sixteen Channel WiFi Remote
 0:00:28
Keypad Circuit
 0:05:42
HariFun #125 - Internet of Things in 5 minutes!
 0:05:36
HariFun #147 - Lab Tour & WALL CHESS!
 0:06:39
HariFun #146 - Mega Sudoku - The Final Episode
 0:06:46
HariFun #151 - FREE ESP32 Winners!!!
 0:05:22
HariFun #154 - Making 540 Custom PCBs with EasyEDA
 0:03:38
HariFun #141 - Arduino vs. LEDs - Mega Sudoku Part 4
 0:06:37
HariFun #162 - Retro Electronics with Julian Ilett
 0:23:02
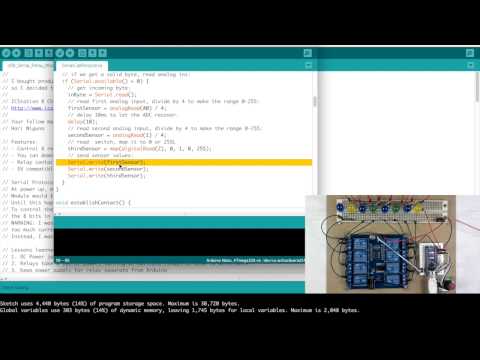
HariFun #108 - Playing with Relays
 0:02:16
HariFun #111 - Unsolicited Mailbag
 0:06:18
HariFun #155 - Unboxing 600 Ping Pong Balls!
 0:07:52
HariFun #116 - Custom TV Remote part 4 of 4
 0:03:02
HariFun #162 - LED CUBE KIT WINNER!
 0:08:20
HariFun #133 - 8 LEDs, 8 Buttons, just 2 Arduino pins!
 0:02:14
HariFun #152 - 600 Ping Pong Balls - Giant RGB LED Cube Part 1
Комментарии