filmov
tv
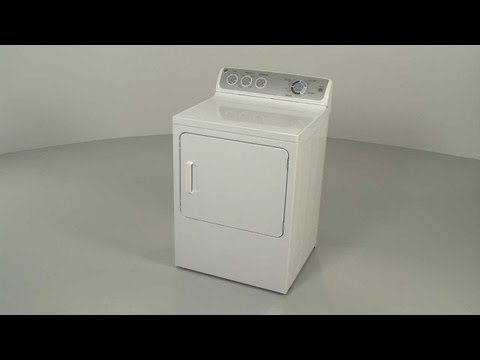
Disassembly - GE Electric Dryer (Model GTD42EASJ2WW)

Показать описание
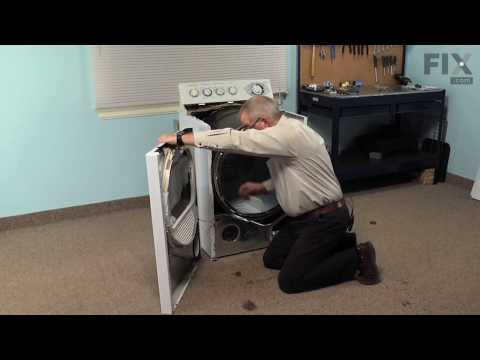
Repairing a GE dryer? This video demonstrates the safe way to disassemble a dryer and how to access parts that may need to be tested and/or replaced.
Click here to purchase replacement dryer parts:
This replacement video is applicable to the following brands:
GE
Screws affiliated with dryer-
Black Screw:
Baffle Screw:
Bearing Shaft Screw:
Fuse Holder Screw:
Terminal Block Screw:
Door Strike & Hinge Screw:
Ground Washer:
Timer Switch Screw:
Dryer Shaft Screw:
Blower Housing Screw:
Additional dryer repair, troubleshooting tips, help with finding your model number and part replacement videos can be found on our website:
Connect With Us!
Don't forget to like and comment on this video, and subscribe to our channel!
 0:15:50
Disassembly - GE Electric Dryer (Model GTD42EASJ2WW)
 0:03:20
GE Dryer Disassembly
 0:01:58
GE Dryer disassembly and vent cleaning. (Hampster Nest of Lint)
 0:08:19
Dryer Troubleshooting: How to Disassemble a GE Dryer | PartSelect.com
 0:11:14
GE Dryer disassembly and reassembly
 0:09:19
Dryer Repair - Replacing the Dryer Drum Slide (GE Part# WE1M481)
 0:06:21
How to Take Apart a GE Dryer
 0:16:51
GE Dryer Makes Squeaking, Grinding, or Other Noises - How to Fix
 0:08:50
The Ultimate Guide to Avoiding GE Dryer Disassembly Mistakes
 0:19:09
GE Dryer Won't Heat - What to Look for & Test
 0:05:15
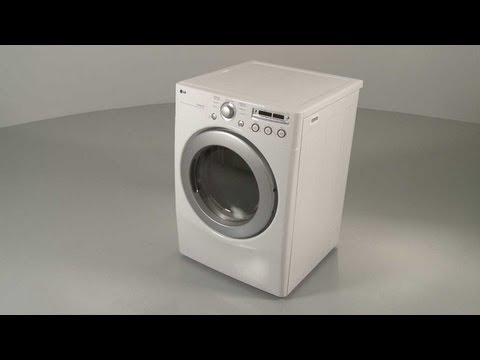
LG Electric Dryer Disassembly
 0:21:10
GE Dryer Won't Start or Run - How to Find the Problem
 0:03:55
GE Dryer GTD42EASJWW, GTD42EASJ0WW, GTD42EASJ1WW, GTD42EASJ2WW Open, Disassemble
 0:08:38
How To Remove Dryer Panels To Clean Dryer Lint Filter.
 0:05:14
How To: GE Dryer Drive Belt WE12M29
 0:01:44
GE Dryer Grinding Noise - Bobby Pin / Hairpin Removal
 0:02:06
GE GFDN Dryer disassembly
 0:03:59
GE Dryer Belt Replacement (Front Load)
 0:13:26
GE Dryer Repair - Screeching Noise - Upper Bearing
 0:08:47
GE Dryer Belt Replacement | GE Dryer Won't Start | Model gtd42gasj2ww #diy #generalelectric #dr...
 0:01:00
How to Fix ANY LG Electric Dryer Making Noise
 0:12:21
GE Hotpoint overheating? Step-by-step guide to unstop Lint build up.
 0:13:57
GE Dryer Repair – How to replace the Heating Element
 0:08:50
Clothes Dryer Drive Belt Replacement: GE model #GTD42EASJ2WW
Комментарии