filmov
tv
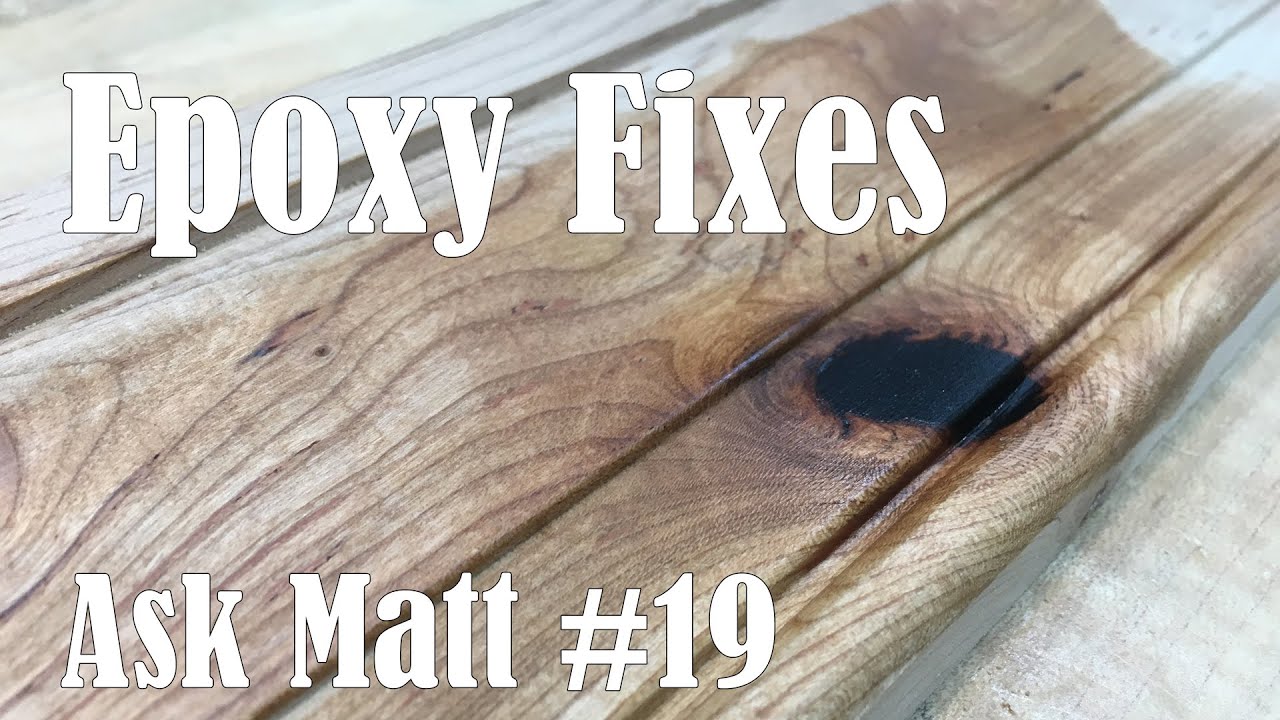
Filling Voids, Cracks, and Defects in Wood with Epoxy - Ask Matt #19
Показать описание
I like to incorporate some goofy pieces of wood into my work. Many of them have structural issues or voids that need to be addressed before they can be used in a project. Epoxy works great for filling and stabilizing knots, cracks, voids, and other defects in wood.
Products Used [Affiliate Links]:
Products Used [Affiliate Links]:
 0:12:58
Filling Voids, Cracks, and Defects in Wood with Epoxy - Ask Matt #19
 0:05:11
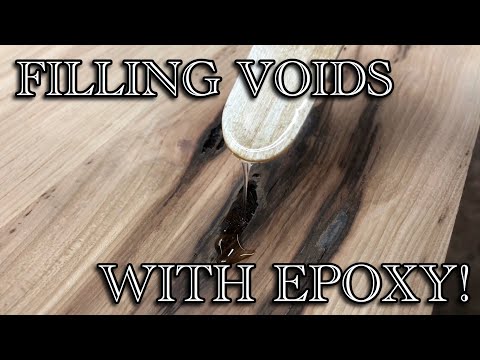
How to fill cracks and voids with epoxy resin
 0:15:30
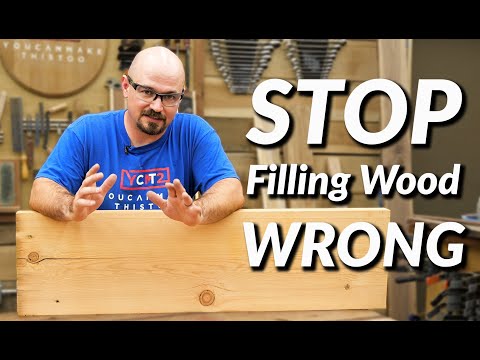
Beginner Wood Filling Mistakes | How to Fill Cracks and Gaps
 0:04:35
How to Fill Cracks & Voids with Epoxy Resin (for first-timers)
 0:04:24
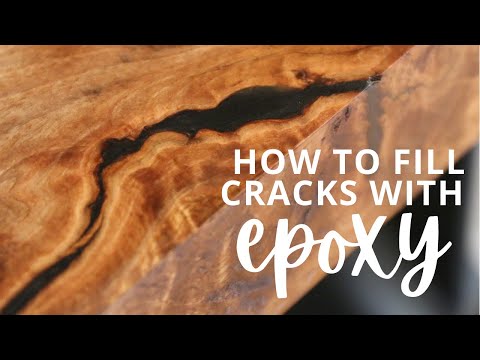
Filling Cracks, Checks and Splits with Epoxy
 0:10:37
3 Ways to Fill Voids In wood
 0:15:39
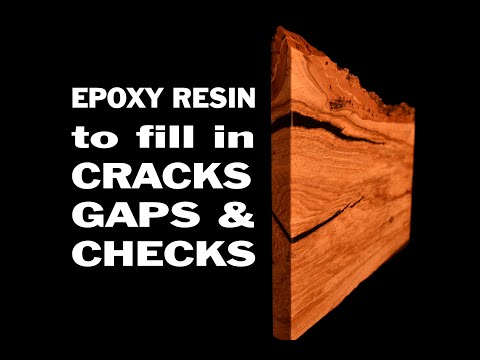
Using Epoxy Resin to Fill Cracks and Gaps in Wood - Complete Tips and Techniques
 0:05:30
Fixing Knots and Voids With Epoxy
 0:02:45
Filling Knots & Voids Super Fast! Starbond Black CA Glue EthAnswers
 0:21:22
How to Fill Cracks and Voids with Epoxy - Getting a Perfect Epoxy Pour
 0:10:39
How To Build an Epoxy Form - For filling small voids, cracks and knots in wood with epoxy
 0:04:52
AMAZING Way To Fill A Void In Wood - SO EASY Anyone Can Do It
 0:02:39
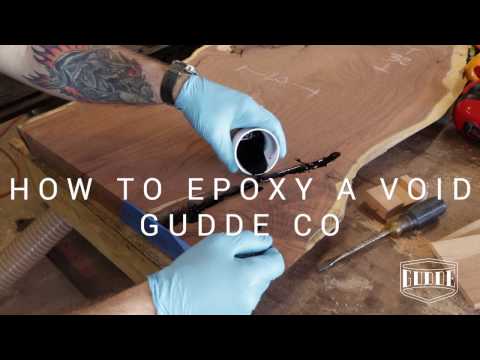
Filling Knots and Voids in Wood with Epoxy Resin
 0:07:33
How to Prepare, Fill and Paint Unwanted Cracks & Gaps
 0:04:14
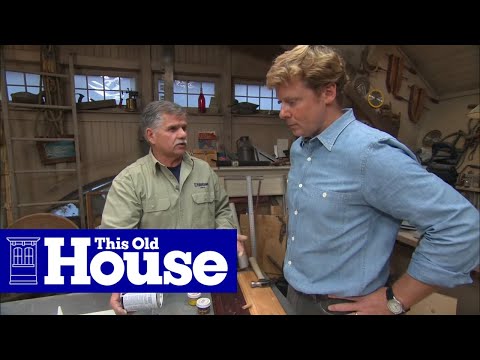
How to Choose and Use Wood Filler | This Old House
 0:02:32
Fixing a Void in Cutting Board | Glue Joint FAIL | Woodworking
 0:00:59
How to Fix Foundation Cracks (in less than 60 seconds!) #shorts
 0:21:03
How to Fill Wall Chases, Cracks & Holes
 0:04:15
How to Repair a Crack in a Concrete Foundation | This Old House
 0:00:29
Filling Wood Voids with Epoxy
 0:00:27
P-Tec 8400 One of my favorite for filling big voids, defects, cracks #polymere #woodwork #artesanos
 0:02:41
Filling Holes and Cracks - Part 2 | Woodworking
 0:19:36
Fiberglass Repair ~ Stress Cracks
 0:04:51
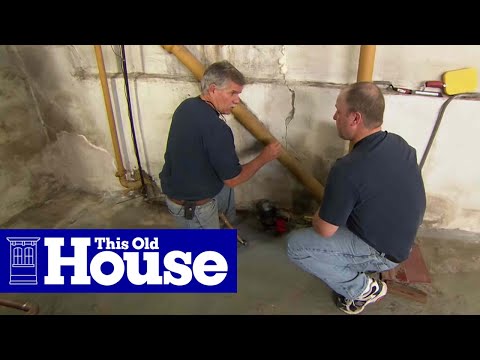
How To Fix a Concrete Foundation Crack | This Old House
Комментарии