filmov
tv
How to replace LCD Screen on Lenovo Legion 15IMH05H. Step-by-step instructions

Показать описание
This is a Lenovo LEGION 5
Model:15IMH05H screen replacement guide
To begin turn the laptop off and disconnect the power cord. Normally it is better
to remove the battery but in this case it is too much work to do, so we have to be very
careful with the connectors.
Start removing the bezel. Pull the inner edge of the bezel away from the glass unsnapping
the tabs underneath. Start from the left side and then go around the perimeter.
Put the bezel aside.
The LCD is glued to the back cover. There are two plastic tabs at the bottom that can be used
to remove the glue from underneath the LCD screen. Use a tweezers to pick up the tab and pull
the tub removing the stretching stripe of glue from the right side. Pick the tub
on the left side and pull out the stripe of glue form the left side. In our case we were able
to partially remove the glue from the bottom part. The screen is still held in place with a glue
on the top. Use a plastic pic to pry off the screen from the back cover. Pull out the remaining
left side. Place the LCD on the keyboard.
The video connector is secured with a clear tape. Using plastic pick and fingers gently peel off
the tape. Open the connector bracket. Disconnect the video cable. Discard the old panel.
Take the new LCD screen and place it on the keyboard. Reconnect the video cable and close the
connector's bracket. Secure the connector with a clear tape.
CAUTION! It is very important not to force any connectors.
As well you must not twist or slant the connector when plugging it in.
Lift the screen up and lean it on the back cover. We now can taste the screen.
Turn the laptop on. The start up graphics appear and we can finish the installation process.
Your new display is likely to come with no adhesive. We offer standard double-sided adhesive
and apply it on the right side of the back cover making sure that the tab wouldn't be under
the screen, so we can pull the glue out in case we need to replace the screen again.
Remove the protective film from the adhesive. Apply another piece of tape on the left side
of the back cover. Remove the protective film.
Lift the screen up and using a fine microfiber cloth apply pressure to the display along
the edges to catch the adhesive. Remove the protective film from the new screen.
Now we can replace the bezel. Start from the bottom pressing firmly to snap the tabs in.
Go around the perimeter. Use one hand to support the back cover while snapping the tabs along
the bottom edge.
Reconnect the power cord. Turn the laptop on. And we are done!
 0:02:01
How to repair any android smart phone broken display glass LCD screen easily
 0:06:14
HOW TO Replace REALME C3 and 6i LCD Display using only simple tools I bought from LAZADA!!!
 0:11:47
Huawei Y6 2018 Lcd Screen Replacement
 0:03:45
How to replace LCD Screen on HP 15 laptop. Model 15-dy1013ca. Step-by-step instructions
 0:04:01
Replace New UHD TV Screen
 0:14:20
Handy Johnny #005 Melted, delaminated or faded LCD display can be saved!
 0:10:43
Samsung Galaxy A21s Lcd Screen Replacement
 0:08:24
Realme C15 Change LCD | Realme C15 Disassembly | Realme C15 Remove LCD
 0:10:17
Xiaomi Mi A2 screen replacement using original LCD display step by step guide
 0:15:02
honor 8X Lcd Screen Replacement
 0:12:43
LCD repair
 0:12:27
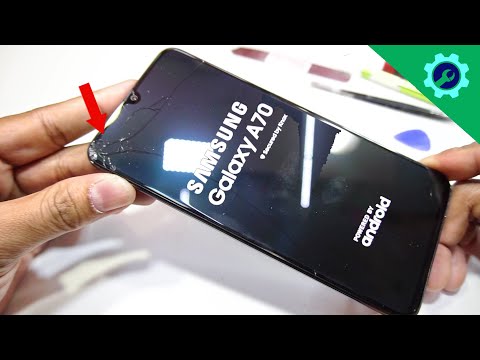
Samsung Galaxy A70 LCD Screen Replacement
 0:20:44
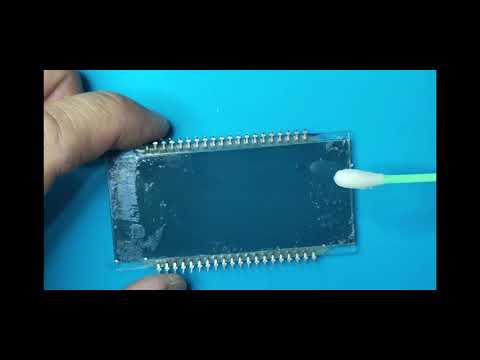
LCD screen repair/vertical band repair/Cof bonding process/Panel repairing/Samsung Led tv COF repair
 0:05:13
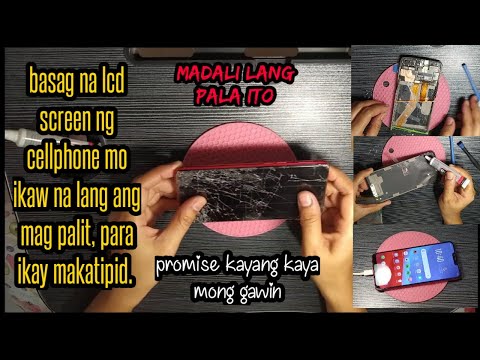
Paano mag palit ng lcd screen ng cellphone (oppo a3s/a12e/a5s)
 0:07:57
How to Replace Huawei P20 Lite LCD Glass Screen | Screen Replacement
 0:05:23
Faulty LCD Display - QUICK FIX
 0:06:39
Cracked TV screen or panel - Is it worth fixing?
 0:21:31
replacement polarizer filmTV LG LCD 26 inch record video by Samsung Galaxy S21 Ultra
 0:11:04
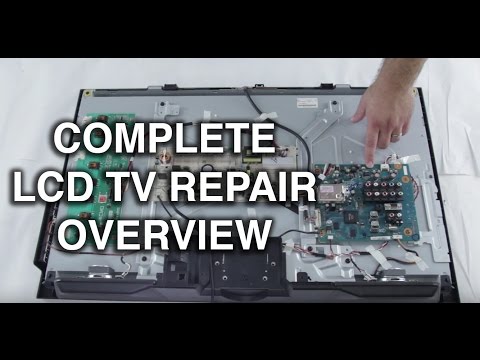
LCD TV Repair Tutorial - LCD TV Parts Overview, Common Symptoms & Solutions - How to Fix LCD TVs
 0:12:31
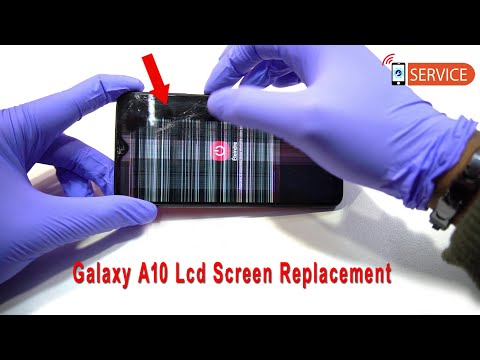
Samsung Galaxy A10 Lcd Screen Replacement
 0:04:45
Samsung A12 LCD Broken Screen Replacement Disassembly Sm-A125
 0:04:35
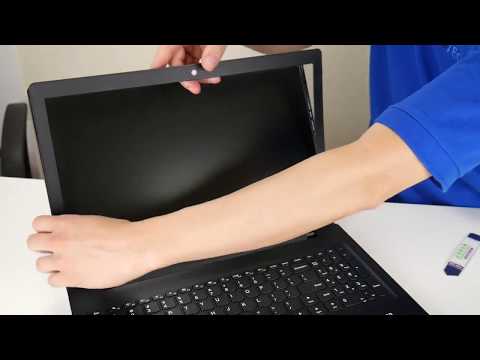
CNET How To - Replace a broken laptop screen
 0:09:21
How to Fix Replace LCD Screen - Lenovo Laptop Computer
 0:10:04
Realme C3 LCD replacement and Disassembly the best way and back to original
Комментарии