filmov
tv
Pontiac V8 Rebuild, Part 19: How to install an Intake Manifold

Показать описание
Subscribe to watch Mike finish this engine build and re-install it into his 1969 Pontiac GTO Restomod, in his home garage! If he can do this at home, so can you! "How to install an Intake Manifold", is Part 19 of this Pontiac 400/455 rebuild, but can be applied to all motor types. Mike also has to trim his gaskets to fit his Butler Performance ported aluminum heads. Have fun!
This is a very thorough description of what to do, how to do it, and what to watch out for. Mike is in the middle of rebuilding his Pontiac 400, which is now a Butler Performance 467, because a Roller Lifter Broke! (see link below). Enjoy!
Here's the original Hydraulic Roller Lifter Fail Inspection, and process:
Here's the Official Part 1, where Mike starts the preparation of Engine removal
Enjoy, and ask questions by leaving a comment below... See you on the other side!
Instagram/fastmontysgarage
#PontiacV8 #EngineRebuild #HomeMechanic
 0:14:29
Pontiac V8 Rebuild, Part 19: How to install an Intake Manifold
 0:14:03
Pontiac V8 Rebuild, Part 20: How to install a distributor for a roller cam.
 0:07:10
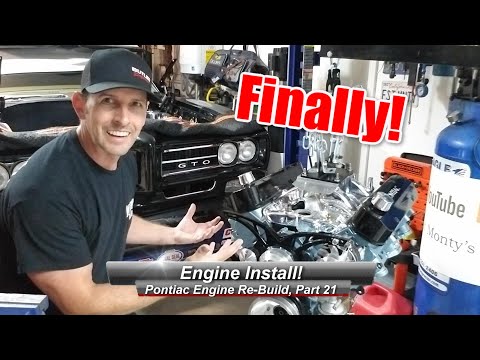
Pontiac V8 Rebuild, Part 21: Engine Install, in Real Time! Super Fast...
 0:09:26
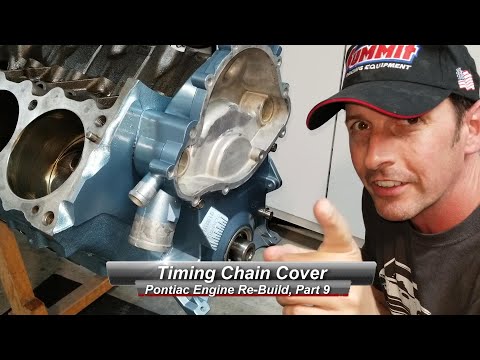
Pontiac V8 Rebuild, Part 9: How to Install a timing chain cover.
 0:19:46
Pontiac V8 Rebuild, Part 7a: How to clean and mask your engine block for paint.
 0:24:40
Pontiac V8 Rebuild, Part 17: How to install AN Fittings and keep your heads cool.
 0:09:30
Pontiac V8 Rebuild, Part 22: How to Install March Performance Accessories and Belt Tensioning.
 0:11:15
Pontiac V8 Rebuild, Part 16: How to install a Water Pump. Flow Kooler
 0:04:18
Is 3D Grand Slam the BEST Engine Degreaser? Pontiac V8 Rebuild
 0:00:12
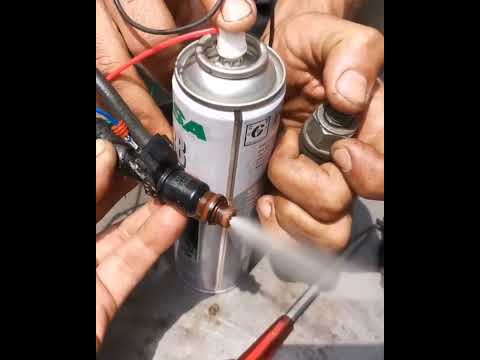
How to clean fuel injector|best fuel injector cleaner |
 0:17:08
Pontiac V8 Rebuild, Part 4b: Engine Tear Down: How to Remove a stripped coolant drain plug
 0:19:34
Building a Blown Pontiac Killer from a 185HP Mid-70s Smog Engine! Let's Tear it Down!!!
 0:06:45
Top 5 Reasons to swap a Supercharged 3800 Engine into your Pontiac Fiero
 0:01:01
And .. this is WHY I HATE Facebook MARKETPLACE!!
 0:14:19
Best Car Engines - The Rise of the Mighty 455 V8s from GM’s Buick, Oldsmobile, and Pontiac
 0:29:42
V8 S10 Blazer Project Emergency Kitchen Floor Carburetor Rebuild (Ep.19)
 0:00:17
Engine number making machinery, good machinery and good tools to save time and effort
 0:00:19
1968 Pontiac GTO 400ci high output V8🔥 #gto #giveaway #restomods #pontiac
 0:10:01
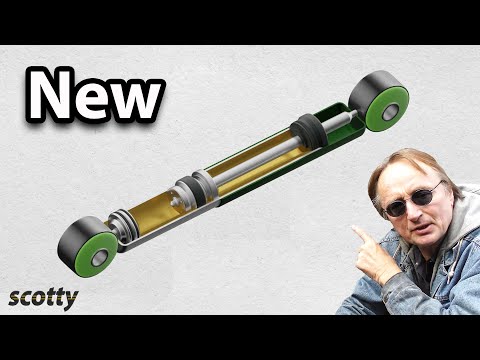
This New Mod Will Make Your Car Ride Like a Cloud
 0:02:58
PONTIAC GTO 428 V8 GOAT #cars #musclecars #carshow
 0:19:13
BUDGET Chevy Big Block Build! - Part 3 of 3 ( Dyno Pulls! Sounds Nasty!! )
 0:10:39
Best Engines of All Time: Chrysler/Dodge/Plymouth 318 V8 (LA Series)
 0:18:54
Pontiac V8 Rebuild, Part 18: How to install a March Performance Serpentine Belt System Bracket
 0:27:19
Pontiac V8 Rebuild, Part 3: Engine Pulling Time!
Комментарии