filmov
tv
How To Make A LEVEL Floor System

Показать описание
This DIY exterior floor system is all about how to build a level floor system from start to finish. This floor foundation tutorial shows the step by step process of footings, beams, floor joists, sheathing installation and how to get it perfectly level. Bring Your Own Tools (#BYOTools 172).
Material List:
-5/8" Crushed Minus Rock
-4x4 PT Lumber
Tool List:
Apparel List:
MUSIC:
0:00 - Venice Beach: Topher Mohr & Alex Elena
#byot #diy #howto
Material List:
-5/8" Crushed Minus Rock
-4x4 PT Lumber
Tool List:
Apparel List:
MUSIC:
0:00 - Venice Beach: Topher Mohr & Alex Elena
#byot #diy #howto
 0:09:00
How to make a GOOD level in GEOMETRY DASH ( GD 2.113 )
 0:08:21
Building a Level the Way RobTop Intended It
 0:08:48
So You Want to be a Level Designer - An Introduction to Level Design in Video Games - Extra Credits
 0:13:14
How To Make A LEVEL Floor System
 0:05:48
HOW to BUILD a FEATURED LEVEL in 5 MINUTES
 0:08:13
How to Make Less Annoying Gameplay in Geometry Dash
 0:08:15
How I Make Levels As A Professional Level Designer For Indie Games | Devlog
 0:13:44
Creating A Level Where EVERYTHING MOVES!
 0:10:13
10 Geometry Dash Editor Tricks to make you a FASTER Creator!
 0:04:27
Let's Make Games: Level Design Tips
 0:22:19
HOW TO MAKE A LEVEL! (easy) // Geometry Dash 2.1 Tutorial
 0:09:25
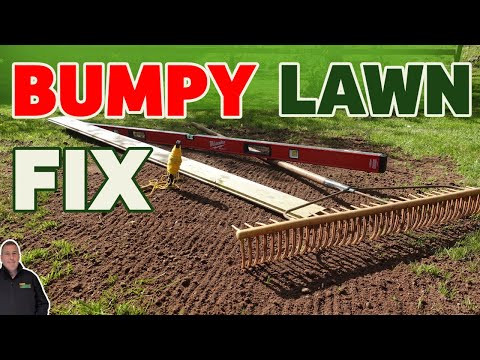
How to make your lawn LEVEL and Flat - Beginners Guide to lawn levelling
 0:10:44
Water level basics – How to make and use one
 0:04:51
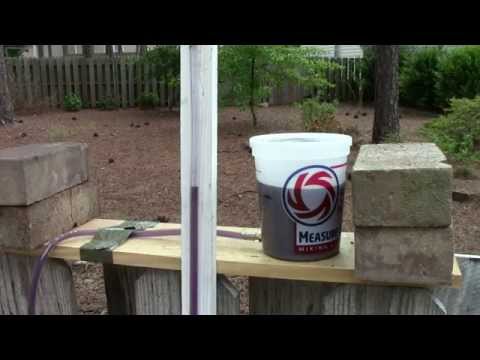
How To Make A Water Level For Less Than Ten Dollars
 0:01:43
How to make the perfect A level revision timetable
 0:00:39
How I Make Levels As A Professional Level Designer // Indie Game Devlog
 0:03:43
How To Make A FEATURE WORTHY Modern Level in GEOMETRY DASH
 0:20:58
How to create Featured Worthy Level: Geometry Dash
 0:05:30
Spirit level making
 0:17:09
Building a CLASSIC level!
 0:08:07
How to CREATE better levels in GEOMETRY DASH (2.2)
 0:12:59
How to Make Your First Super Mario Maker 2 Level
 0:11:11
How To Make And Use A Water Level
 0:18:36
Building A Level At EVERY DIFFICULTY!
Комментарии