filmov
tv
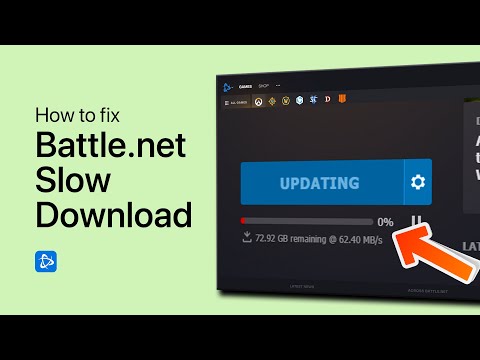
How To Fix Battle.Net Slow Download Speed (Why Is Your Battle Net Download Speed So Slow?)

Показать описание
How To Fix Battle.Net Slow Download Speed (Why Is Your Battle Net Download Speed So Slow?). In this video tutorial I will show you how to fix Battle.Net slow download speed.
Battle.Net download speed can be slow because of the following reasons:
● Weak/slow internet connection.
● Small bandwidth allocation in Battle.Net.
● Using a proxy server.
Here is how to fix the issues:
Increase the bandwidth on Battle.Net.
● Close all applications running in the background.
● Pause any ongoing downloads.
● In Battle.Net, go to settings.
● Click on the Downloads icon.
● Click on the Download limit.
● Uncheck Latest Updates and Pre-release Context.
If that does not work, go back to settings. In the Download Limit, set the Latest Update and Pre-lease Content to a higher number.
Check your internet connection.
Speed test your internet connection.
● Go to Wi-Fi settings.
● Show available networks.
● Choose a network with a 5G connection.
Ensure the metered connection function is off in Wi-Fi settings.
Disable the proxy server.
● Search Internet Options.
● Go to Connections.
● Click on LAN settings.
● Under Use a Proxy Server for your LAN box, uncheck.
If you found this tutorial helpful, kindly show your support by giving it a thumbs up and sharing your thoughts in the comments below. Your feedback is greatly appreciated. Thank you!
►Disclaimer◄
This channel DOES NOT promote or encourages any illegal or unethical activities and all content provided by this channel is meant for EDUCATIONAL PURPOSES only.
This video is solely intended for educational purposes only. The information presented has been thoroughly researched and sourced from reputable outlets, including, but not limited to, Google, social media platforms, and online forums. Our team has meticulously crafted original content centered around this topic, utilizing a comprehensive approach to ensure accuracy and reliability.
The Savvy Professor is a YouTube channel that provides up-to-date information on various topics, ranging from finance ,technology ,gaming, how-to tutorials, product reviews, and roundups. Our channel is dedicated to delivering informative, original, and unbiased content that viewers can appreciate.
.................................
Content Credit :
The visual content featured in this video has been obtained from reputable sources, including Google Images, official websites, and stock footage clips.
Furthermore, the information presented in this video has been derived from various reliable data sources, such as Wikipedia, Google search, Forums and other social media platforms.
The video has been professionally edited using a combination of Adobe Premiere and Adobe After Effects, to create original content thats is engaging for our viewers.
.....................................
FTC Disclosure: The Savvy Professor is a participant of Amazon Affiliate Program. Provided Amazon product links are linked to my Amazon Affiliate account & I receive small commissions from every successful purchase made using these links.
 0:03:09
 0:01:35
 0:00:36
 0:02:34
 0:02:54
 0:01:47
 0:02:12
 0:01:39
 0:00:15
 0:03:22
 0:00:10
 0:02:04
 0:02:29
 0:00:52
 0:03:58
 0:00:38
 0:01:44
 0:01:32
 0:00:53
 0:05:47
 0:01:28
 0:01:26
 0:03:29
 0:01:42