filmov
tv
First Project ESP32 development using the TTGO T-DISPLAY

Показать описание
Code posted at:
Continuing from our last video on this topic on getting started with the ESP32 with the TTGO-T-Display, the first project will use a DHT22 sensor along with the existing screen and buttons on the unit. Firstly, I soldered the header pins onto the board before anything so it could be affixed to a breadboard. This allowed everything to be setup on the board.
We add one new library for ADAfruit Unified Sensor which I feel isn't necessarily needed, but may cause issues for some folks, and you may need it down the road. also, DHT sensor library, also from Adafruit.
Using the library documentation, we start with a simple program to get the sensor up and running to provide some sort of serial output. As we see the output working fine, we build upon this, adding the display functionality.
Simple output of hello world shows the color and font that is desired for what we want to do. This leads to some paper and pen design. Once established, its worked into code through trial and error in some cases until the desired result is achieved. Once dynamic values are added, we need a refresh, so screen blanking is employed. Its not the best method, but it keeps the project simple.
Building on this, new parameters are added to allow for the output to be Fahrenheit or Celsius. This is Boolean. Once incorporated we will need one of the buttons to change this value. The GPIO for the built in buttons are 35 and 0. For simplicity's sake we use interrupts for the buttons, since the work required in the interrupt is minuscule, its no big deal.
And while the interrupts are working, we see a bounce issue as expected and we will have to write in debounce filters into the code to stop this problem. 200millisecond filters seem to do the trick on this device. Once debounce is solved for, the boolean value change is tied to one of the buttons allowing for a change from F to C.
Now well create functionality for the next button for a heat index display. As the device will default to the screen we created we will design another screen and show a second screen based on a second boolean value controlled by button 2.
#esp32 #iot #arduino #maker
 0:21:08
First Project ESP32 development using the TTGO T-DISPLAY
 0:22:52
YOU can Learn the ESP32 in 15 Minutes: Hello World!
 0:09:09
A beginner’s guide to ESP32 | Hardware & coding basics + Wi-Fi server demo
 0:19:50
Getting Started with ESP32 - Step-By-Step Tutorial
 0:47:57
Introduction to ESP32 - Getting Started
 0:02:36
Why ESP32's Are The Best Microcontrollers (ESP32 + Arduino series)
 0:13:11
ESP32 - How to create your First ESP IDF project (From Scratch)
 0:04:03
Setting up an ESP32 with Arduino IDE
 0:37:43
Dreamcast Blueretro Internal Mod Tutorial + Virtual VMU
 0:11:35
ESP32-Cam Quickstart with Arduino Code
 0:10:56
PlatformIO: All you need to know in 10 Minutes!
 0:02:22
Arduino in 100 Seconds
 0:10:44
How to add WiFi Control to any project || ESP32 Beginner's Guide
 0:03:19
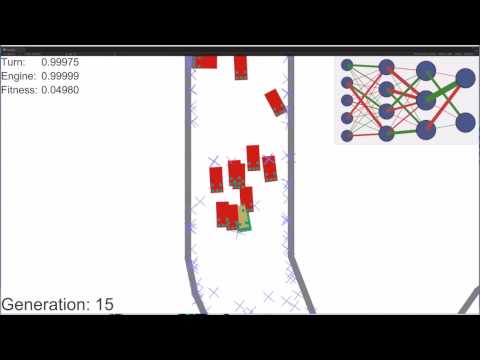
Deep Learning Cars
 0:03:53
Arduino Tutorial: LED Sequential Control- Beginner Project
 0:01:25
Install the ESP32 Board in Arduino IDE in less than 1 minute (Windows, Mac OS X, and Linux)
 0:09:21
ESP32 Bluetooth Classic with Arduino IDE - Getting Started
 0:17:56
Control Anything With IOT Easy Internet of Things with ESP32 and Arduino
 0:06:10
13 Great Arduino Project Ideas for Beginners!!!
 0:51:54
Getting Started with PlatformIO
 0:02:50
Arduino Blinking LED Tutorial
 0:08:13
Build an ESP32 Web Server with Arduino IDE
 0:10:40
PCB Creation for Beginners - Start to finish tutorial in 10 minutes
 0:09:51
ESP32 - Getting Started with ESP-IDF using Visual Studio Code [Easiest Method]
Комментарии